
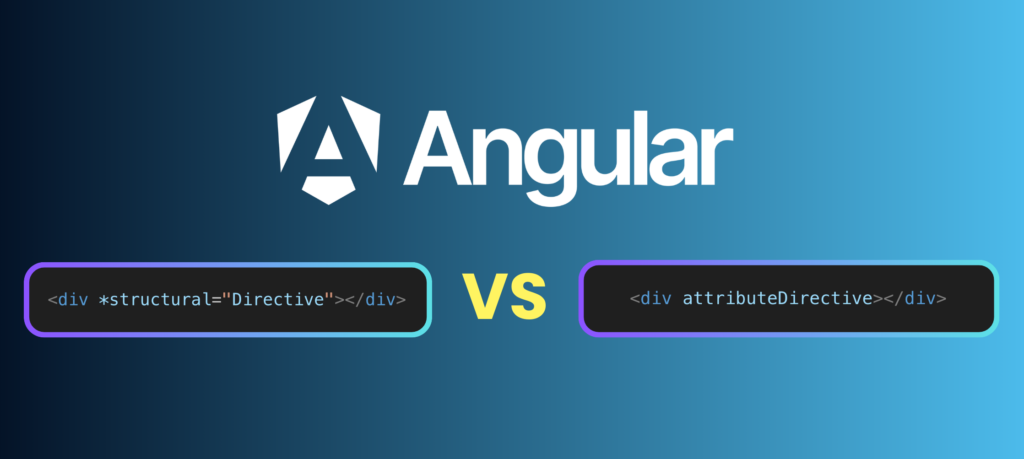
Angular directives are essential primitives that let you attach custom behavior to elements within your application. Broadly speaking, they fall into two categories: structural directives and attribute directives, and this post will clarify the distinctions between them.
A clear grasp of how these directive types operate is important for developers aiming to make sound architectural and performance choices. Using the right kind of directive in the right situation can boost both the capabilities and the efficiency of your Angular projects.
Structural Directives: Operating on the DOM
Structural directives are concerned with the DOM's composition. Their defining trait is that they physically change the DOM layout—for instance, by adding or removing elements from the document (as opposed to merely toggling their CSS visibility). Typical built-in examples include:
*ngIf– conditionally creates or removes a segment of the DOM.*ngSwitchCase,*ngSwitchDefault– render DOM content that changes according to the value supplied tongSwitch.
// Code example of ngSwitch
<container-element [ngSwitch]="switch_expression">

  <!-- the same view can be shown in more than one case -->
  <some-element *ngSwitchCase="match_expression_1">...</some-element>
  <some-element *ngSwitchCase="match_expression_2">...</some-element>
  <some-other-element *ngSwitchCase="match_expression_3">...</some-other-element>

  <!--default case when there are no matches -->
  <some-element *ngSwitchDefault>...</some-element>

</container-element>


// https://angular.io/api/common/NgSwitch
Note: Beginning with Angular v17, classic directives like *ngIf, *ngFor, and *ngSwitch are slated for deprecation. They are being replaced by the new built-in control flow syntax, namely the @if, @for, and @switch blocks.
1. Microsyntax and templates
Structural directives can be written in one of two forms: the concise shorthand or the verbose longhand. In practice, the shorthand—recognizable by an asterisk (*) prefix—is what you'll see most often. This syntax is a convenience that Angular translates internally into a longer notation, where it takes the host element and its children and wraps them in an <ng-template>. The structural directive is then applied to that template element.
// Code example shorthand
<div *ngIf="hero" class="name">{{hero.name}}</div>

// Code example longhand
<ng-template [ngIf]="hero">
  <div class="name">{{hero.name}}</div>
</ng-template>
2. Restrictions
You might think it's a good idea to use *ngIf and *ngFor together on the same HTML element. However, this is not a supported combination. You are unable to apply both directives to a single element.
The root cause is that Angular cannot determine a logical order of operations. Should *ngFor run first, potentially nullifying the effect of *ngIf? Or should *ngIf evaluate first, and then hide the output generated by *ngFor? Since Angular cannot resolve this ambiguity, the practical solution is to use an additional ng-container. This is an invisible wrapper that doesn't add anything to the rendered DOM.
3. Creating a custom structural directive
Here, we'll walk through building our own structural directive, which we'll call showWithDelay. True to its name, this directive will defer the rendering of its content by a set amount of time. To create such a directive, you generally rely on two core injection tokens:
ViewContainerRef.createEmbeddedView(...)– this function is used to actually render the content into the view. It takes a template reference and adds it to the DOM as a new embedded view.TemplateRef– this is a reference to an embedded template that Angular can use to instantiate views. It provides the necessary context so the directive can decide exactly when and how to display the content.
@Directive({
  selector: '[showWithDelay]',
})
export class ShowWithDelayDirective {

  viewContainerRef = inject(ViewContainerRef);
  tpl = inject(TemplateRef);

  @Input({required: true}) set showWithDelay(val: number) {
    setTimeout(() => {
      this.viewContainerRef.createEmbeddedView(this.tpl);
    }, val)
  }
}
Attribute Directives: Modifying Appearance and Behavior
Attribute directives take a different approach. They do not alter the DOM's structure at all. Instead, they modify the appearance or behavior of the element they're attached to, usually by working with that element's own properties and events. To be more specific, attribute directives:
- Directly adjust an element's attributes, properties, and its inline styles. For instance, the
ngStyleandngClassdirectives are used to set element styles and class names. - Allow you to encapsulate a specific behavior within a directive and then reuse that logic by attaching the directive to any element in your template.
- Are an ideal tool for wrapping up complex DOM logic so it can be shared across different components.
1. Restrictions
Attribute directives are confined in their reach. They can only influence the element they are placed on; they have no direct access to modify the element's parent or its sibling elements.
2. Creating a custom attribute directive
The implementation pattern for attribute directives differs from structural ones. You don't need to inject ViewContainerRef or TemplateRef. Instead, you are dealing with the element itself, which you want to alter in some way—for example, changing its background color in the code sample below. Frequently, this involves using ElementRef and the Renderer2 service to interact with the DOM safely, though these are not strictly required in all cases.
@Directive({
  selector: '[appHighlight]',
})
export class HighlightDirective implements OnInit {

  el = inject(ElementRef);

  ngOnInit() {
    this.el.nativeElement.style.backgroundColor = 'yellow';
  }
}

// https://angular.io/guide/attribute-directives
Comparing Key Differences and Their Consequences
- Use Cases:
- Structural directives are the right choice for dynamic content, such as showing or removing sections of the page based on logic.
- Attribute directives are better suited for enhancing existing elements, for example, adding interactive behavior or styling.
- Complexity and Performance:
- Because they manipulate the DOM dynamically, structural directives can introduce more complexity and have a greater performance impact.
- Attribute directives are generally more straightforward because they're working with the element you already have declared.
- Crafting a structural directive is more involved than an attribute one. It requires a good grasp of internal APIs like
TemplateRefandViewContainerRefand, accordingly, a deeper understanding of how the framework manages views and contexts.
- Syntax:
- Attribute directives are used in templates either with square brackets for property binding (e.g.,
[myDirective]) or as a plain, static attribute without any binding syntax. - Structural directives are either written in the shorthand form with an asterisk
(*)prefix or in the longhand form, where you use brackets inside the<ng-template>element.
- Attribute directives are used in templates either with square brackets for property binding (e.g.,
Notable Third-Party Directives
Structural Examples:
*ngrxLet– provides a convenient means of binding an observable to the template context, from the NgRx library.*ngxPermissionsOnly– restricts the display of an element based on user permissions, offered by the NGX-Permissions library.*cdkVirtualFor– brings virtual scrolling to a list, part of the Angular CDK.
Attribute Examples:
[nzTooltip]– adds a tooltip to an element, provided by NgZorro.[cdkAutoFocus]– drives focus to an element when it becomes visible, found in Angular CDK.[ngClass]– the built-in Angular directive for adding or removing CSS classes.
Final Thoughts
For advanced Angular work, being able to distinguish between structural and attribute directives is vital. Structural directives give you powerful control over the DOM's shape, while attribute directives are a flexible mechanism for enriching an element's look or functionality.
Engineers who master these concepts and their subtle trade-offs will find it easier to boost their applications' efficiency, performance, and interactivity. Furthermore, a solid command of this material is a great asset when tackling technical interviews. 🥸