
Angular's Built-in Validators
Forms are a core piece of any Angular app, acting as the bridge for collecting user input. However, data is only useful when it meets our standards. Angular's Validators help enforce those standards on user input.
The framework includes several ready-to-use validators like required, requiredTrue, min, max, minLength, maxLength, and pattern. These cover common scenarios but often fall short for unique business rules.
Many guides already cover building custom validators. Here, we'll take a different path.
We'll start by examining some built-in operators, then build a custom validator ourselves — similar to other tutorials. From there, we'll compare the two. You'll see the built-in version has distinct benefits. We’ll dig into Angular's source to see how its validators are structured, and then apply those lessons to upgrade our own implementation. Let's get started.
Built-in Validators in Action
Angular ships with a set of useful validators that work for both reactive and template-driven forms. The most common include required, requiredTrue, min, max, minLength, maxLength, and pattern.
These can be applied in either form type. For instance, adding the required attribute to a template-driven form field applies that validator automatically.
<input id="name" name="name" class="form-control" required [(ngModel)]="hero.name">
For reactive forms, the usage looks like this:
const control = new FormControl('', Validators.required);
These built-ins handle typical validation needs efficiently. But when your logic is specific to your application, a custom validator becomes necessary.
Building a Custom Validator
Let's create a simple quiz where users guess the colors of a country's flag.
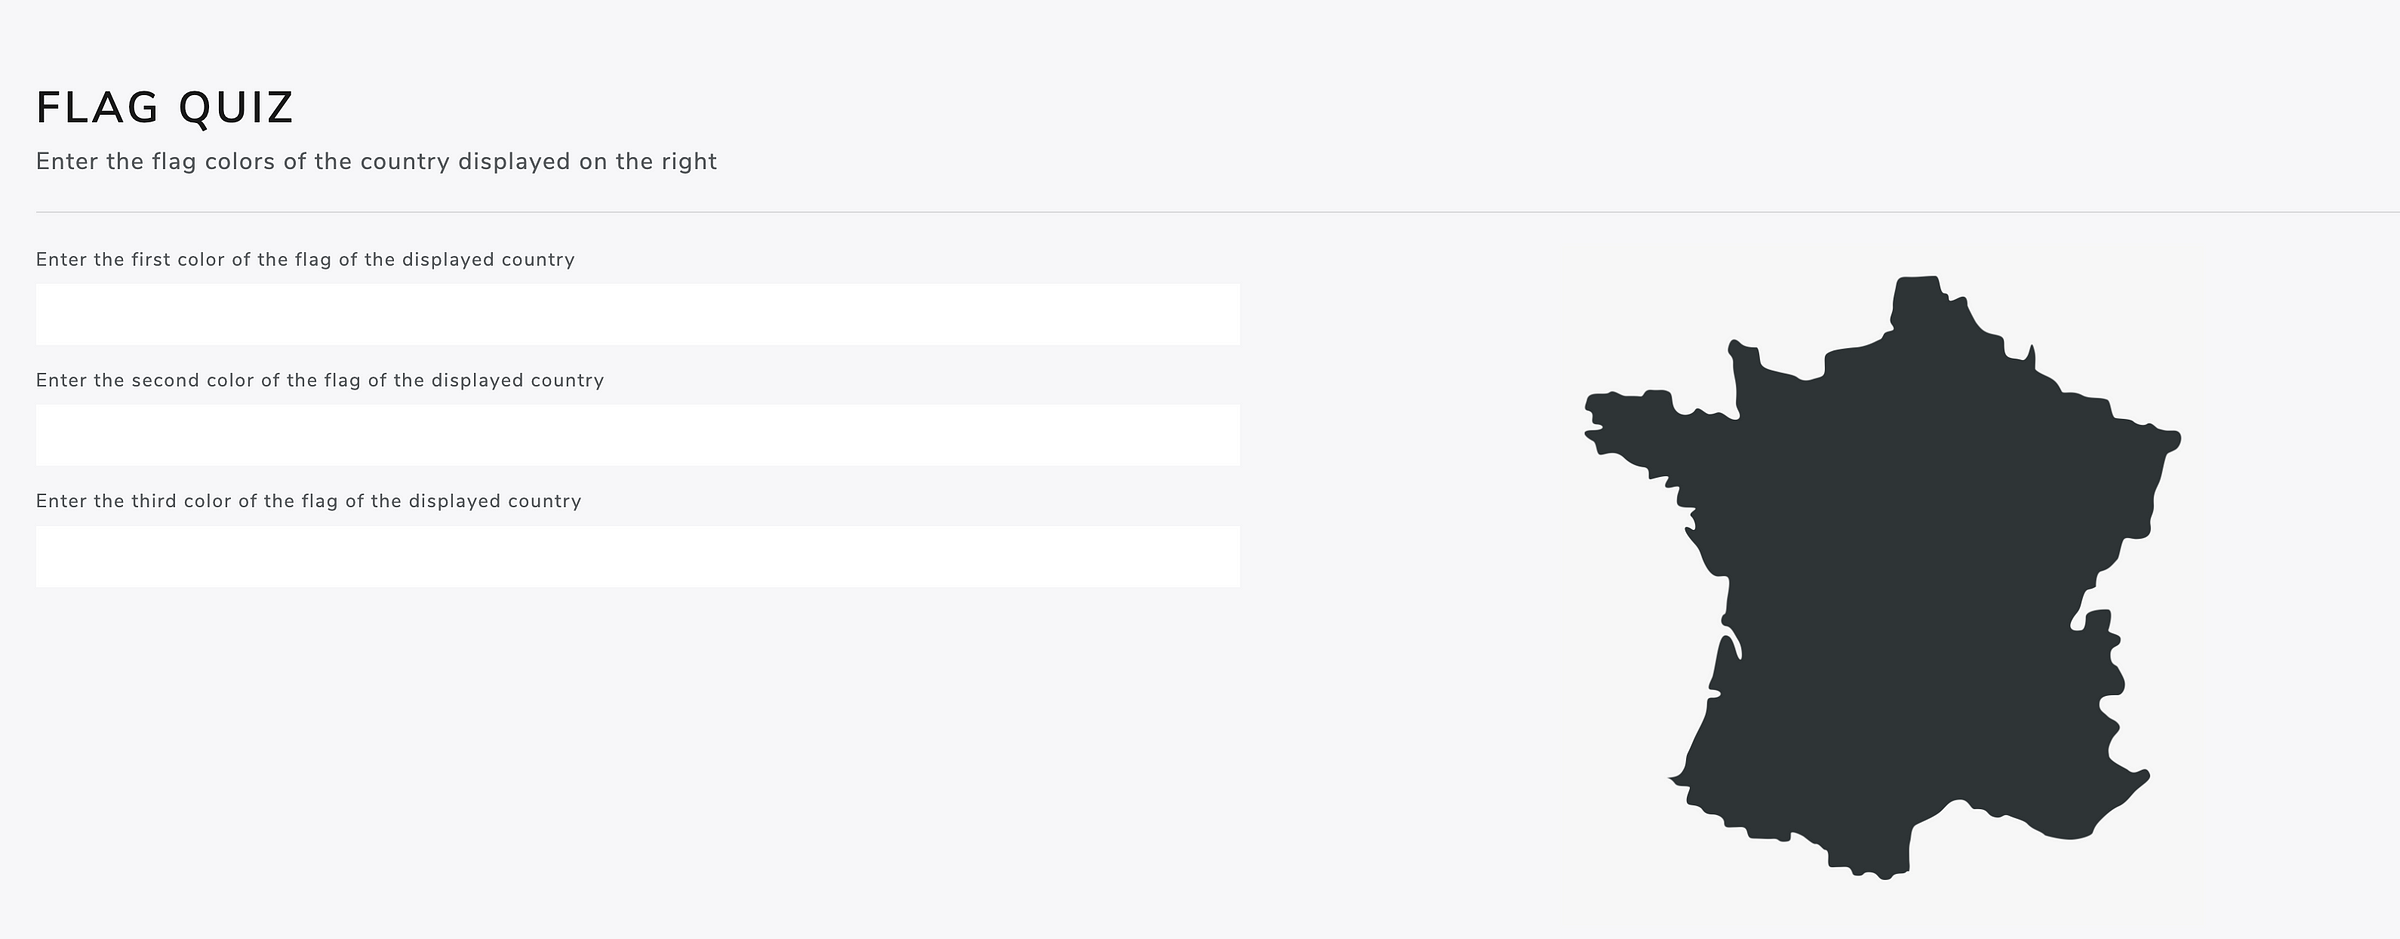
Flag Quiz — Can you identify the country and its flag's colors?
Can you name the country shown?
That's France. Its flag consists of blue, white, and red. We can build a custom validator to ensure the first input is blue, the second is white, and the third is red.
While the built-in
_pattern_validator could handle this, we'll use a custom one for this demonstration.
Let's implement a validator to check for the color blue.
import {AbstractControl, ValidatorFn} from '@angular/forms';

export function blue(): ValidatorFn {
    return (control: AbstractControl): { [key: string]: any } | null =>
        control.value?.toLowerCase() === 'blue'
            ? null : {wrongColor: control.value};
}
A validator is essentially a function that takes an AbstractControl and returns an object with the error details, or null if valid. Once defined, we can import and apply it in our component.
constructor(private fb: FormBuilder) {
}

ngOnInit(){
    this.flagQuiz = fb.group({
        firstColor: new FormControl('', blue()),
        secondColor: new FormControl(''),
        thirdColor: new FormControl('')
    }, {updateOn: 'blur'});
}
Now the firstColor field is validated. If it doesn’t match blue, the validator returns an error keyed as wrongColor with the entered value. We can then display a message in the template.
<div *ngIf="flagQuiz.get('firstColor').errors?.wrongColor"
     class="invalid-feedback">
    Sorry, {{flagQuiz.get('firstColor')?.errors?.wrongColor}} is wrong
</div>
To support template-driven forms, we wrap the validator in a directive and register it with NG_VALIDATORS.
@Directive({
    selector: '[blue]',
    providers: [{
        provide: NG_VALIDATORS,
        useExisting: BlueValidatorDirective,
        multi: true
    }]
})
export class BlueValidatorDirective implements Validator {

    validate(control: AbstractControl): { [key: string]: any } | null {
        return blue()(control);
    }
}
This directive implements the Validator interface from @angular/forms, requiring a validate method.
The signature here mirrors our standalone function: both accept an AbstractControl and return an error object or null.
Naturally, we avoid duplicating logic by reusing our validation function inside the directive's validate method.
import {
    AbstractControl,
    NG_VALIDATORS,
    Validator,
    ValidatorFn
} from '@angular/forms';
import {Directive} from '@angular/core';

export function blue(): ValidatorFn {
    return (control: AbstractControl): { [key: string]: any } | null =>
        control.value?.toLowerCase() === 'blue'
            ? null : {wrongColor: control.value};
}

@Directive({
    selector: '[blue]',
    providers: [{
        provide: NG_VALIDATORS,
        useExisting: BlueValidatorDirective,
        multi: true
    }]
})
export class BlueValidatorDirective implements Validator {

    validate(control: AbstractControl): { [key: string]: any } | null {
        return blue()(control);
    }
}
In app.module.ts, we add the directive to declarations and use it in our templates.
<label for="firstColor">
    Enter the first color of the flag of France
</label>
<input #firstColor="ngModel" blue name="firstColor" class="form-control" id="firstColor" [(ngModel)]="flagQuizAnswers.firstColor" type="text"/>
<div *ngIf="firstColor.errors?.wrongColor" class="invalid-feedback">
    Sorry, {{firstColor?.errors?.wrongColor}} is wrong
</div>
We've now crafted a custom validator that functions in both reactive and template-driven forms. The same pattern can be repeated for white and red.
Comparing with Angular's Approach
This method is standard and widely taught, even in official Angular documentation. But is there room for improvement?
Let's evaluate the developer experience between a built-in validator and our custom one.
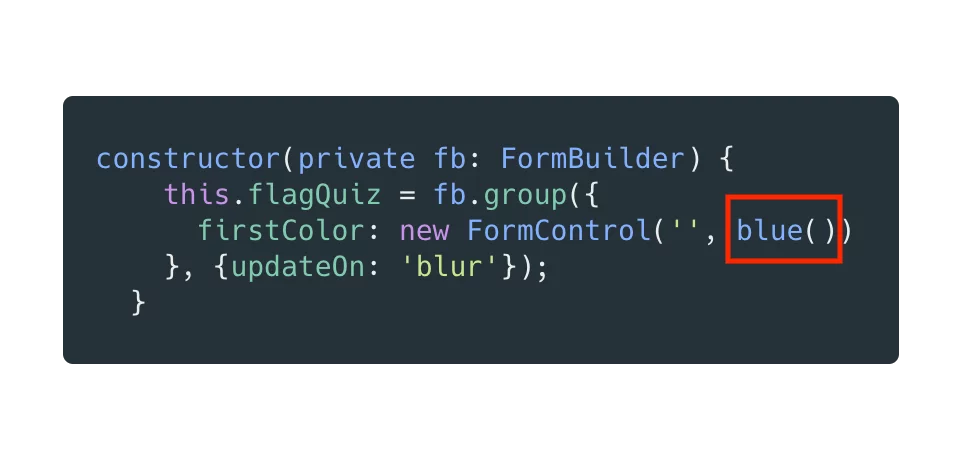
Our custom validator in use
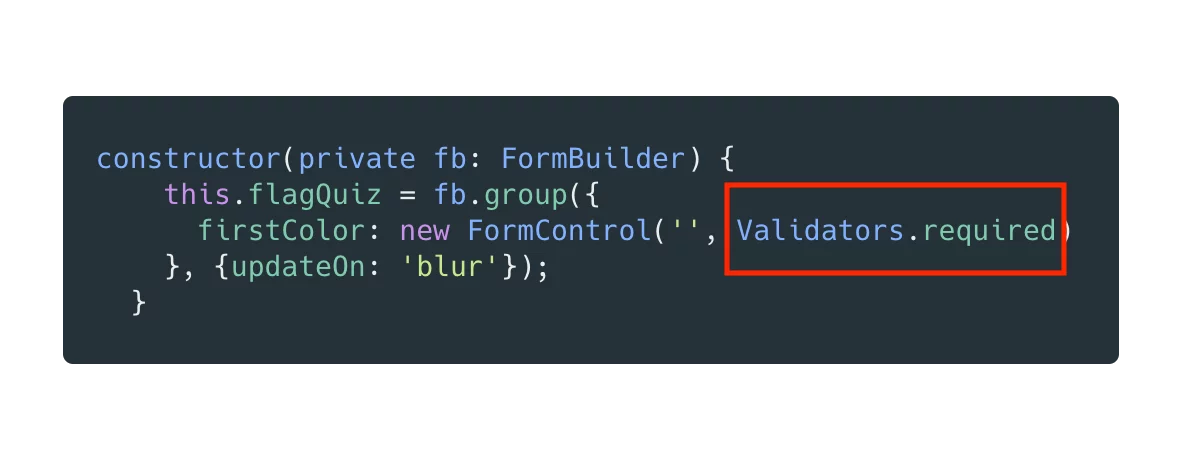
A built-in validator in use
At a glance, they seem similar. But a closer look reveals differences in developer experience. Let's judge based on Intellisense support, consistency of call syntax, and how validators are organized.
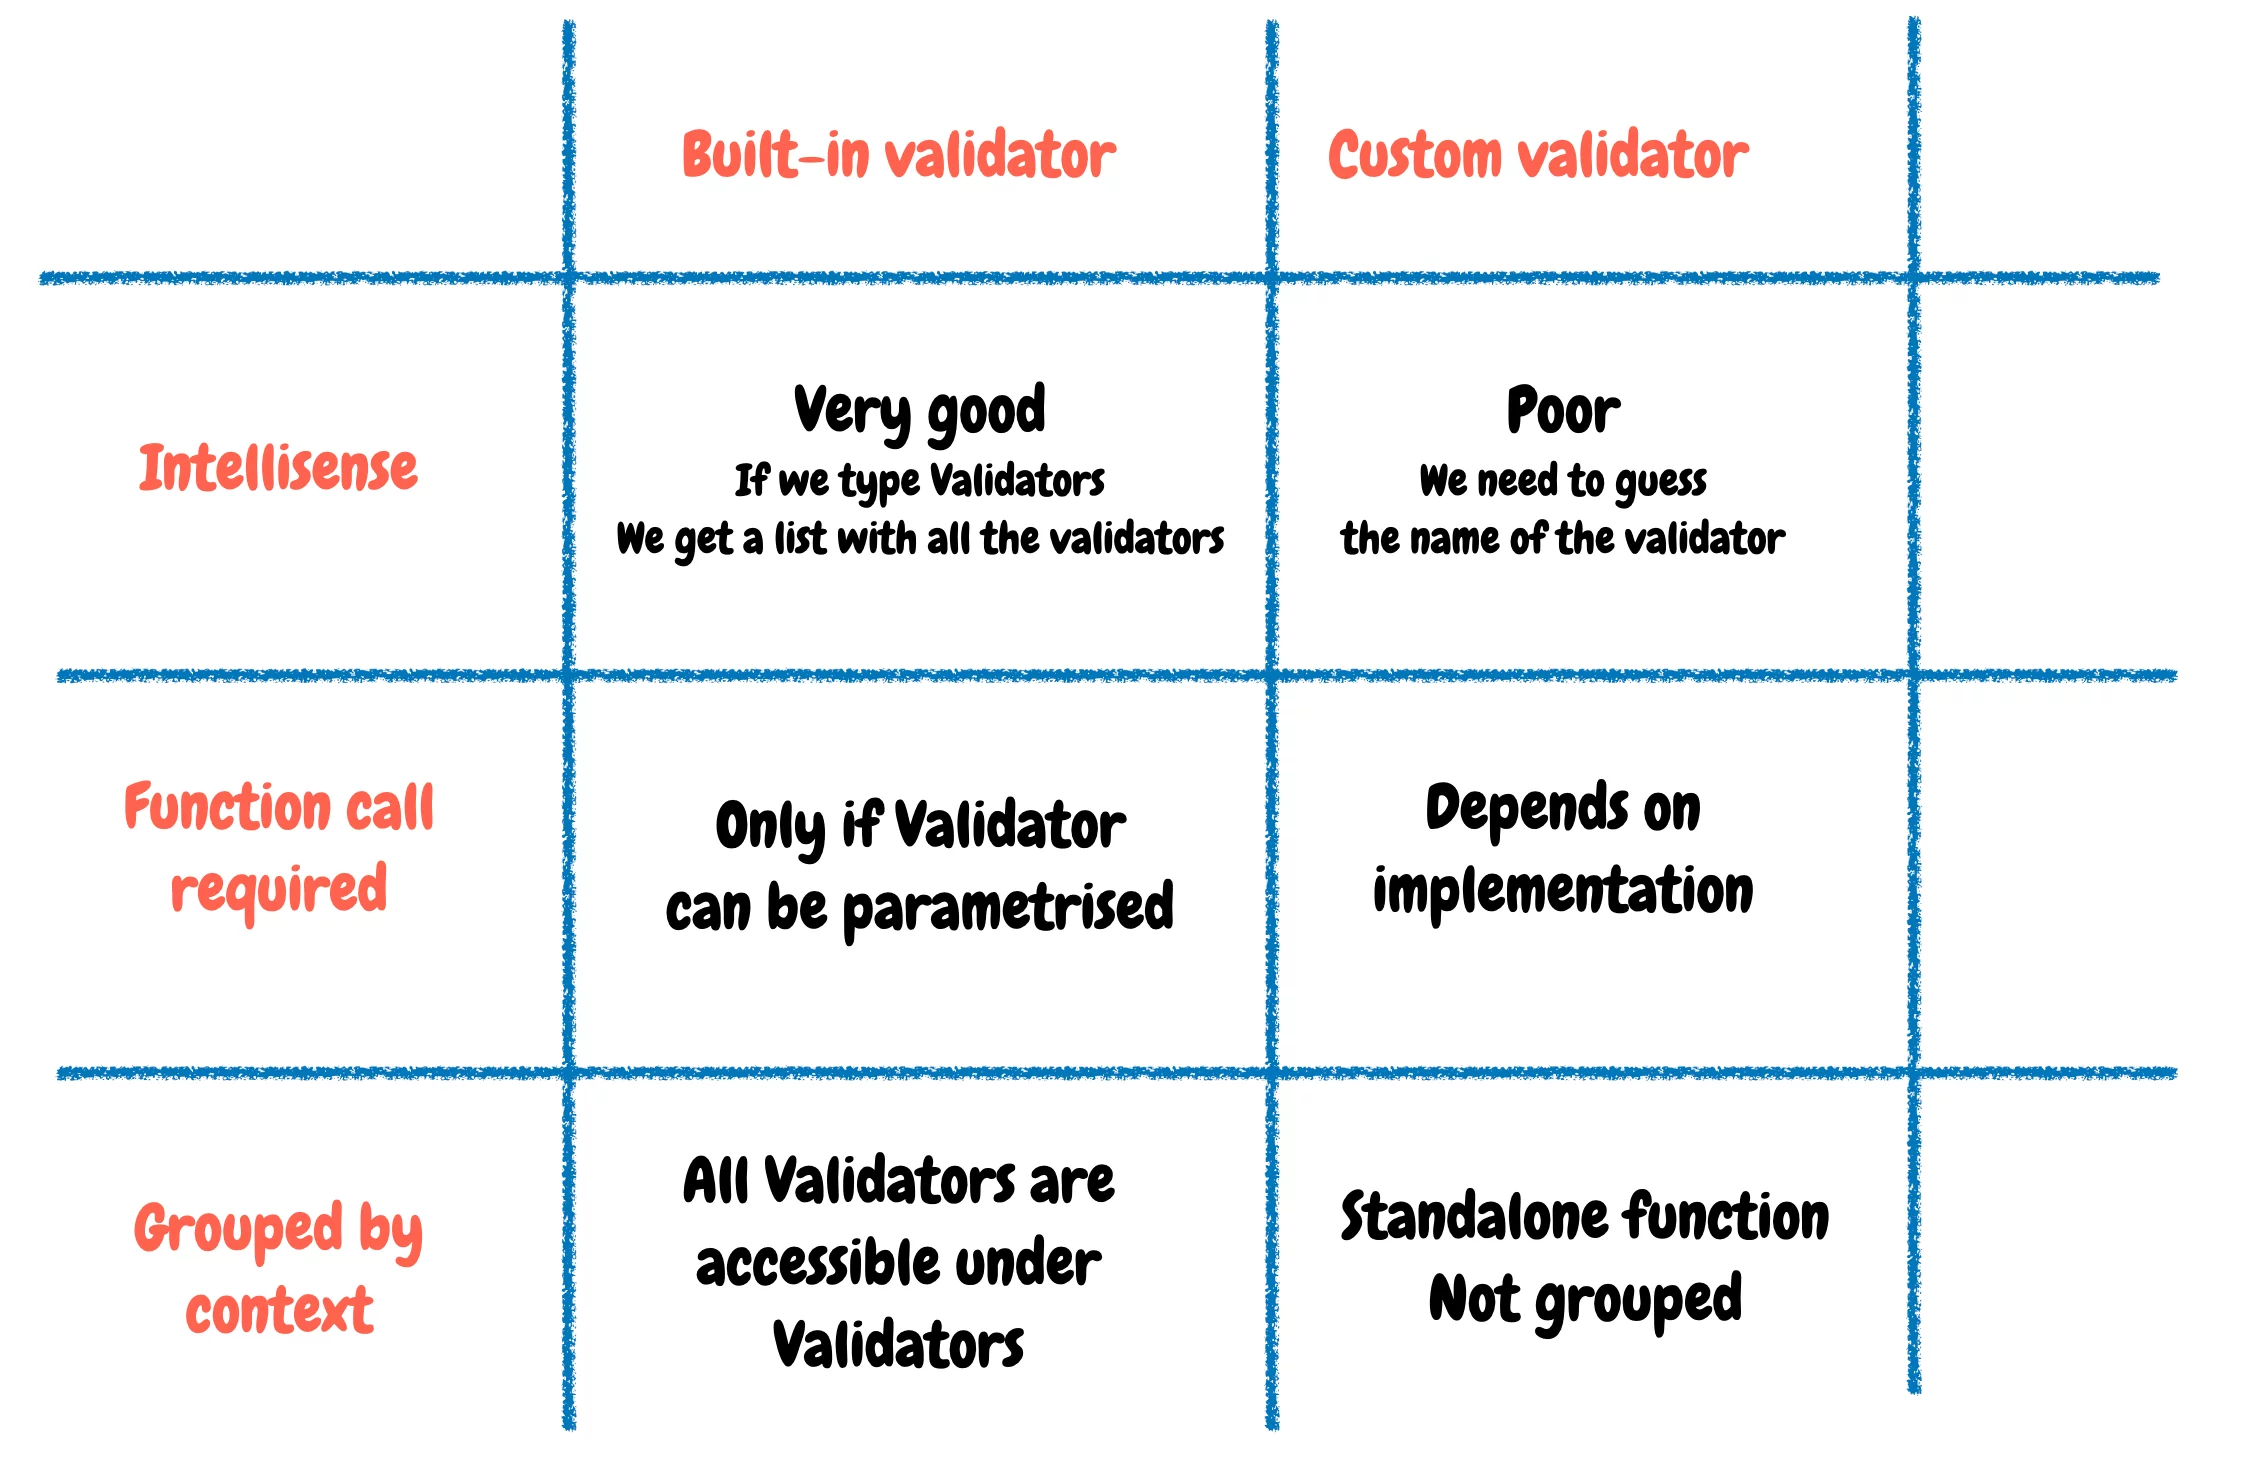
Built-in vs. custom validator comparison
Built-in validators offer superior Intellisense. You don't need to memorize them—just type "Validators" and your IDE lists available options. Custom ones don't have this advantage.
With built-ins, you only call them when they need parameters (like the pattern validator). They follow a clear pattern. For custom ones, consistency is key. Decide whether your validator is "always callable" or "callable only when configured" and stick to it.
Another advantage is grouping. All built-in validators live under the Validators class. Our custom functions are scattered. It would be cleaner if color validators were accessible via ColorValidators.
Examining Angular's Validator Source
To refine our implementation, let's inspect how Angular structures its min and required validators.
export class Validators {

  static min(min: number): ValidatorFn {
    return (control: AbstractControl): ValidationErrors|null => {
      if (isEmptyInputValue(control.value) || isEmptyInputValue(min)) {
        return null;
        // don't validate empty values to allow optional controls
      }
      const value = parseFloat(control.value);
      // Controls with NaN values after parsing should be treated as not having a
      // minimum, per the HTML forms spec: https://www.w3.org/TR/html5/forms.html#attr-input-min
      return !isNaN(value) && value < min ?
      {'min': {'min': min, 'actual': control.value}} : null;
    };
  }

   static required(control: AbstractControl): ValidationErrors|null {
    return isEmptyInputValue(control.value) ? {'required': true} : null;
  }
// ...
}
Angular groups all validators as static methods within a class. This makes them accessible via the Validators class and well-organized.
There's also a consistent pattern: configurable validators return a ValidatorFn, while others return an error object or null directly.
So, Angular uses a static class for grouping. But how does it work for template-driven forms? Through directives. Let's look at the required directive.
@Directive({
  selector:
      ':not([type=checkbox])[required][formControlName],:not([type=checkbox])[required][formControl],:not([type=checkbox])[required][ngModel]',
  providers: [REQUIRED_VALIDATOR],
  host: {'[attr.required]': 'required ? "" : null'}
})
export class RequiredValidator implements Validator {
  private _required = false;
  private _onChange?: () => void;

  /**
   * @description
   * Tracks changes to the required attribute bound to this directive.
   */
  @Input()
  get required(): boolean|string {
    return this._required;
  }

  set required(value: boolean|string) {
    this._required = value != null && value !== false && `${value}` !== 'false';
    if (this._onChange) this._onChange();
  }

  /**
   * @description
   * Method that validates whether the control is empty.
   * Returns the validation result if enabled, otherwise null.
   */
  validate(control: AbstractControl): ValidationErrors|null {
    return this.required ? Validators.required(control) : null;
  }

  /**
   * @description
   * Registers a callback function to call when the validator inputs change.
   *
   * @param fn The callback function
   */
  registerOnValidatorChange(fn: () => void): void {
    this._onChange = fn;
  }
}
The directive uses a specific selector, targeting individual form controls. In its validate method, it reuses the required function from the static Validators class.
Here's what we've learned from Angular's source:
- Validators are grouped using a
staticclass. - Each validator has a corresponding
Directivefor template-driven forms. - The directive's
validatefunction calls the static class method.
Applying These Insights
Instead of standalone functions, let's place them as static fields in a ColorValidator class.
import {AbstractControl, ValidatorFn} from '@angular/forms';

export class ColorValidators {

static blue(control: AbstractControl): any | null {
    return ColorValidators.color('blue')(control);
}

static red(control: AbstractControl): any | null {
    return ColorValidators.color('red')(control);
}

static white(control: AbstractControl): any | null {
    return ColorValidators.color('white')(control);
}

static color(colorName: string): ValidatorFn {
    return (control: AbstractControl): { [key: string]: any } | null =>
        control.value?.toLowerCase() === colorName
        ? null : {wrongColor: control.value};
    }
}
We've also added similar functions for red and white. These aren’t configurable, so they directly return an error object or null. They internally call a generic color function that checks a control's value against a given color name. Note that this internal function is configurable and callable.
This refactoring gives us Intellisense for ColorValidators.blue. It also clarifies that the function isn't configurable, so no call is needed.
constructor(private fb: FormBuilder) {
    this.flagQuiz = fb.group({
        firstColor: new FormControl('', ColorValidators.blue),
        secondColor: new FormControl(''),
        thirdColor: new FormControl('')
    }, {updateOn: 'blur'});
}
Grouped Validators for Template-Driven Forms
Our grouped validator isn't yet ready for template-driven forms. We need a directive that internally uses ColorValidators.
import {
AbstractControl, NG_VALIDATORS, Validator, ValidatorFn
} from '@angular/forms';
import {Directive} from '@angular/core';
import {ColorValidators} from './color.validators';

@Directive({
    selector: '[blue]',
    providers: [{
        provide: NG_VALIDATORS,
        useExisting: BlueValidatorDirective,
        multi: true
     }]
})
export class BlueValidatorDirective implements Validator {

    validate(control: AbstractControl): { [key: string]: any } | null {
        return ColorValidators.blue(control);
    }
}
The usage in templates remains unchanged.
With a bit of restructuring, we've enhanced the developer experience without sacrificing functionality.
Wrapping Up
At its core, a custom validator is just a function returning an error object or null. If it needs configuration, wrap it in another function.
Most tutorials suggest a factory function, which works fine. However, the usage isn't as smooth as Angular's built-ins. Without a consistent convention, it's unclear whether a validator must be called, and there's no Intellisense help.
By studying Angular's validator implementation, we discovered a better way to organize ours. Using static class fields enables grouping and boosts Intellisense. Following the "callable if configurable" convention makes usage intuitive. This small refactoring meaningfully improves the developer experience.