A step by step guide to setup an epic terminal optimized for Angular development, with hyper, fish and oh-my-posh.

Kevin Kreuzer
@nivekcode
Dec 21, 2022
7 min read
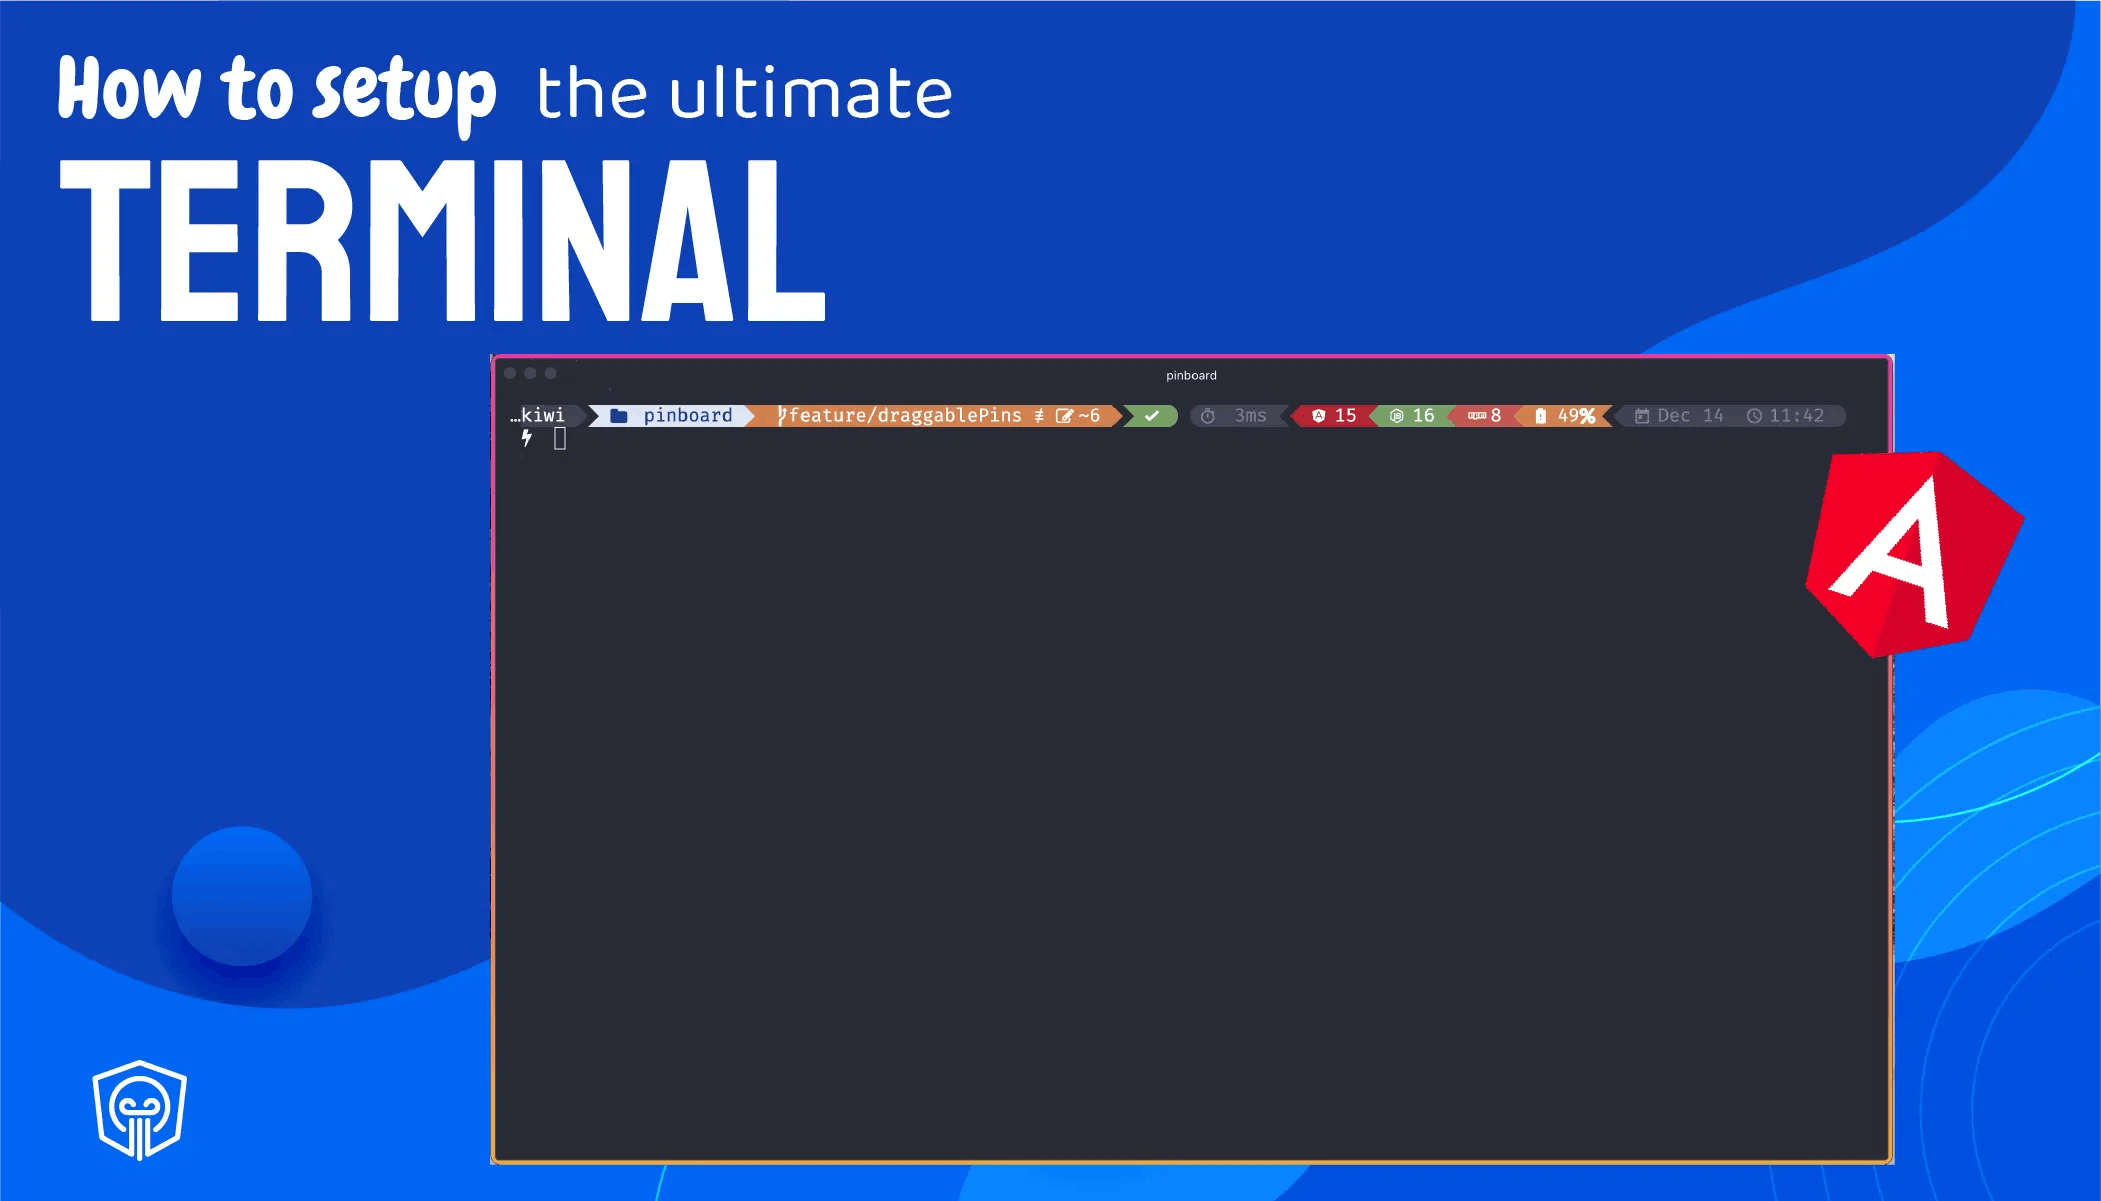
Every developer relies on one indispensable tool: a solid terminal.
By "solid," I don't mean the plain, dated terminals you might be used to. I'm talking about something far more impressive — a terminal packed with advanced usability, slick features, and a user interface tailored specifically for Angular work.
Interested? Let's walk through the setup.
Terminal setup
The terminal we'll build is structured in three distinct parts.

These parts consist of a shell, a framework, and the terminal itself. Each layer offers multiple options. For our setup, we're going with fish as the shell, oh-my-posh as the framework, and hyper as the terminal.
The Shell
A shell serves as your bridge to the operating system, letting you run commands and scripts.
The most widely used shells are probably zsh and bash. While zsh offers more customization than bash, they share a similar foundation. So, if those two dominate, why choose fish?
fish stands for "Friendly interactive Shell". It's highly customizable, offers superb tab completion, and its syntax highlighting is outstanding. In my view, this makes it the most approachable shell out there.
Installing fish 🐟
There are many ways to install software. I'm on a Mac, so I typically use homebrew for all my developer tools. We'll stick with homebrew for this guide, though other installation methods exist.
brew install fish
That's all it takes — fish is now installed. However, you won't notice much yet because no terminal is configured to use it. We'll address that soon. For now, let's explore oh-my-posh.
Oh my posh — the theme engine for your terminal
To give our terminal a polished look, we'll set up oh-my-posh.
oh-my-posh is a custom prompt engine for any shell that has the ability to adjust the prompt string with a function or variable.
Once again, homebrew makes installing oh-my-posh a breeze.
brew tap jandedobbeleer/oh-my-posh
brew install oh-my-posh
Great, oh-my-posh is ready. Now, let's pick a theme.
Angularic - the oh-my-posh theme for Angular developers
To achieve the best-looking terminal with maximum functionality, we've crafted an oh-my-posh theme called Angularic specifically for Angular development. (Credit to Tomas for this one)
Angularic is a theme for Oh My Posh, a cross-shell prompt theming engine. It brings lots of infos relevant to Angular development packaged in a sleek and modern design.
Here's what the Angularic theme brings to the table:
- Displays the Angular version (major).
- Shows the NX version (major).
- Indicates the Node version (major).
- Displays the NPM version (major).
- Shows the current User.
- Tracks Git status (behind, ahead, changes...)
- Reports execution status & execution time
- Shows date and time

Setup Angularic
To get the Angularic theme fully operational, we first need to install a Nerd font.
Nerd font
All the icons used in the Angularic theme require a Nerd font to display correctly.
A Nerd font is a modified font that contains the original font plus additional icons (glyphs).
oh-my-posh provides a handy helper for installing a Nerd font. Fire up a terminal and run this command.
oh-my-posh font install
Follow the wizard to pick and set up your preferred Nerd font.
Download Angularic
Start by creating a .poshthemes folder in your system root. Inside that folder, create a new JSON file named angularic.omp.json and paste in the content from this Github Repository.
Perfect — Angularic is set up. Now let's put it to use.
Connect oh-my-posh, fish and Angularic
Now we need to link everything together: fish, oh-my-posh, and the Angularic theme. Installing fish created a .config folder in your system root.
~/.config/fish/config.fish
Open this file with Vim or any editor you like and add the lines below. Vim, you ask? Sure — we're setting up a terminal after all 😉.
if status is-interactive
    # Commands to run in interactive sessions can go here
end
fish_add_path /opt/homebrew/bin
oh-my-posh --init --shell fish --config ~/.poshthemes/angularic.omp.json | source
We run oh-my-posh with specific arguments, passing the theme we copied as one of them.
Excellent! fish and oh-my-posh are now working together with our Angularic theme. Let's move to the final step that ties it all together.
If you're looking to improve your Angular and JavaScript skills, be sure to follow my Twitch channel for weekly streams on the latest tips and tricks! I'll also be available to answer any questions you may have during the stream, so come join the community and let's learn together.
Hyper — the JS terminal
hyper is a terminal built entirely on web technologies. It's a stunning, expandable terminal that's also highly customizable, offers numerous plugins, and — to be honest — it looks great.
Once more, homebrew is our install method.
brew install hyper
With hyper installed, open it up, and...

It doesn't match the hype yet. Right, that's because we haven't customized it.
Theme
First, we need a theme. hyper has its own themes, but we're going with the excellent Dracula theme.

There are a couple of ways to install it.
You can run hyper install hyper-dracula, or add it to the config file. I prefer the config file route, since we'll be editing it for other tweaks anyway.
Assuming hyper is open, click on Hyper > Preferences in the top menu. This opens the .hyper.js file in your system root. We'll make two changes here.
First, locate the fontFamily property and ensure your installed Nerd font is listed first. Next, find the plugins property and add hyper-dracula to the array.
To see the changes take effect, click on View > Full Reload. Now your terminal should sport the Dracula look. But there's more to come.
Plugins
Applying a theme introduced us to plugins. hyper offers a huge collection of plugins. While it might be tempting to grab them all, be wary—too many plugins can slow things down. Here are the ones I've chosen:
- Hyperpower — adds a striking power effect with a "wow" mode as you type.
- Hyperborder — gives your terminal a multicolored border.
- gitrocket — launches a rocket when you push to a repo.
- space-pull — lands a rocket when you pull code.
Adding these plugins is simple: just include them in the plugins array in the .hyper.js file.
plugins: [
  'hyperpower',
  'hyper-dracula',
  'hyperborder',
  'gitrocket',
  'space-pull',
];
If the plugins aren't active yet, try clicking on Tools > Update plugins.
Put everything together
By now, our Hyper terminal looks fantastic. But here's the thing—it still isn't using fish or oh-my-posh.
We've linked fish and oh-my-posh. The next step is connecting hyper. To do that, we'll edit the .hyper.js config file once more. This time, update the shell property to point to our fish installation. If you used homebrew, the path looks like this:
shell: '/opt/homebrew/bin/fish'
If you're unsure where fish is, type which fish in your terminal.
And that's it. The ultimate terminal for Angular developers is ready. Happy coding!

Do you enjoy the theme of the code preview? Explore our brand new theme plugin
Skol - the ultimate IDE theme

Northern lights feeling straight to your IDE. A simple but powerful dark theme that looks great and relaxes your eyes.
Build smarter UIs with Angular + AI
Angular + AI Video Course

A hands-on course showing how to integrate AI into Angular apps using Hash Brown to build intelligent, reactive UIs.
Learn streaming chat, tool calling, generative UI, structured outputs, and more — step by step.
Build smarter UIs with Angular + AI
Angular + AI Video Course
A practical, project-based course that demonstrates how to bring AI capabilities into Angular applications through Hash Brown, enabling developers to craft intelligent, reactive interfaces.
The curriculum walks through streaming chat integration, tool calling, generative UI patterns, structured output handling, and additional advanced subjects — all in a sequenced, hands-on format.
Angular Signal Forms: Hands-On Masterclass
 A deep dive into Angular's new Signal-Forms feature, structured across 12 progressive chapters that blend theoretical explanations with practical lab exercises.
Topics span form fundamentals, validator implementation, custom control creation, subform composition, migration paths from existing forms, and further advanced functionality.
A deep dive into Angular's new Signal-Forms feature, structured across 12 progressive chapters that blend theoretical explanations with practical lab exercises.
Topics span form fundamentals, validator implementation, custom control creation, subform composition, migration paths from existing forms, and further advanced functionality.
Get notified about new blog posts
 Subscribe to the Angular Experts Content Updates & News list to receive immediate notifications whenever fresh articles are published covering Angular, Ngrx, RxJs, or other compelling frontend subjects.
Your email address is never shared with third parties, and unsubscribing is possible at any moment!
Emails may occasionally include promotional material; consult our Privacy policy for complete details.
Subscribe to the Angular Experts Content Updates & News list to receive immediate notifications whenever fresh articles are published covering Angular, Ngrx, RxJs, or other compelling frontend subjects.
Your email address is never shared with third parties, and unsubscribing is possible at any moment!
Emails may occasionally include promotional material; consult our Privacy policy for complete details.
Responses & comments
Feel free to ask questions, share your insights, and contribute your perspective on the subject matter.You might also like
Explore additional articles from Angular Experts to deepen your understanding of related Angular topics.
Top 10 Angular Architecture Mistakes You Really Want To Avoid
Although Angular continues to evolve rapidly in 2024, the core architectural principles remain unchanged, making this knowledge timeless and a worthwhile investment of your time. **Tomas Trajan** — @tomastrajan — Sep 10, 2024 — 15 min read

Angular Signal Inputs
Transform your Angular components with the new Reactive Signal Inputs feature.
**Kevin Kreuzer** — @nivekcode — Jan 24, 2024 — 6 min read
Improving DX with new Angular @Input Value Transform
Move beyond conventional getters and setters! Discover how custom transformers or the built-inbooleanAttribute and numberAttribute transformers can enhance your development workflow.
**Kevin Kreuzer** — @nivekcode — Nov 18, 2023 — 3 min read