Master lazy loading of standalone components using the Angular @defer block. We explore every interaction, offer best practices, discuss common pitfalls, and include a working demonstration!

Tomas Trajan
@tomastrajan
Nov 14, 2023
13 min read

When gearing up to speak about Angular Signals at the upcoming Angular Zurich Meetup, what's the top strategy to stall for time? (If you're in the area, don't forget to sign up and join the fun😉)
Battling foes as a paladin in Baldur's Gate 3 certainly makes a compelling case, yet exploring the ins and outs of Angular's new @defer seems even more appealing, so here we go!
Angular 17 has officially launched, and it brings an impressive array of exciting features to the table!
Among these, the new @defer block—which enables lazy loading of Angular standalone components—stands out as the most groundbreaking and thrilling addition in Angular 17 (in my humble opinion, at least)!
 Angular @defer example (screen recording)
💡 Now that
@deferhas shipped, it's clear that Angular standalone components are the superior choice for literally every scenario in Angular apps.Earlier, I was torn between the benefits they bring and the work involved, particularly when converting components inside existing lazy-loaded feature modules!
Transitioning all your components to standalone makes them " @defer ready," ensuring that lazy loading them later—when they become sizable—is a breeze!
The Angular @defer at glance
With the @defer syntax, any Angular standalone component can be lazy loaded using an API that offers outstanding developer experience and handles nearly any situation you might encounter!
Like any fresh feature, we must build new ways of thinking to use @defer effectively and optimally
🏺 A brief history lesson; lazy loading components was possible as far back as Angular 5, though the APIs were far from user-friendly.
Things improved dramatically with IVY in Angular 9, and further still with standalone components in Angular 14.
Even so, the code remained intricate, wordy, and demanded extensive custom logic for managing typical aspects like placeholder, loading, and error states!
Now, let's dive into @defer itself…
At its simplest, you just place a component within a @defer block in the template…
@Component({
  selector: 'my-org-parent',
  standalone: true,
  imports: [HeavyComponent],
  template: `
    @defer {
      <my-org-heavy />
    }
  `,
})
export class ParentComponent {}
The @defer block is ready to use directly in your template—there’s no import required.
When Angular’s compiler processes this, it pulls the HeavyComponent into a separate JavaScript bundle file. That file is fetched only after the ParentComponent template has been rendered. You can watch this happen in the network tab of your browser’s developer tools—Chrome, or whatever you prefer.
While the previous snippet works, it’s far from a real-world scenario. It skips all the extra capabilities we’ll dive into shortly.
Now, let’s see how this stacks up against a more practical example—one packed with features that genuinely improve the user experience.
@Component({
  selector: 'my-org-dashboard-item',
  standalone: true,
  imports: [ChartComponent],
  template: `
    @defer (on viewport; prefetch on timer(2000))  {
      <my-org-chart />
    } @placeholder {
      <my-org-skeleton type="chart" />
    } @loading {
      <my-org-skeleton type="chart" [animate]="true" />
    } @error {
      <my-org-error-feedback />
    }
  `,
})
export class DashboardItemComponent {}
 An example UI representation of the Angular @defer example above (including the states over time)
That should have caught your attention, so let's explore everything we have available!
Prerequisites
- the component needs to be set with
standalone: trueand must live in its own dedicated file, being the only export in it — no tokens, consts, functions, etc. that other parts of the app might eagerly import, because that would break the lazy-loading mechanism - the component is usable exclusively in the parent's template (not via
@ViewChild, etc.) - components, directives, and pipes referenced inside the deferred component's template can be either
standaloneorNgModule-based, yet always mind the full dependency graph so we avoid a scenario where "every" component relies on "every" other component!
The Angular @defer API
Before jumping into examples and best practices, it makes sense to first step back and take in the big picture. This gives us a comprehensive view of what's achievable.
This API is quite robust, letting us configure a wide range of scenarios using essentially two main concepts:
- trigger — controls when and how the component gets lazy loaded
- prefetch — controls if, when, and how the component's lazy bundle is fetched ahead of time
With that in mind, defer can be seen as a mix of zero or more trigger and prefetch expressions; when several expressions of the same kind are used, they are combined using the logical OR operator, e.g.,
trigger1 OR trigger2
@defer (trigger1; trigger2; ... prefetch1; prefetch2; ...) { }
The @defer triggers
There are two categories of @defer triggers:
on (declarative)— relies on one of the predefined behaviors (listed below)when (imperative)— uses any custom condition that evaluates totrueorfalse(like a component property or method, a Signal, an RxJs stream, etc.)
Declarative "on" triggers
Let's go through the built-in @defer (on <trigger>) {} triggers, ordered from the most eager to the most lazy (or most custom)…
immediate— the lazy load starts instantly while the parent component's template is being executedidle— (default) Angular waits for the first availablerequestIdleCallback(browser API), letting us run background and low-priority tasks on the main event looptimer(delay)— after a certain delay has passedviewport (target)— when the@placeholder(explained later) or the optionaltargetbecomes visible, detected with the browserIntersectionObserverAPIhover (target?)— when the user hovers over the@placeholderor the optionaltarget; here Angular listens to themouseenterandfocusinDOM eventsinteraction (target?)— when the user interacts with the@placeholderor the optionaltarget; this takes into account theclickandkeydownDOM events
⚠️ You cannot have duplicate on handlers of the same type! For instance,
on hover(on the placeholder) together withon hover(someTarget)can't coexist in a single@deferblock! Right now, triggers that accept atargetonly allow one.
Imperative "when" triggers
The declarative on triggers will handle most common cases in our apps, but Angular lets us go further with custom setups!
With the imperative @defer (when <customTrigger>) {}, we can cover any scenario we can think of (and code)!
The custom trigger is open to any property, method, Signal, or RxJs stream, as long as it resolves to a Boolean flag. Once that flag becomes true, the component is entitled to lazy loading; flipping it back to false afterwards has no effect, so when acts as a one-way trigger.
In real-world scenarios, this when-based custom trigger becomes a handy tool for loading components programmatically, for example:
- result of async work — after a successful form submission, display a success page or advance to the next step
- milestone in a flow — when one phase completes, fetch the following phase
- result of a computation — when an offer’s value crosses a specific threshold, reveal extra details
- and plenty more — share your own ideas in the comments below for where
whenwould shine, and I’ll update this list accordingly 😉
@Component({
  selector: 'my-org-process-container',
  standalone: true,
  imports: [Step1Component, Step2Component /* ... */],
  template: `
    <!-- other steps... -->
    @defer (when process.step1.finished) { // signal() or rxjsStream$|async
      <my-org-step-2 />
    }
  `,
})
export class ProcessContainerComponent {}
Default trigger
Recall the initial example we started with above.
@defer {
  <my-org-heavy />
}
When no explicit trigger is provided, the @defer block relies on the default on idle condition.
Multiple components in a single @defer block
So far, our discussion has centered on scenarios where just one Angular standalone component sits inside the @defer block. However, what happens when the block contains more than one component?
@defer (on viewport)  {
  <my-org-bar-chart />
  <my-org-line-chart />
  <!-- ... -->
}
You can include several standalone components within one @defer block in Angular!
When you build (or serve) the app, the terminal output will look something like the following…
Lazy Chunk Files    | Names                | Raw Size   |
chunk-AOHCSC3Y.js   | bar-chart-component  |  165.25 kB |
chunk-C5XGGIZ2.js   | line-chart-component |   84.20 kB |
These chunks are fetched in parallel the moment the @defer block is activated!
Catch me on Twitter (X) to stay in the loop with fresh Angular, NgRx, RxJs and NX articles, news and other awesome frontend content!😉
The @placeholder, @loading & @error blocks
So far, our focus has been solely on the @defer itself, but we've touched on the @placeholder—a key element for specific declarative on triggers, serving as the fallback target when none is provided.
⚠️ Remember: any Angular components placed inside these three blocks are eagerly loaded, unlike those within the
@deferblock which remain lazy!
The @placeholder
With the @placeholder, you define the content to display prior to the start of the lazy component's loading.
Thus, it's the ideal spot for anything from a minimal empty
<div>to reserve layout space, up to a fancy "skeleton UI" mirroring the lazy component to ensure a smooth user experience!
The @placeholder block accepts a minimum option, which sets the shortest time its content will be visible for* (* though as we'll see shortly, some surprising behaviors emerge here).
The @placehodler block ranks as the second most crucial block; make it a habit to include it with every
@deferusage!
The @loading
Another optional companion to @defer is the @loading block. During the fetching phase (typically brief) of the lazy standalone component's JavaScript bundle, this block takes over from the @placeholder in the view.
Sounds simple, but as we'll discover, reality often differs!
The @loading block also supports a minimum option—the shortest display duration—along with an after option, which sets the "minimum" loading time required before this block appears at all…
So, if the
<my-org-chart />loads in under100ms, the @loading block's content won't show up entirely!
@defer (on viewport) {
  <my-org-chart />
} @placeholder {
  <my-org-skeleton type="chart" />
} @loading(after: 100ms; minimum: 500ms) {
  <my-org-skeleton type="chart" [animate]="true" />
}
The practical interplay between @placeholder & @loading
- When
@placeholderincludesminimumand the load completes swiftly, the@loadingblock never appears - If
@loadingspecifiesafterand the load is quick, the@loadingblock remains unseen - Combining
on immediatewith the@loadingblock means the@placeholderblock is skipped entirely
Understanding the @error block
The @error block gives us a way to define the content shown when the fetching of the JavaScript bundle for a lazy-loaded standalone component fails.
@defer {
  <my-org-heavy />
} @error {
  <p>Loading of the component failed...</p>
}
Since version 17, there is no built-in way to pass custom error details to the message, and no retry mechanism exists either — so if you want to see that change, upvote the issue and maybe it will land in a future release! 🤞
Prefetching
And finally, we come to prefetch statements — those live inside the @defer block as well… (just a reminder: when you include multiple statements, they get combined using the logical OR operator)
@defer (trigger1; trigger2; ... prefetch1; prefetch2; ...) { }
Just like with regular triggers, prefetch comes in two flavours:
- on (declarative) — relies on one of the predefined behaviors (listed below)
- when (imperative) — accepts any custom condition that evaluates to
trueorfalse(for example a component property or method, a Signal, an RxJs stream, …
Every trigger that works with on also works with prefetch on — here's what they're best suited for…
immediate— preferidlehereidle— covers a broad set of scenarios nicelytimer(delay)— choose this overidlewhen you know there's work happening "up front", e.g after navigating to a page we fetch lots of data and process it once it arrives —idlecould interfere with that, so delaying prefetch until things calm down is a smarter moveviewport (target)— only makes sense when the target is placed after the@defer; if it appears earlier on the same page, you'd be better off simply usingon viewportwithout any prefetchhover (target?)— likewise, worth using only with a target that shows up later on the page; if it's before the@defer, just stick with a normal triggerinteraction (target?)— same story — use it with targets that come after the@deferin the DOM; otherwise pick a standard trigger
For custom logic, prefetch when shines — you could, for instance, initiate prefetch on scroll when the element approaches the viewport (but hasn't entered it yet).
The prefetch and @loading block interactions
If the lazy component bundle has been prefetched already, the @loading block simply won't appear!
Best practices
From what we've seen, mixing various blocks and their options quickly turns into a complicated affair, especially once you factor in real-world network scenarios. So my strongest advice is: always attempt to…
Use identical skeleton UI components for both @placeholder and @loading blocks
If @loading ends up being displayed, it should look just like the placeholder, but with maybe a touch of subtle animation. That removes visual jumping around and makes the experience noticeably nicer! Check the live demo below to see it in action!
By contrast, a chaotic and almost certainly "bouncy" interface would cycle between placeholder (skeleton), loading (spinner), and the real content (a chart) within a single second — with each step having totally different dimensions!
For a more stripped-down approach, just keep @placeholder and leave @loading out of the template entirely!
Don't set a minimum duration on @placeholder blocks
It may feel tempting, especially after crafting a shiny skeleton with nice animation — but the user comes first, always! Show the real component as fast as humanly possible! Once again, that's much easier when placeholder, loading and the actual view closely resemble each other.
How to determine what to lazy load?
Now that @defer is this handy, should we wrap every single component in our entire app with it?
Absolutely NOT!
Think of it as two ends of a spectrum. Picture a lazy-loaded page that nests 10 components inside each other, something like container -> list -> item -> form -> rich-editor -> controls -> dropdown -> option -> …
- Each component gets loaded in a lazy fashion — we have to pull in the preceding one before determining what comes next, which triggers a sequence of cascading requests. That is far from ideal and translates into a lengthier full-page load and a poorer user experience.
- Each component gets loaded eagerly — the typical approach is to declare it in the
imports: []of the parent Angular standalone component. This works fine until a given component grows excessively "large" (think charts, editors, etc.). At that point, it pays off to isolate that single heavy component from the main lazy-loaded feature chunk so it doesn't block the whole feature.
The @defer vs lazy routes
The @defer gives us a fresh and straightforward mechanism for lazy-loading standalone components, which naturally prompts a question...
Is the classic Angular
Router-based lazy loading rendered obsolete by the new@defer?!
And the answer is an emphatic, NO!
Routing in Angular is a core building block of any substantial Angular application.
Routes let us divide an application into multiple autonomous sections, which boosts the overall architecture and, in turn, the maintainability and scalability of the codebase.
Theoretically, we might replicate all of that with @defer and some patterns, but...
Routing gives us the ability to read an application state from the URL (and also write it back) for the current page, a capability that is essential for things like SEO, link sharing, deep-linking, bookmarks, and more.
This is precisely why @defer functions as an additional Angular tool for lazy-loading standalone components inside a single feature (page) that is itself lazy-loaded through the Angular Router.
Special thanks to Deborah Kurata for reviewing this portion! 🙏
The "on timer" vs "prefetch on timer"
Looking at the difference between on timer(delay) and prefetch on timer(delay) lets us dive into another engaging tradeoff we can evaluate to pick the right behavior for our scenario.
This all comes down to how costly it is to actually "run" the lazy-loaded component—for example, if it initiates another backend call or heavy computation:
- when running the component is "costly", prefetching might be the better option, as it fetches the chunk now but postpones "running the component" until another condition like, say, scrolling into view
- when running the component is "low-cost", then lazy loading and "running it" right away is fine (for instance with on
timer(delay)), even when it's not yet visible on screen
⚠️ Remember, when using on
timer(delay), pair it with something else likeon viewportoron hover, since a user might reach the component faster than your set delay, and relying solely onon timerwould prevent that component from loading until that delay has elapsed!
Does it ever make sense to use on immediate (or idle) triggers?
With the on immediate and on idle triggers, the lazy component starts fetching almost right away when the user visits a page and lands on the parent component that uses @defer in its template.
That might appear "pointless"—why bother lazy loading if we load it immediately? We might as well include it in the standard way and cut down on the number of requests—right?
Still, this strategy has its merits when we want to ensure that the "primary section" of a page (or feature) has loaded and shown before we begin fetching a heavy component, like a chart (which could easily account for more than half the payload of the lazy-loaded feature).
Don't forget that using more specific on triggers can offer additional optimization opportunities!
Prefetch
Using prefetch on viewport doesn't quite make sense because if we're prefetching it, and it's already within the viewport, then we ought to just display it—meaning the on viewport trigger is a far wiser choice.
On the flip side, setting up a custom prefetch when customScrollBasedAlmostInViewport is significantly more reasonable!
The Angular team might consider adding this as an opt-in parameter to
prefetch on viewport(offset: 200)—enabling prefetch behavior to kick off200pxbefore the target element enters the viewport. If this scenario resonates with you, don’t hesitate to support the related issue on Angular’s GitHub repository! 👍
Interactive demo and @defer playground
Apply everything you’ve picked up by experimenting with this live playground!
Angular @defer live demo in StackBlitz
Testing
Fun fact; Researching testing for this article led to discovery of a "small bug" in the official Angular docs and a subsequent PR 💪
Angular also supports testing for components whose templates rely on @defer—it exposes an API that lets you dictate and alter the state of every @defer block.
By default, all @defer blocks sit in the "paused" (placeholder) state, and you can manually switch them to any of the descriptive values found in the DeferBlockState enum:
PlaceholderLoadingComplete— displays the deferred component itselfError
Then given a ParentComponent...
@Component({
  // ...
  template: `
    @defer {
      <my-org-heavy />
    } @placeholder {
      <p>Placeholder...</p>
    } @loading {
      <p>Loading...</p>
    }`
})
export class ParentComponent {}
We can write a test...
describe('ParentComponent', () => {
  let fixture: ComponentFixture<ParentComponent>;

  beforeEach(async () => {
    // Standard TestBed setup...
    fixture = TestBed.createComponent(ParentComponent);
  });

  it('should create', async () => {
    expect(component).toBeTruthy();

    const deferBlockFixture = (await fixture.getDeferBlocks())[0];

    expect(fixture.nativeElement.innerHTML).toContain('Placeholder...');

    await deferBlockFixture.render(DeferBlockState.Loading);
    expect(fixture.nativeElement.innerHTML).toContain('Loading...');

    await deferBlockFixture.render(DeferBlockState.Complete);
    expect(fixture.nativeElement.innerHTML).toContain('<my-org-heavy />');
  });
});
Wrap up
Angular 17 and lazy loading of standalone components with @defer is amazing! ❤️
I trust this piece served as a useful guide and gave you valuable insights into the new Angular @defer block. The content doubles as a handy reference, organizing the API alongside typical examples and usage patterns.
Also, the sections covering interactions and best practices should spare you from some frustration when navigating the tricky relationships between @placeholder, @loading blocks, and prefetch statements.
Have you encountered different behavior with @defer or adopted alternative patterns and conventions? Feel free to share your thoughts in the comments, and I may update the post to help other developers in the community benefit from your insights.
If you run into any questions, don't hesitate to reach out via the article response section or Twitter(X) DMs @tomastrajan — I'm happy to assist!
And never forget, future is bright

Needless to say, the Future looks brilliant! (Snapshot by Tomas Trajan amidst the Dolomites 🇮🇹)
Liking the look of our code blocks? Then you're in for a treat — check out our new theme plugin
Skol — the ultimate IDE theme

Bring the aurora borealis straight into your editor. A clean, straightforward dark theme that’s easy on the eyes and feels great to work with.
Craft smarter interfaces using Angular and AI
Video Course on Angular + AI

We walk you through an Angular integration with AI, using Hash Brown as the framework for crafting intelligent, reactive interfaces in a practical, project-based format.
We cover streaming chat interactions, tool invocation, generative UI, structured outputs, and other advanced concepts, all in incremental lessons.
Are you finding value in this content and eager to dive deeper into keeping your Angular codebase stable and maintainable over the long run?
Angular Enterprise Architecture eBook

Discover how to set up a fresh or current enterprise-scale Angular application with a rock-solid foundation built on automated architecture validation.
The result is that your codebase stays easy to maintain, ready to grow, and consequently delivers at top speed throughout its entire lifecycle!
Are you into the material here and ready to dive into Angular's cutting-edge Signal Forms?
Signal Forms in Angular: A Practical Deep Dive

Dive into Angular's latest Signal-Forms across a dozen step-by-step sections that blend conceptual groundwork with practical exercises.
Explore the essentials like form construction, validation logic, bespoke controls, nested subforms, approaches for migrating existing code, alongside other advanced topics.

Stay in the loop
with our latest articles
Subscribe to Angular Experts Content Updates & News, and we'll send you a notification each time we publish new posts covering Angular, Ngrx, RxJs, and other exciting Frontend subjects!
Your email address is never shared with third parties, and you are free to unsubscribe at any moment!
Questions & feedback
Feel free to ask anything and share your personal insights and views on the subject

Tomas Trajan
Google Developer Expert (GDE)
for Angular & Web Technologies


 public
My focus is on guiding development teams to ship high-quality Angular applications, offering consulting and training that centers on Architecture and NgRx-powered State management!
As a Google Developer Expert for Angular & Web Technologies, I work as both a consultant and trainer. Right now, I support enterprise organizations across the globe by building core features and architecture, championing best practices, sharing expertise, and streamlining workflows.
Tomas is dedicated to consistently delivering high value to both customers and the wider developer community. This commitment is backed by a long history of authoring widely-read industry articles, delivering talks at international conferences and meetups, and actively contributing to open-source projects.
52
Blog posts
4.7M
Blog views
3.5K
Github stars
612
Trained developers
39
Given talks
8
Capacity to eat another cake
You might also like
Explore other blog posts from Angular Experts to dive deeper into subjects such as Modern Angular !
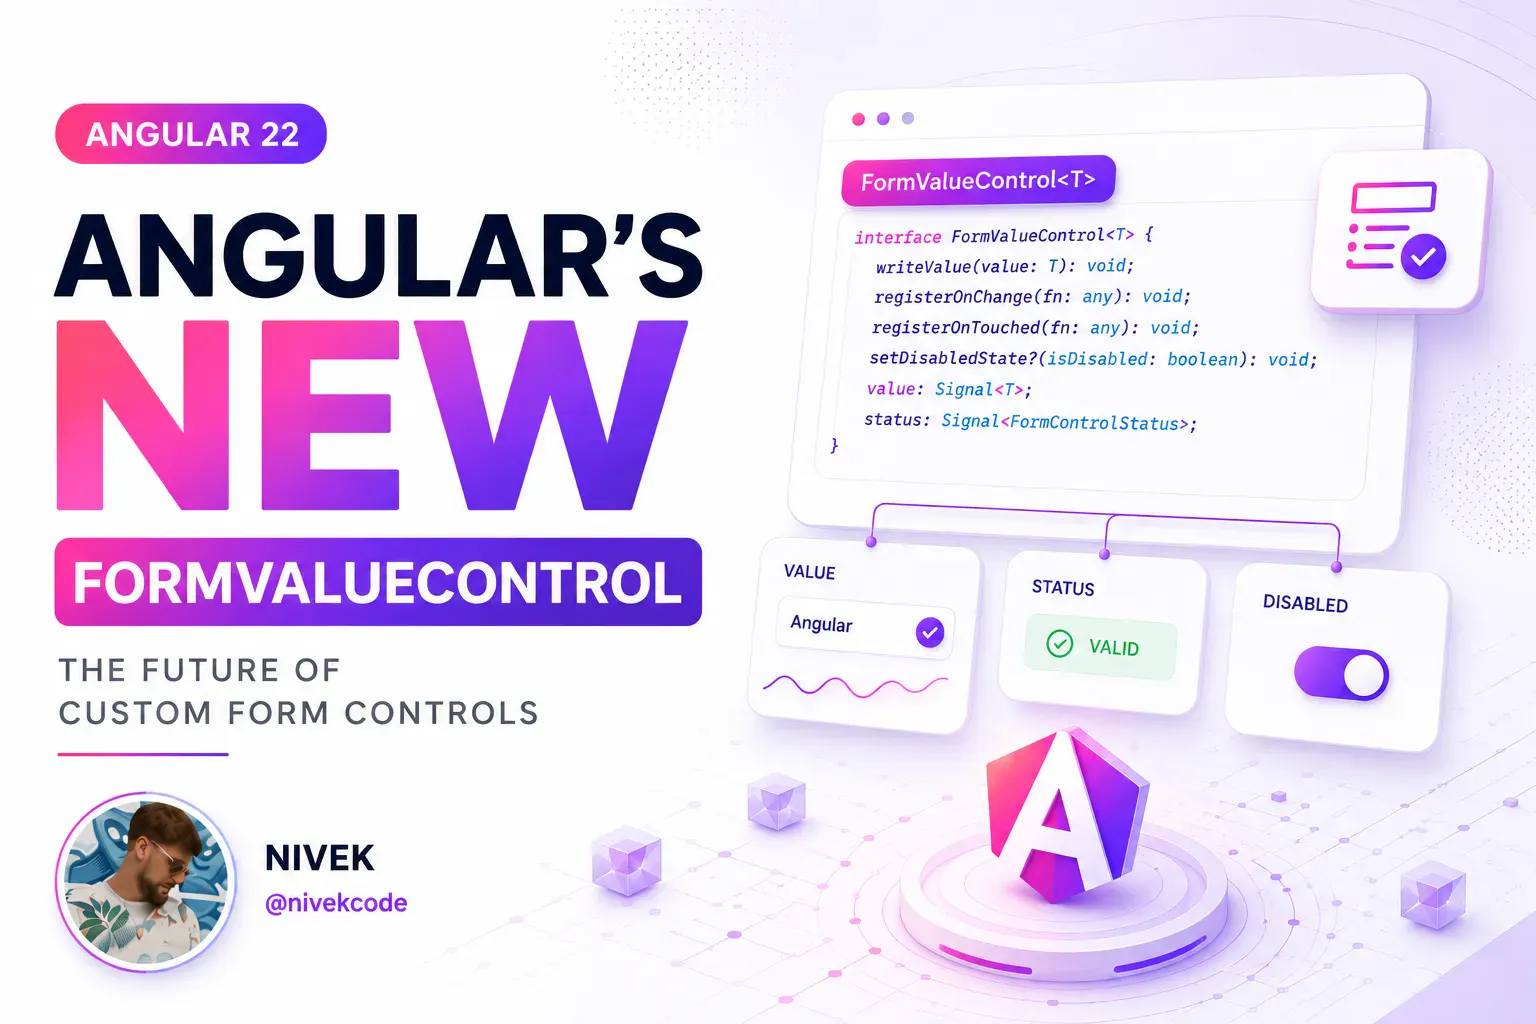
Angular Signal Forms: Custom Controls Without ControlValueAccessor
Build reusable Angular custom controls with FormValueControl, model(), touch events, and schema-driven validation—without writing a ControlValueAccessor.

Kevin Kreuzer
@nivekcode
Aug 12, 2026
7 min read
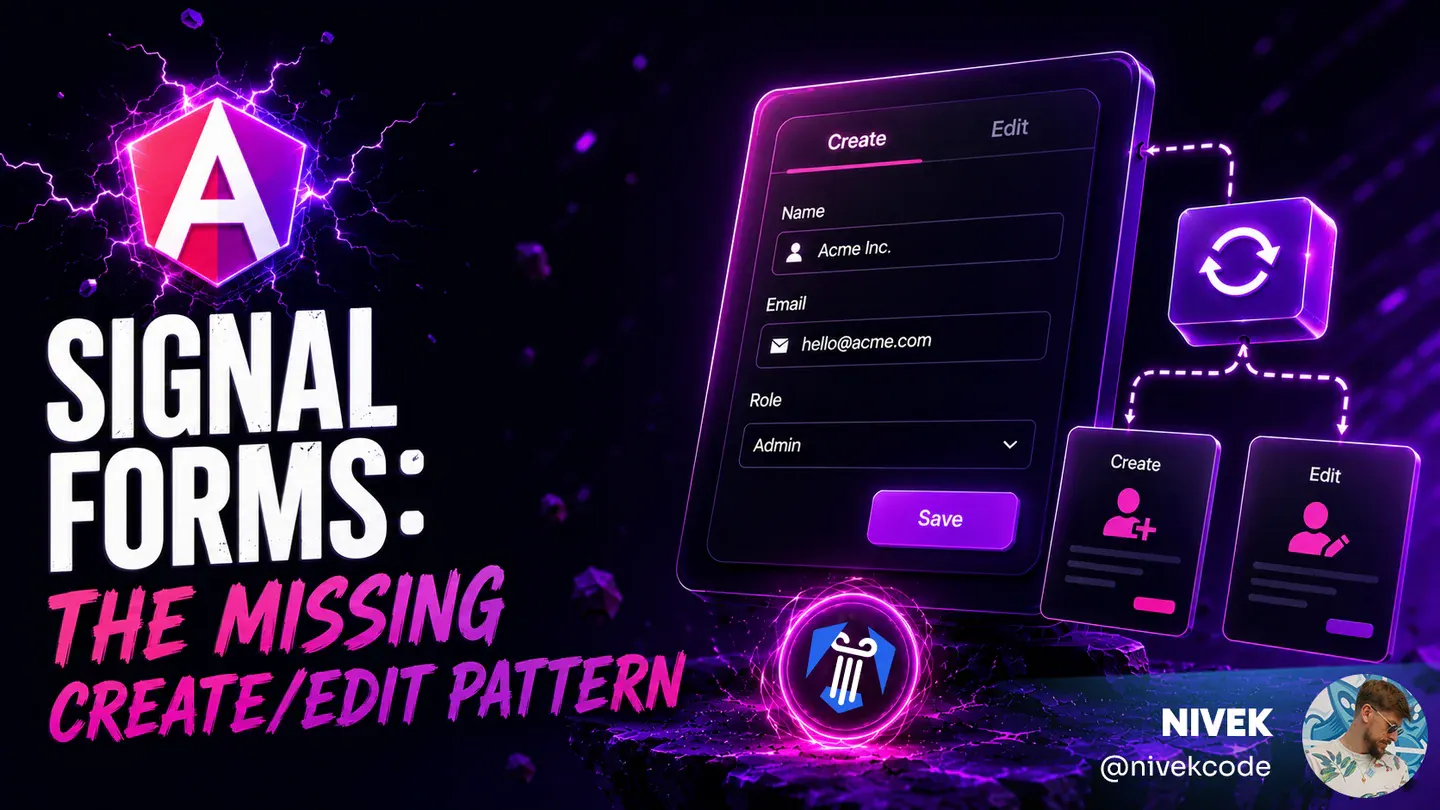
Angular Signal Forms: The Missing Create/Edit Pattern
Learn a practical Angular Signal Forms pattern for create and edit flows, with route-based mode, edit data loading, linkedSignal prefilling, submit branching, and validation context.
Kevin Kreuzer
@nivekcode
Aug 1, 2026
6 min read

Angular Signal Forms Essentials
Understand the core concepts behind modern Angular Forms. Learn how to create Signal Forms, wire them up in templates, use built-in and custom validators, handle cross-field validation, submit forms, and more.
Kevin Kreuzer
@nivekcode
Feb 14, 2026
12 min read
Let our deep expertise drive your team forward
For years, Angular Experts have collaborated with both enterprises and startups, delivering workshops and tutorials while maintaining robust open source projects. We are proud of our track record in modern front-end development and would love to see your business flourish