Understanding the afterRenderEffect hook
Angular 19 brought us a new hook that merges the strengths of two existing features: effect and afterRender. The afterRenderEffect function handles both signal-driven side effects and post-render DOM operations in one unified API. To grasp its value, we should first look at what each of its predecessors brings to the table.
The effect hook tracks signal dependencies and reruns its callback whenever those signals change. Here's a minimal example:
effect(() => console.log(this.signalSource()))With afterRender, the callback fires after Angular completes the rendering phase in each change detection cycle. This timing matters when your code needs to interact with a fully updated DOM.
afterRenderEffect combines these behaviors. Its callback runs when a tracked signal becomes dirty or when the rendering cycle finishes. By leveraging this dual trigger and the built-in phase system, we can avoid layout thrashing and keep DOM interactions efficient.
This article walks through the mechanics of afterRenderEffect, illustrates real-world scenarios, and demonstrates how it helps maintain smooth performance in Angular apps that deal with the DOM.
The syntax
The core signature is simple — you pass a callback that executes after rendering completes.
constructor() {
    afterRenderEffect(() => {
      console.log(
        'afterRenderEffect => logs when the application finishes rendering',
      );
    });
  }
When that callback references a signal, the hook also reruns whenever the signal's value updates.
afterRenderEffect shines for DOM work because it organizes operations into distinct phases:
- earlyRead
-
-
- For reading DOM values before anything else modifies them.
-
- write
-
-
- For making changes to the DOM.
-
- mixedReadWrite
-
-
- When separating reads from writes isn't practical, this phase handles both together.
-
- read
-
- For reading DOM state after all write operations have completed.
-
 afterRenderEffect({
      earlyRead: () => {
        return 'value - 1';
      },
      write: (value) => {
        console.log(value()); // logs value - 1

        return 'value - 2';
      },
      mixedReadWrite: (value) => {
        console.log(value()); // logs value - 2

        return 'value - 3';
      },
      read: (value) => {
        console.log(value()); // logs value - 3
      },
    });
Every phase after earlyRead takes the previous phase's return value as its argument. This creates a chain where each step passes its result forward. If earlyRead produces 'value -1', then the write phase receives 'value -1' when it runs.
The signal passed to the hook works like any dependency in Angular's reactive system. If its value matches what it was on the previous execution, the phase gets skipped entirely. This guard prevents redundant DOM updates and keeps things fast.
A quick example clarifies how the execution sequence plays out:
signalSource = signal<string>('initial value');

afterRenderEffect({
   earlyRead: () => {
     const value = this.signalSource();
     console.log(`earlyRead => ${value}`);

     return value;
   },
   write: (value) => {
     console.log(`write => ${value()}`);

     if (value() === 'updated_value_2') {
       return 'updated_value_';
     }
     return value();
   },
   mixedReadWrite: (value) => {
     console.log(`mixedReadWrite => ${value()}`);
     return value();
   },
   read: (value) => {
     console.log(`read => ${value()}`);
   },
 });

 setTimeout(() => {
   this.signalSource.set('updated_value_');
 }, 1000);

 setTimeout(() => {
   this.signalSource.set('updated_value_2');
 }, 2000);

 setTimeout(() => {
   this.signalSource.set('updated_value_3');
 }, 3000);
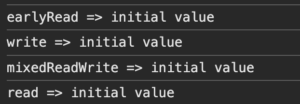
Here's what gets logged to the console.
The hook runs once the app finishes rendering. On that first run, every phase executes in order using the initial signal value.
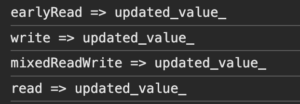
For the second run, all phases execute again because each one receives a value different from what it saw previously (“initial value” != “update_value_”).
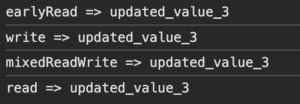
By the third run, only earlyRead and write fire. Look back at the code — inside the write phase we return “updated_value_” when the incoming signal is “updated_value_2”. This means the mixedReadWrite phase sees the same value it got last time (“updated_value_” === “updated_value_”), so it sits out.

On the fourth run, all phases execute again since every value has changed from the previous cycle.
There's also support for a cleanup function. It runs whenever the hook executes due to a signal change.
afterRenderEffect({
   earlyRead: (onCleanup) => {
     onCleanup(() => {
       console.log('earlyRead => callback');
     });

     // Code removed for brevity
   },
   write: (value, onCleanup) => {
     onCleanup(() => {
       console.log('write => callback');
     });

     // Code removed for brevity
   },
   mixedReadWrite: (value, onCleanup) => {
     onCleanup(() => {
       console.log('mixedReadWrite => callback');
     });

     // Code removed for brevity
   },
   read: (value, onCleanup) => {
     onCleanup(() => {
       console.log('read => callback');
     });
     // Code removed for brevity
   },
 });
Let's look at some practical scenarios where this hook proves useful.
Use case – scroll on an element
Imagine a product list where clicking a button reveals a details section underneath. Once that section appears, the view should scroll it into view automatically.
Here's what the interface looks like:
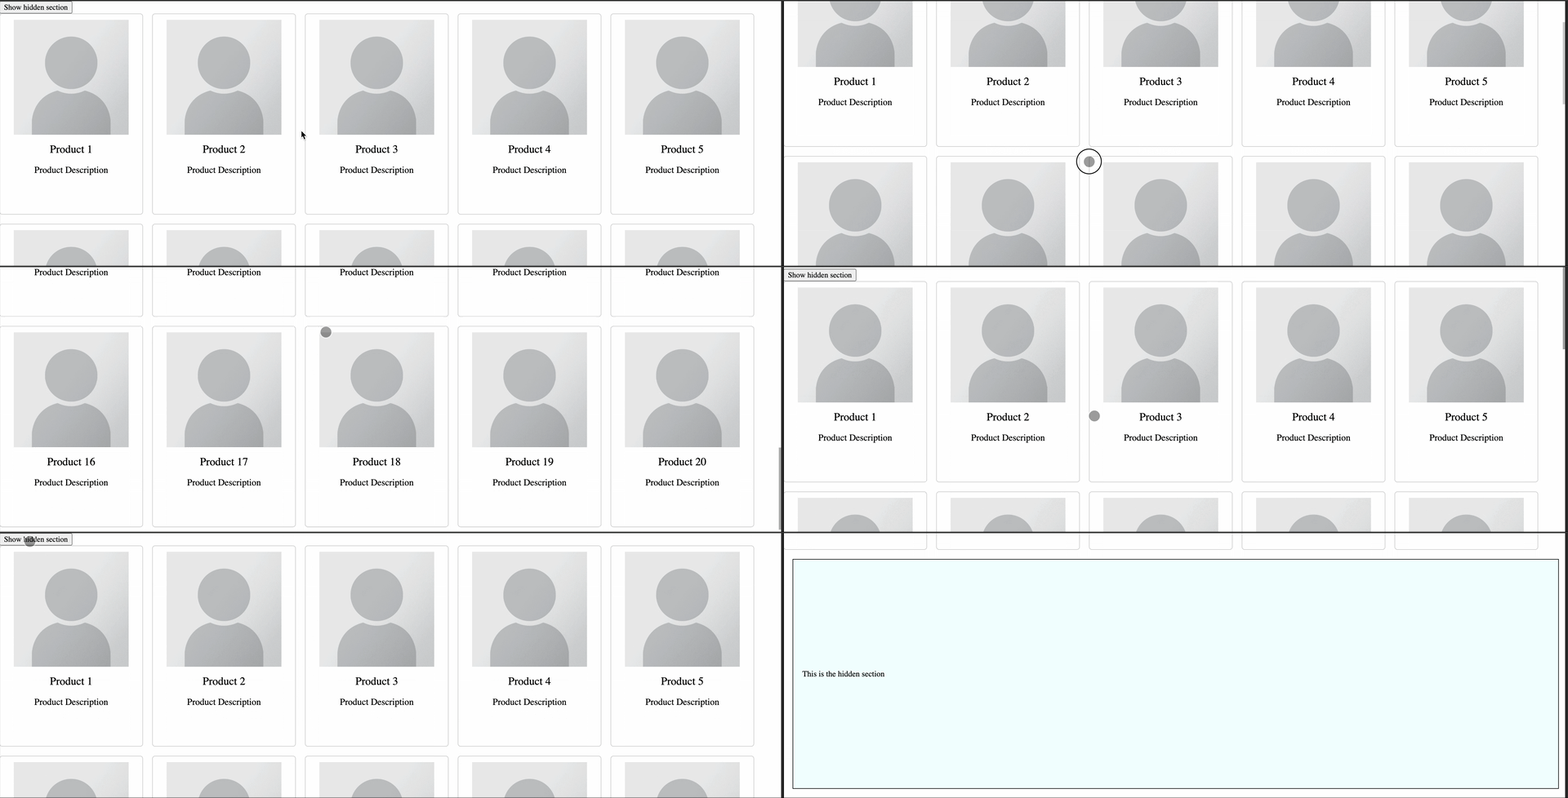
The setup calls for splitting the work into two phases. First, we need to read the element's position. Second, we apply the scroll action, which is a write operation.
readonly hiddenSection = viewChild('hiddenSection', { read: ElementRef });

 constructor() {
   afterRenderEffect({
     earlyRead: () => {
       return this.hiddenSection()?.nativeElement.offsetTop || 0;
     },
     write: (scrollingPosition) => {
       window.scrollBy({ behavior: 'smooth', top: scrollingPosition() });
     },
   });
 }
Notice how the value from earlyRead flows directly into the write phase as its argument.
You might be wondering whether a basic effect or a single-phase afterRenderEffect would work here. For this straightforward case, absolutely. It's honestly too simple to demonstrate the real performance gains that explicit phases unlock.
To see why separating reads and writes matters, we need to examine layout thrashing — a classic performance pitfall that well-structured phase usage can prevent.
Use case – layout trashing
Let's build a small demo with three boxes whose widths get updated with random values.
component.html
<div #container>
  <div #box class="box"></div>
  <div #box class="box"></div>
  <div #box class="box"></div>
</div>
component.ts
boxes = viewChildren('box', { read: ElementRef });

for (let i = 0; i < 100; i++) {
   this.boxes()!.forEach((box) => {
     box.nativeElement.style.width = Math.random() * 200 + 'px';
   });
 }
Each box gets assigned a fresh random width, and the whole process repeats 100 times to make performance patterns visible.
This is how the page looks:

After applying these updates, let's inspect the performance panel in the browser dev tools.
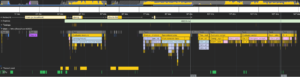
Modern browsers are smart about batching. When widths change, the browser queues those changes and performs a single reflow at the end. It doesn't recalculate layout after every individual modification.
But everything falls apart when we write to the DOM and immediately try to read that same value back. That read forces an urgent reflow to ensure the browser returns accurate data.
Write-Read
Reflows are expensive, so browsers try to defer them. But if we change a width and then immediately ask for its current value, the browser has to stop and recalculate the entire page layout on the spot. This forces a synchronous reflow in the middle of our script execution.
  for (let i = 0; i < 100; i++) {
      this.boxes()!.forEach((box) => {
        // Change a style that affects layout:
        box.nativeElement.style.width = Math.random() * 200 + 'px';
        // Immediately read a style that depends on layout:
        const width = box.nativeElement.offsetWidth; // This forces layout!
        console.log(width);
      });
    }
The performance trace reveals the damage:
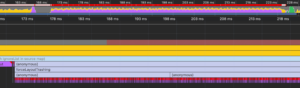
Notice all the red warnings and purple reflow blocks in the timeline — these signal serious performance problems. The solution is to reorganize our DOM operations into distinct write and read phases.
Batch write and read
To resolve the layout trashing, we should separate our writes from our reads.
 for (let i = 0; i < 100; i++) {
    this.boxes()!.forEach((box) => {
      box.nativeElement.style.width = Math.random() * 200 + 'px';
    });

    this.boxes()!.forEach((box) => {
      const width = box.nativeElement.offsetWidth;
      console.log(width);
    });
  }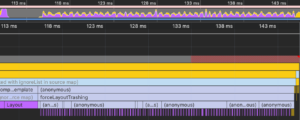
The performance improves, but there's still room for optimization.
Finally use the afterRenderEffect hook
afterRenderEffect({
      write: () => {
        for (let i = 0; i < 100; i++) {
          this.boxes().forEach((box) => {
            box.nativeElement.style.width = Math.random() * 200 + 'px';
          });
        }
      },
      read: () => {
        for (let i = 0; i < 100; i++) {
          this.boxes()!.forEach((box) => {
            const width = box.nativeElement.offsetWidth; // This forces layout!
            console.log(width);
          });
        }
      },
    });
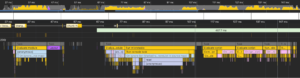
The performance analyzer now shows a much cleaner picture.
The key takeaway: afterRenderEffect lets the browser finish one phase entirely before moving to the next, cutting down on forced reflows and delivering noticeable performance wins.
I hope this deep dive has made the inner workings of afterRenderEffect clear and shown how it can help you build faster, smoother Angular applications.