Why the --create-application Flag Matters
Angular CLI 7.0.0 brought a welcome addition: the --create-application flag. This option changes how we bootstrap new workspaces and is particularly handy when the goal is building Angular libraries rather than applications.
One note before we dive in: the CLI accepts both camelCase and kebab-case for this option. So --create-application and --createApplication work interchangeably. If you're curious about the broader convention, check out my piece on Angular CLI naming conventions.
What came before: --create-application
By now, most of us have spun up Angular applications using the CLI more times than we can count. The usual routine looks something like this:
ng new foo
Running that command gives us the familiar starting point: an initial application living in src/app within our new workspace.
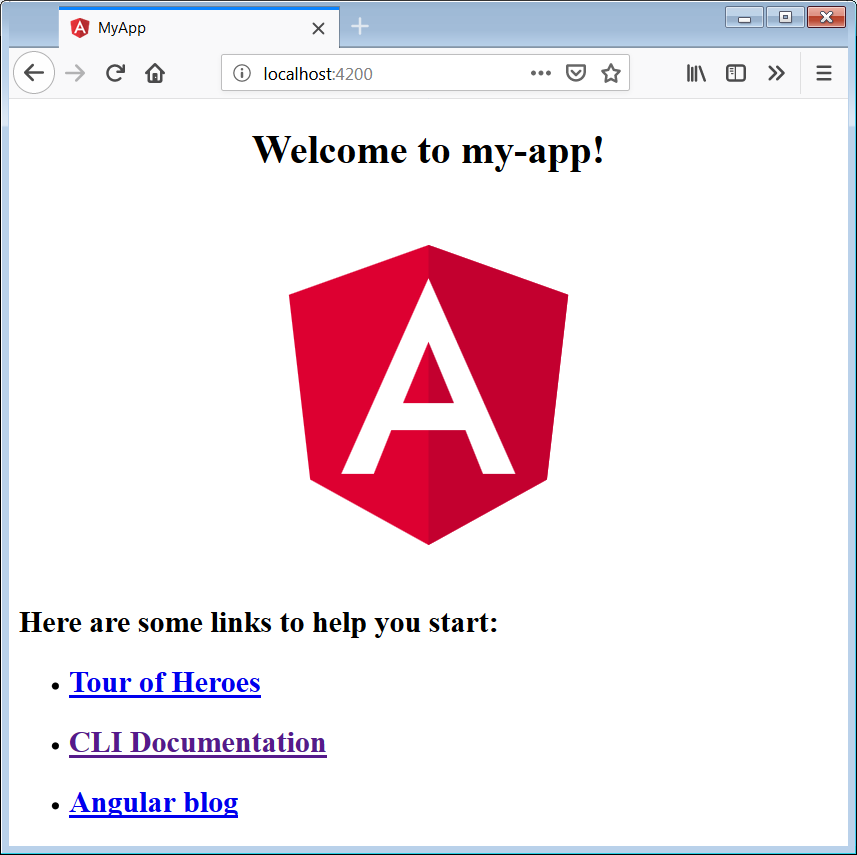
That default setup serves us well in most scenarios. However, it becomes a stumbling block when the goal is to generate an Angular library.
In my previous write-up on creating libraries with Angular CLI, I walked through a workaround: generate a workspace, then rename it. The reason was simple — the initial generated application would clash with the library's name. Fortunately, that roundabout approach is no longer needed.
Putting --create-application to work
The --create-application flag pairs with the ng new command. Setting it to false instructs the CLI to skip generating that initial application. The default remains true, preserving the behavior we've come to expect from earlier CLI versions.
The official documentation on angular.io describes it like this:

You'll notice the docs opt for the camelCase style.
To create a workspace without the starter application, we run:
ng new foo --create-application=false
The resulting workspace looks sparse compared to what we're used to. But it's not empty — several key pieces are in place:
- package.json
All the standard Angular dependencies are present - angular.json
The workspace configuration file, though without any projects defined - For README.md, tsconfig.json, tslint.json, and node_modules, it's essentially the same as it ever was.

Notice there's no src directory in sight. That will change later — a projects folder appears once we generate a library or an application.
Because we set --create-application to false, there's no default application to target. Attempting commands like ng build or ng serve results in an error:
Could not determine a single project for the 'build' target.
When does this come in handy?
That's a fair question. After all, the default application gives us a solid foundation — complete with unit tests, no less!
A compelling use case for --create-application=false is when we plan to generate an Angular Library via ng generate.
Consider what we typically aim for when building a library:
- An Angular Library living in the projects directory
- An Angular Workspace sharing the library's name
- A test application showcasing example usage of our library
As I touched on earlier: in the old workflow, naming our workspace after the library meant the initial application would take that same name. That collision blocked us from using the name for our library — defeating the whole purpose of creating the workspace in the first place.
A concrete example
Let's walk through creating a workspace that meets our criteria. Suppose we want to build a library called foo-lib.
Setting up the Workspace
First, we create a workspace named after our intended library. The key is using the --create-application=false flag:
ng new foo-lib --create-application=false
When prompted about Router and CSS, just go with the defaults.
Adding the Library Project
With our Angular Workspace in place, we can now add the library project. If you've seen my article on building Angular Libraries, you know I stress using a prefix:
cd foo-lib
ng generate library foo-lib --prefix=foo
This creates a projects directory with a foo-lib subdirectory for our newly generated foo-lib Angular Library.
The Test Application
Last but not least, we want an application to exercise our library. This app serves dual duty: testing our code and providing examples of how to use it.
ng generate application foo-tester
That command adds a foo-tester directory under projects for our fresh test application. The CLI also generates a foo-tester-e2e project to handle end to end testing.
Building, Serving, and Testing
With both projects in place, we can now leverage the CLI for our build, serve, and test workflows.
Just remember: always specify which project you're targeting.
Build
To compile our foo-lib Angular Library:
ng build foo-lib
Worth noting: since version 6.1, the CLI builds libraries in production mode by default, so the --prod flag isn't necessary.
To build our test application:
ng build foo-tester --prod
For applications, unlike libraries, we do include the --prod flag when we want a production build.
Serve
Libraries aren't something we serve. Our application, however, can be served with:
ng serve foo-tester
Test
Unit Tests can run for both our Angular Library and the test application.
For the library tests:
ng test foo-lib
And for the application tests:
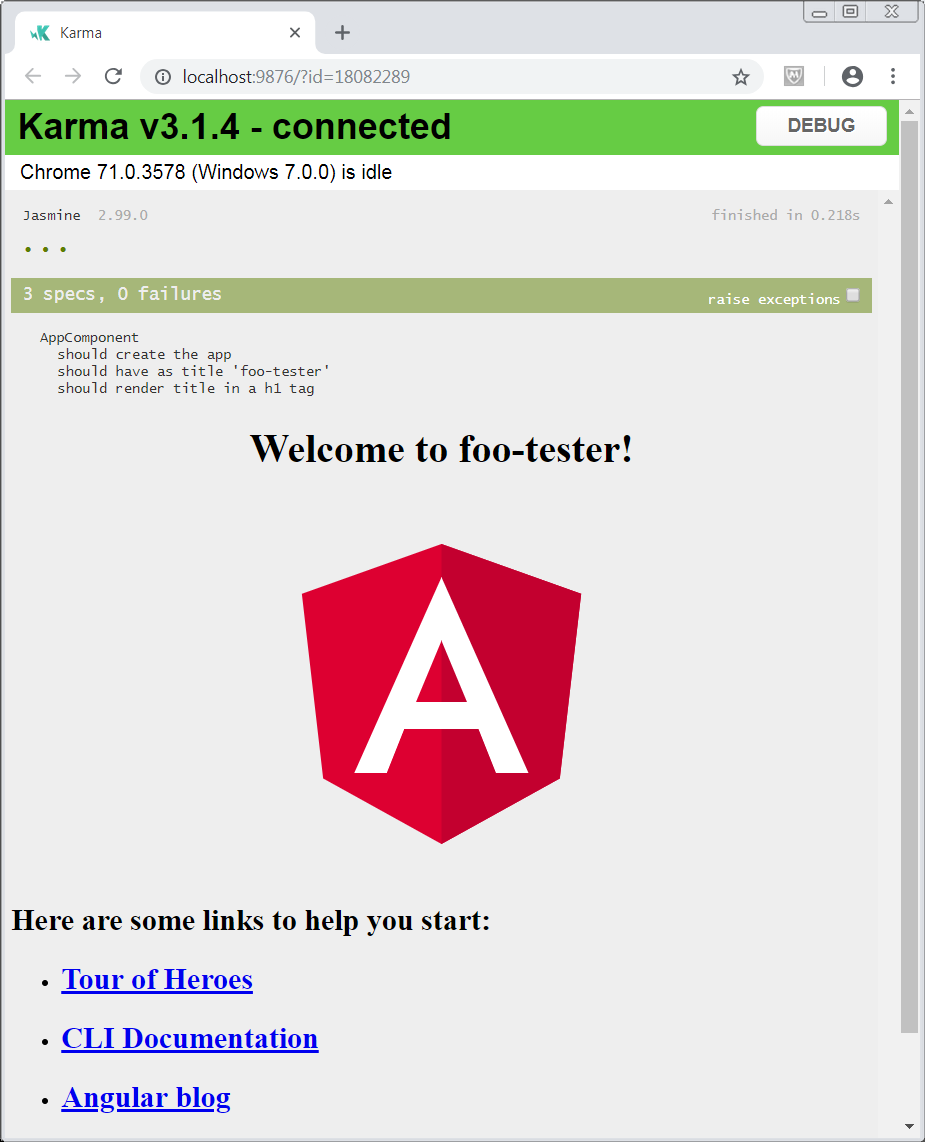
ng test foo-tester