Using CircleCI to automate Angular site deployments to Firebase
If you've spent any time in web development recently, you've almost certainly encountered CircleCI and Firebase. These two platforms are quickly gaining traction as replacements for Jenkins, AWS, and other more established tooling. My experience with both has been very positive, so in this guide I'll demonstrate how to integrate them with an Angular project.
For this walkthrough, I'll be referencing an app that is publicly available on GitHub here. You can use that repository and follow along with the code as I explain the setup steps.
The Angular DevOps Series
This is the third installment in the Angular DevOps Series. Be sure to check out the other contributions from Tim Deschryver and Todd Palmer:
- Semantically release your Angular library
- CT/CI with Travis CI and GitHub Pages
- Deploying to Firebase with CircleCI
Google's Firebase
Google's Firebase is a development platform offering web hosting alongside integrations with numerous Google Cloud services. It provides a suite of tools that can be incorporated directly into your applications, covering everything from file storage to machine learning capabilities. I've written a more detailed overview of Firebase on my personal blog rhythmandbinary.com, which you can find here.
Getting started with Firebase is straightforward: create a Google account and navigate to Firebase's site. After signing in and enabling Firebase with your Google credentials, the next step is creating a new app.
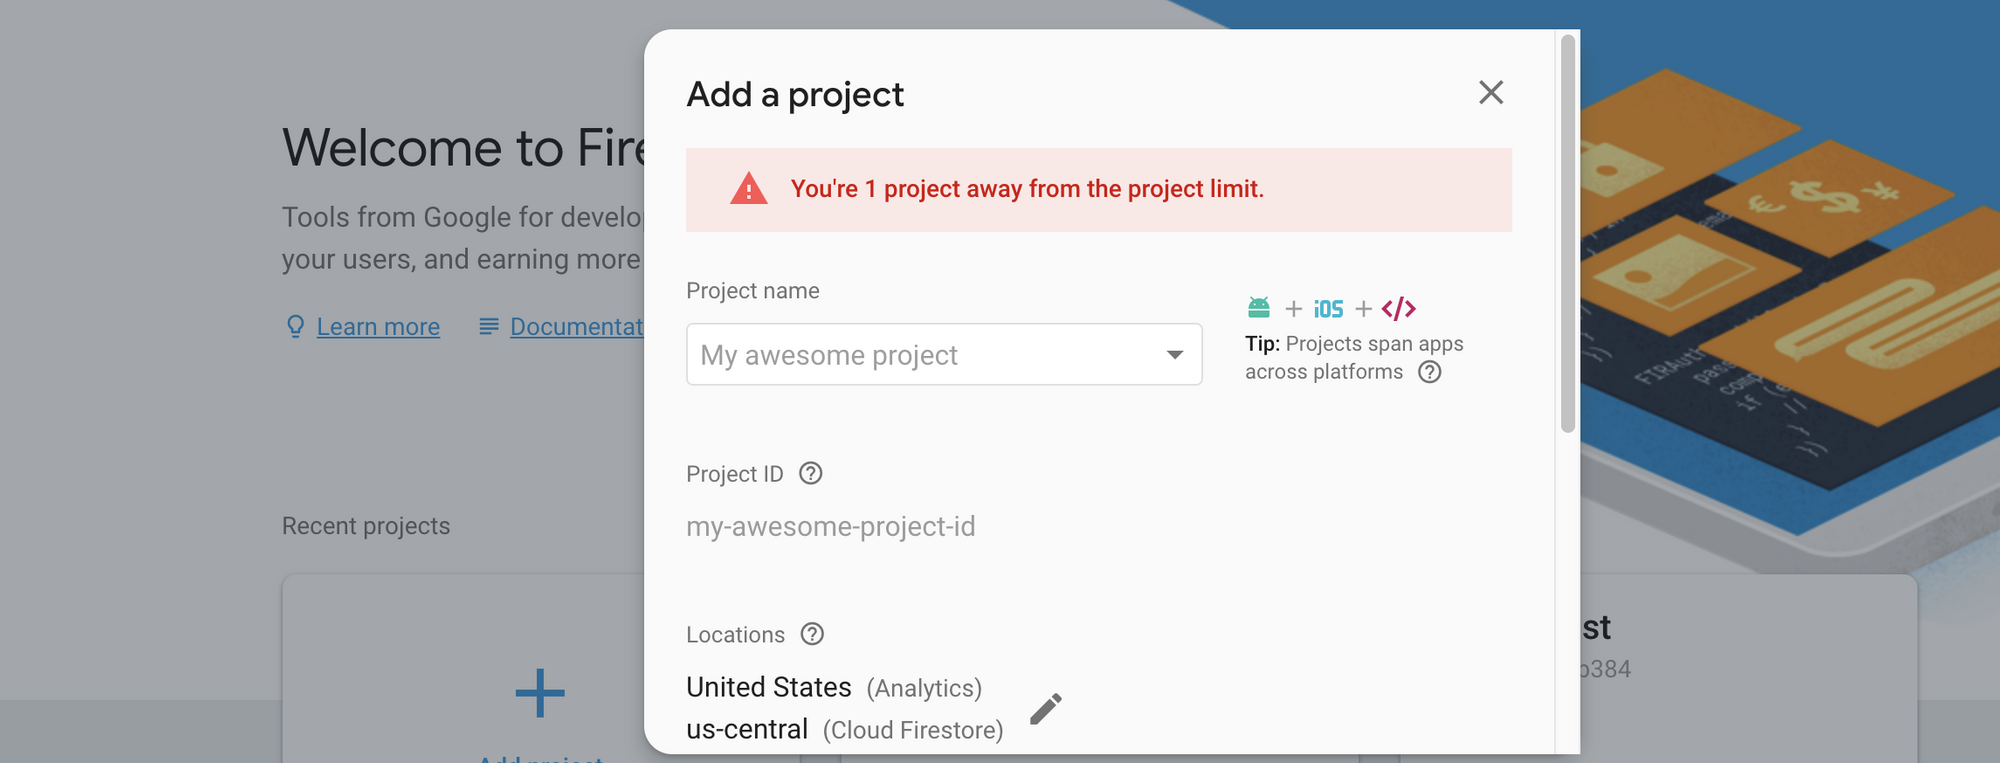
One thing to note is that Firebase offers several account tiers. There's a free developer account that covers most of what you'll need initially. For enterprise use cases, there are upgraded pricing plans available to accommodate larger workloads.
When you've created your app, you'll land on a dashboard filled with options.
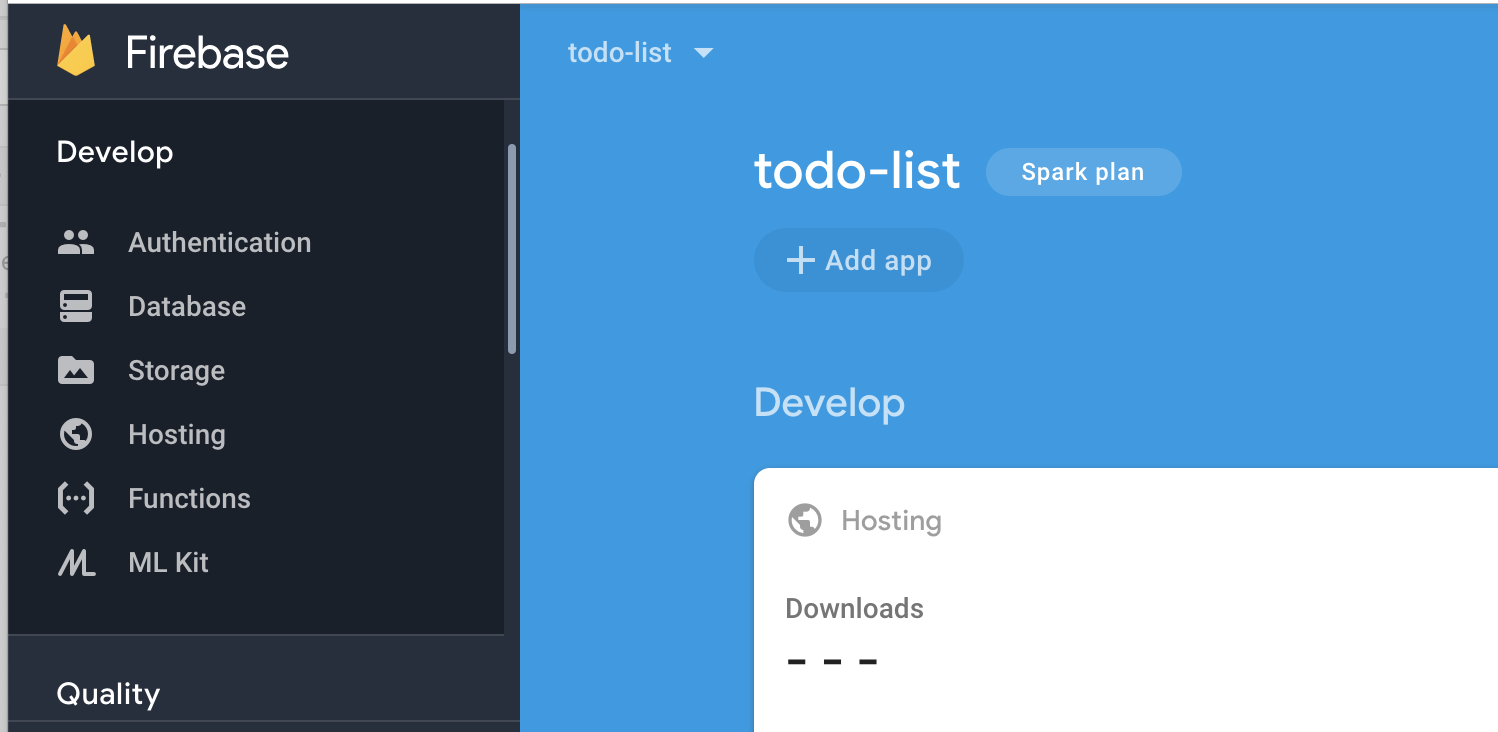
As mentioned, Firebase provides a wide range of services you can tap into. The associated APIs cover:
- Authentication
- Database Storage
- File Storage
- Hosting
- Machine Learning
To leverage these services properly within an Angular application, you'll need to integrate the AngularFire library from GitHub. Setup instructions are available here.
Firebase's APIs are generally well-documented, though you'll occasionally find inconsistencies between Angular versions. That means you should always verify you're consulting the correct documentation for your specific Angular version.
For this particular guide, I'll concentrate exclusively on Firebase hosting. I do recommend exploring the other services through the links referenced above.
Firebase Hosting
To begin, start by downloading the sample project I mentioned earlier here.
After completing the initial npm install, you'll need to confirm that the Firebase tools are installed on your machine and that you're authenticated.
Once the sample is downloaded, open a terminal at the project root and execute the following:
npm install -g firebase-tools
This installs the tools locally and enables you to run the commands that follow.
Next, authenticate with Firebase from your terminal by running:
firebase login
You should see a confirmation message like this:
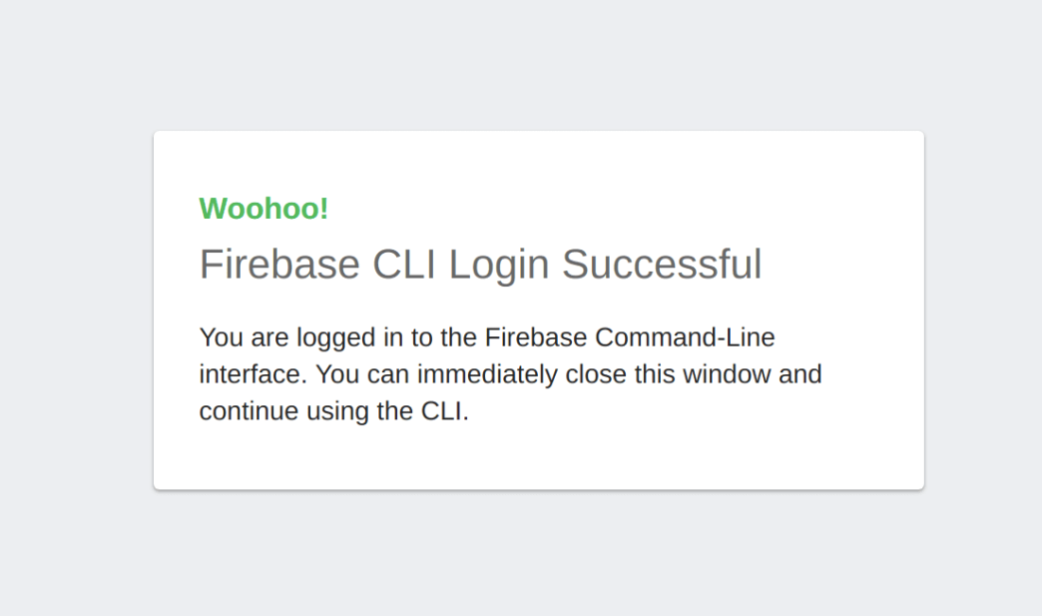
With authentication complete, you're ready to configure your app.
If you're working with the sample app, follow these steps:
- At the root directory, remove the
.firebasercandfirebase.jsonfiles. These files are what the Firebase CLI relies on to know what gets uploaded to hosting servers and which Firebase app is connected to the project. - The reason I suggest deleting them is to avoid any conflicts during Firebase CLI execution. If left intact, the CLI would assume your project is already linked to the Firebase App specified in the source repository. During deployment, the CLI would try—and fail—to deploy to that app rather than your newly created one.
Now, in your terminal at the project root, run:
firebase init
You'll be presented with a screen that looks similar to this:
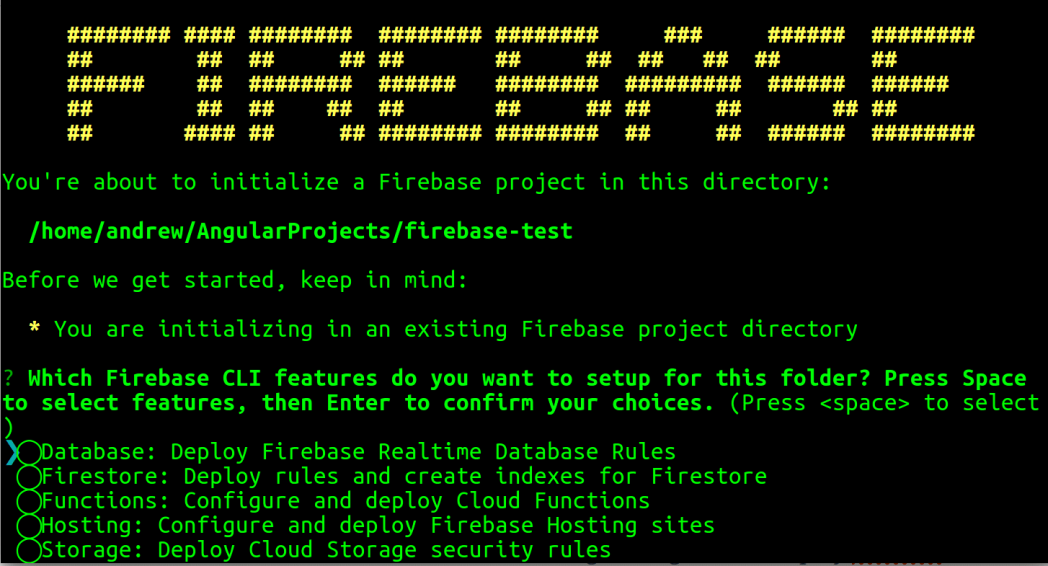
From there, the prompts are fairly intuitive, but here are a few clarifications:
- For the first selection, choose hosting
- Answer yes to the SPA app question
- Answer no to replacing the
index.htmlfile - When asked about the build directory, specify
distsince that's whereng build --prodoutputs your compiled app
In the generated firebase.json, you should see something similar to:
{
  "hosting": {
    "public": "dist/todo-list",
    "ignore": [
      "firebase.json",
      "**/.*",
      "**/node_modules/**"
    ],
    "rewrites": [
      {
        "source": "**",
        "destination": "/index/"
      }
    ]
  }
}
This JSON instructs Firebase CLI what to upload and how to handle routing.
Additionally, the .firebaserc file should resemble:
{
  "projects": {
    "todo-list": "todo-list-e14b0"
  }
}
This file simply tells Firebase CLI which project should receive the code you upload during deployment.
Once everything is configured, you can test the deployment process with:
firebase deploy
That's it—you've successfully deployed your first app to Firebase! Visit the URL displayed in the console to see your live application.
Now that Firebase is configured, move on to the next section to learn how to connect it to CircleCI.
CircleCI
CircleCI is a Continuous Integration and Continuous Delivery (CICD) platform that integrates directly with GitHub. Coming from a Jenkins background myself, I was genuinely impressed by how approachable CircleCI is. Moreover, CircleCI handles nearly everything: testing, logging, alerts, and automation. On my personal blog, I've covered CircleCI in several posts. You can find a comprehensive walkthrough here.
I also documented an open source project that leverages both CircleCI and Firebase, which you can read about here.
When it comes to accounts and pricing, CircleCI offers a free plan for individual developers. Like Firebase, they have enterprise-level pricing available for larger teams, which you can explore on their main site.
For the sample project from the previous section, the first task is to push that code to your GitHub account. CircleCI also supports BitBucket, so either works. Once your code is up, head over to the CircleCI site here.
On the CircleCI homepage, select either Log in with GitHub or Log in with Bitbucket — it will use Single Sign-On to authenticate you and connect to your repositories.
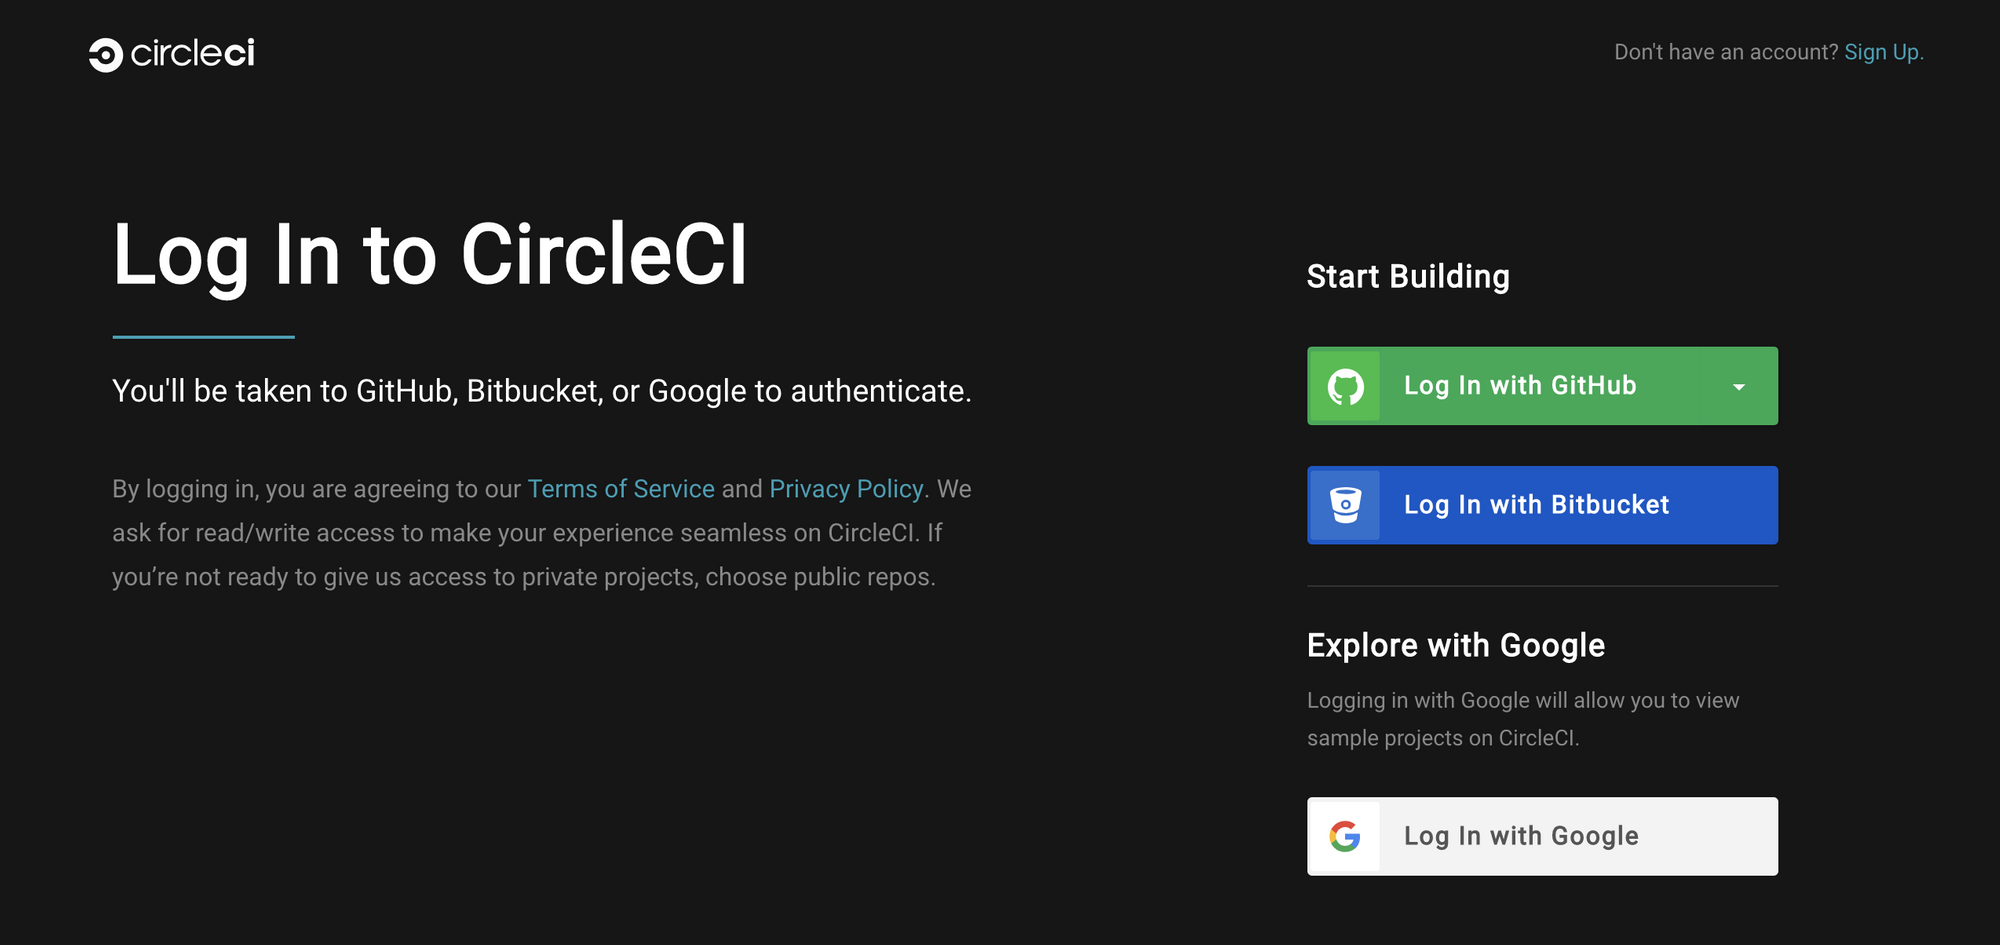
Following login, you'll see a console view where you can connect your projects to CircleCI for deployment.
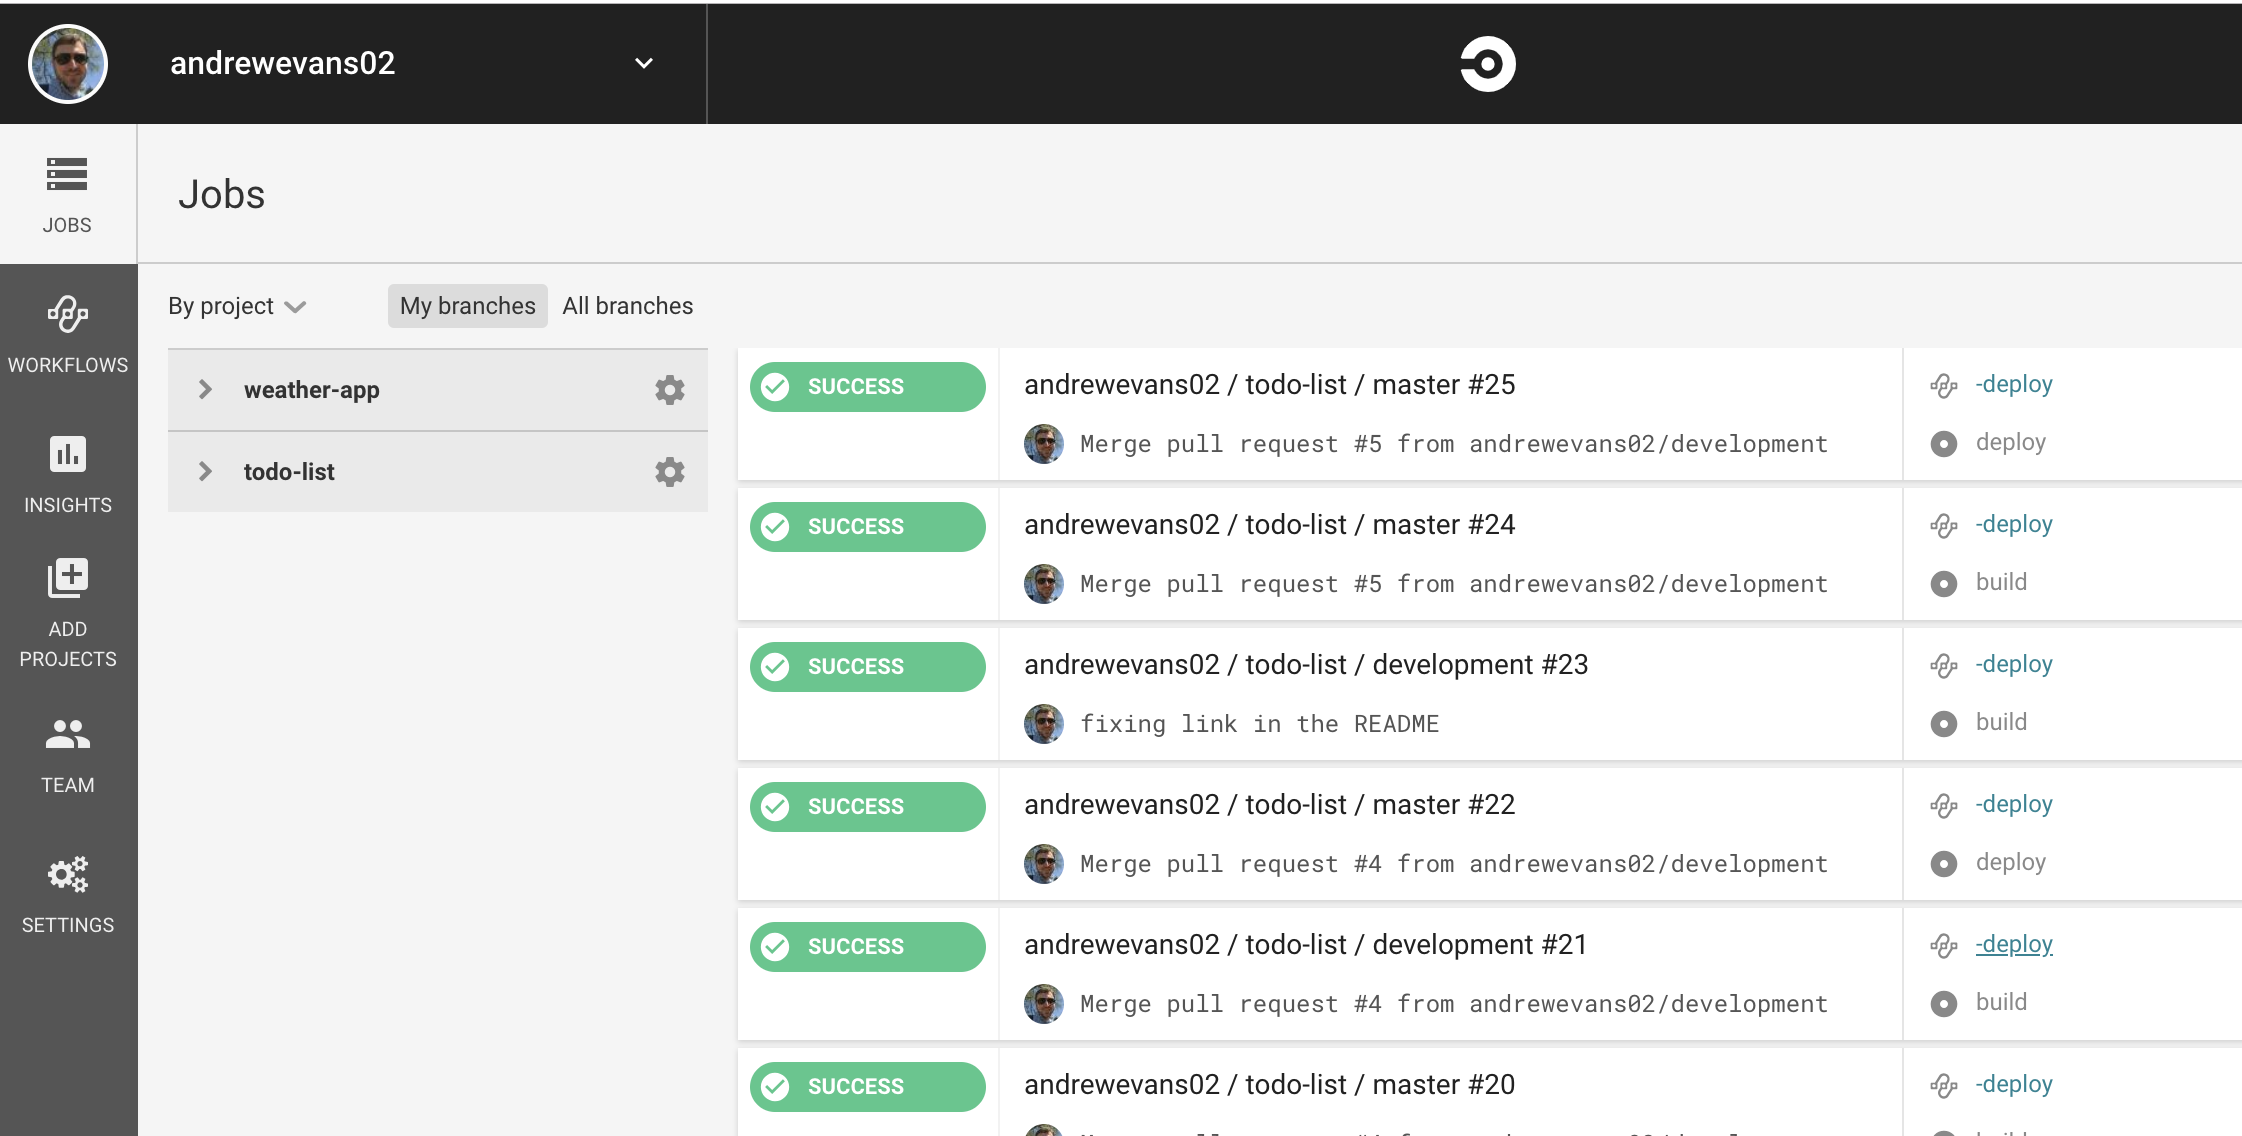
As shown in the screenshot, once jobs start running their statuses will appear here. You can select individual runs to view the logs, metrics, and more.
To connect your project, simply click ADD PROJECTS.
This view displays all the projects from your GitHub or BitBucket account.
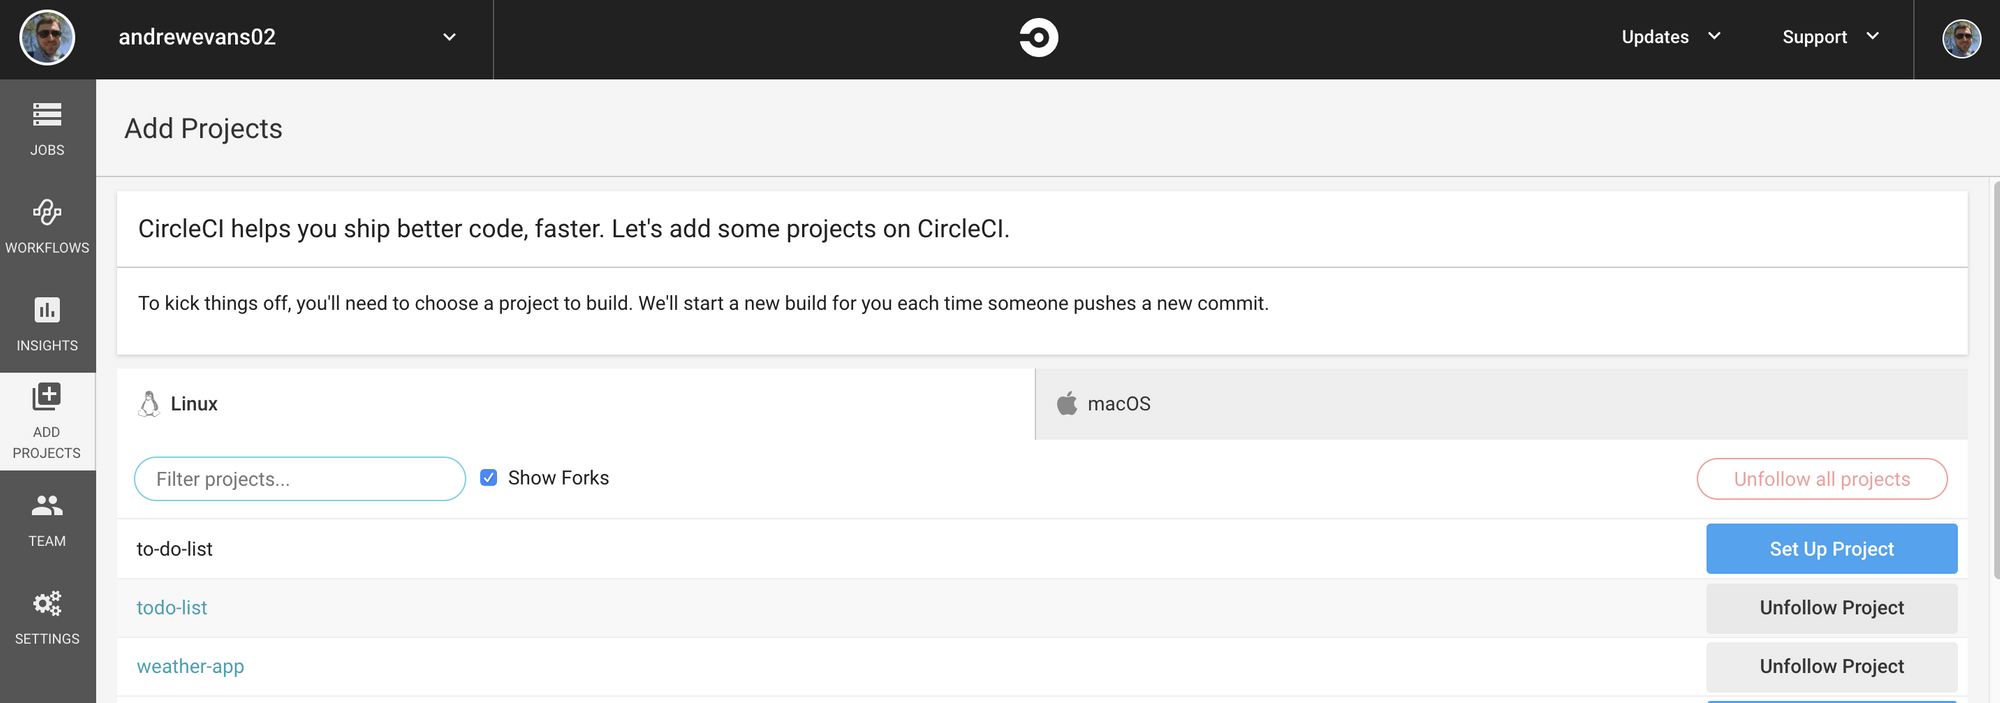
Locate your project and select Set Up Project next to its name to link CircleCI to that repository.
On the resulting screen, click Start building and CircleCI will immediately trigger a build (don't worry if it fails—that's expected at this stage).

Your account is now configured, but the build failed. That's because you haven't yet set up the required config.yml file and environment variables for deployment.
If you're using the sample project, a config.yml already exists in the .circleci folder at the project's root. CircleCI reads this file for build configuration. The yaml is quite simple—it defines a workflow with separate "build" and "deploy" jobs. My CircleCI post provides a detailed walkthrough of an AWS Cloudfront deployment here; I'd suggest reviewing it to understand how to construct this file. Since the sample project already uses Firebase, I'll focus on how that configuration works.
Notice in the sample project's "build" job definition, the final section reads:
- save_cache:
    key: v1-dist-{{ .Environment.CIRCLE_BRANCH }}-{{ .Environment.CIRCLE_SHA1 }}
    paths:
        - dist
        - package.json
        - firebase.json
        - .firebaserc
This last step within the "build" job caches the dist folder for later upload. The official Firebase deployment documentation doesn't mention including package.json or the Firebase files, but I've discovered through multiple deployments that they're essential for the deploy stage. There are alternative ways to handle this, but adding them here is simple and effective.
Next, let's examine the "deploy" workflow in the sample project. The "deploy" job consists of these steps:
deploy:
    docker:
        - image: circleci/node:chakracore-8.11-browsers-legacy
    working_directory: ~/project
    steps:
        - run:
            name: Show current branch
            command: echo ${CIRCLE_BRANCH}
        - restore_cache:
            key: v1-dist-{{ .Environment.CIRCLE_BRANCH }}-{{ .Environment.CIRCLE_SHA1 }}
        - run:
            name: Install Firebase
            command: npm install --save-dev firebase-tools
        - run:
            name: Deploy Master to Firebase
            command: npm run firebase-deploy -- --token=$FIREBASE_TOKEN
This is quite straightforward, but let's break it down step by step.
deploy:
    docker:
        - image: circleci/node:chakracore-8.11-browsers-legacy
    working_directory: ~/project
This defines the docker image for deployment and sets the working directory that CircleCI's daemon uses to "/project".
steps:
        - run:
            name: Show current branch
            command: echo ${CIRCLE_BRANCH}
This begins the deployment "steps" and runs a standard ECHO command to indicate the current branch being deployed.
- restore_cache:
            key: v1-dist-{{ .Environment.CIRCLE_BRANCH }}-{{ .Environment.CIRCLE_SHA1 }}
In the earlier "build" job, the final stage caches the dist folder. Here, "restore_cache" retrieves that dist folder for deployment. This pattern is common in CircleCI and enables one job to persist files for use in a subsequent job. Other options exist, but this is the approach typically seen in CircleCI example projects.
- run:
            name: Install Firebase
            command: npm install --save-dev firebase-tools
This installs the Firebase toolset on the node responsible for deploying your application.
- run:
            name: Deploy Master to Firebase
            command: npm run firebase-deploy -- --token=$FIREBASE_TOKEN
Here, Firebase CLI deploys your app. Pay close attention to the $FIREBASE_TOKEN—it's an environment variable you must configure. This token gives CircleCI the necessary authentication to connect to Firebase and upload your code. For guidance on setting up that environment variable, see CircleCI's documentation here.
So, after connecting your repo and generating your Firebase Token (setting it as an environment variable), you're ready to proceed.
The workflow defined in your config.yml file lets you control how each branch behaves. Here's the workflow from the sample project:
workflows:
    version: 2
    -deploy:
        jobs:
        - build
        - deploy:
            requires:
                - build
            filters:
                branches:
                    only: master
In essence, the "build" job runs on every branch. The "deploy" job, however, depends on "build" completing first and only triggers for the "master" branch. So if you were working on a branch like "development," pushing to it would produce a "build" but not a "deploy." One of CircleCI's strengths is that you can tailor this workflow to suit your project's needs.
Now, back to the main objective of this article—let's actually deploy! If you're following along with the sample project, push a change to your master branch and then open the CircleCI console. You'll see the "build" job start running first. Opening it will display output like this:

Expanding any of the collectors will reveal console output like this:
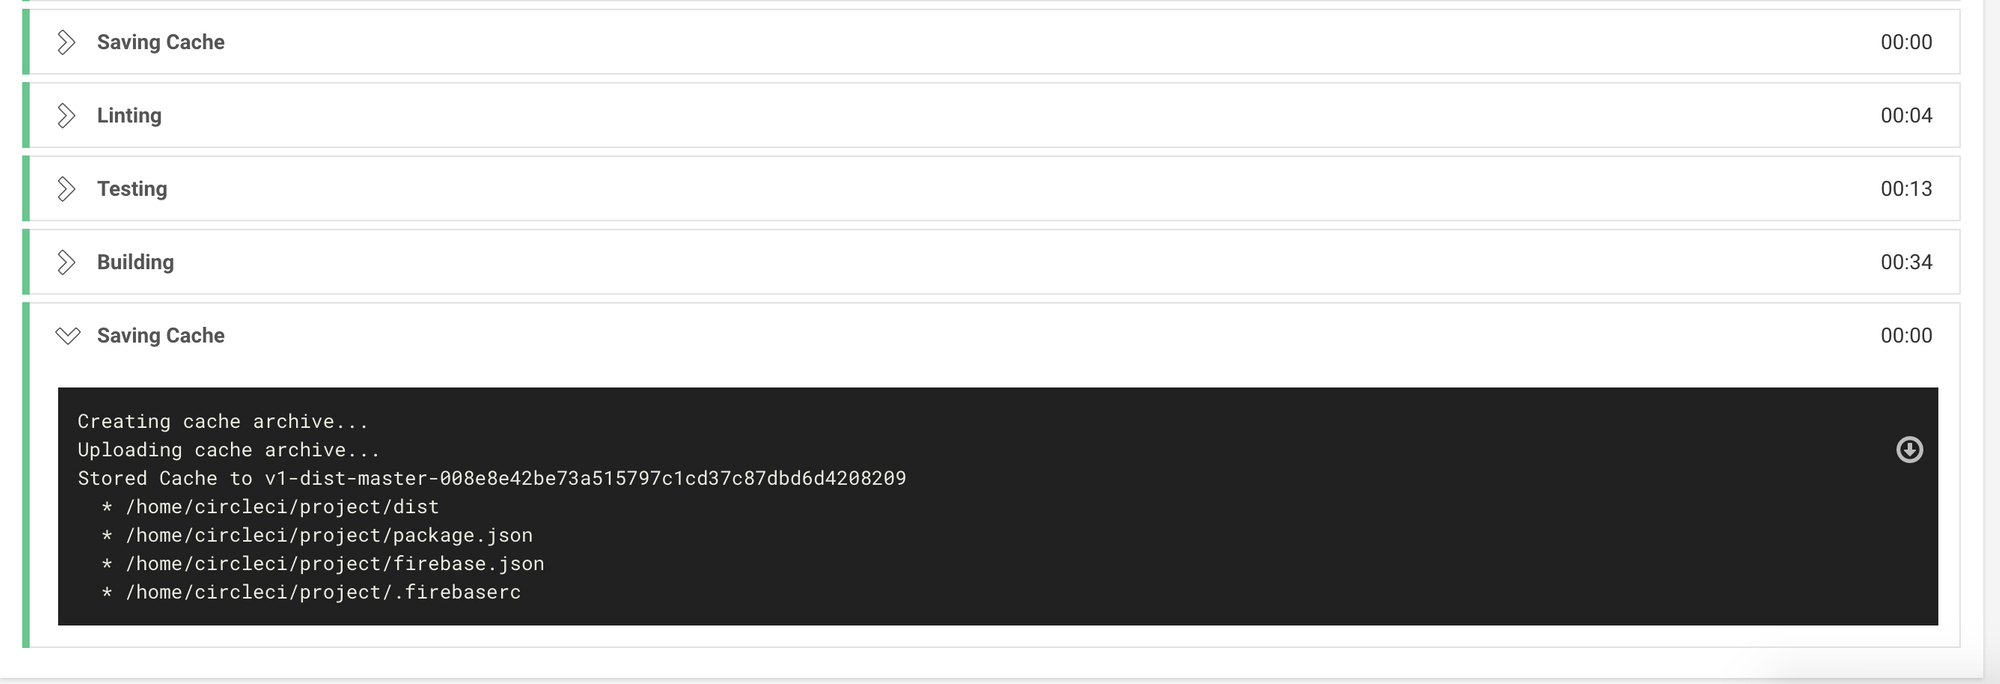
Once the "build" job wraps up, you'll see a "success" message confirming it completed without issues. The "deploy" job should kick off next.
When your deploy job finishes, the final stage should look something like this:
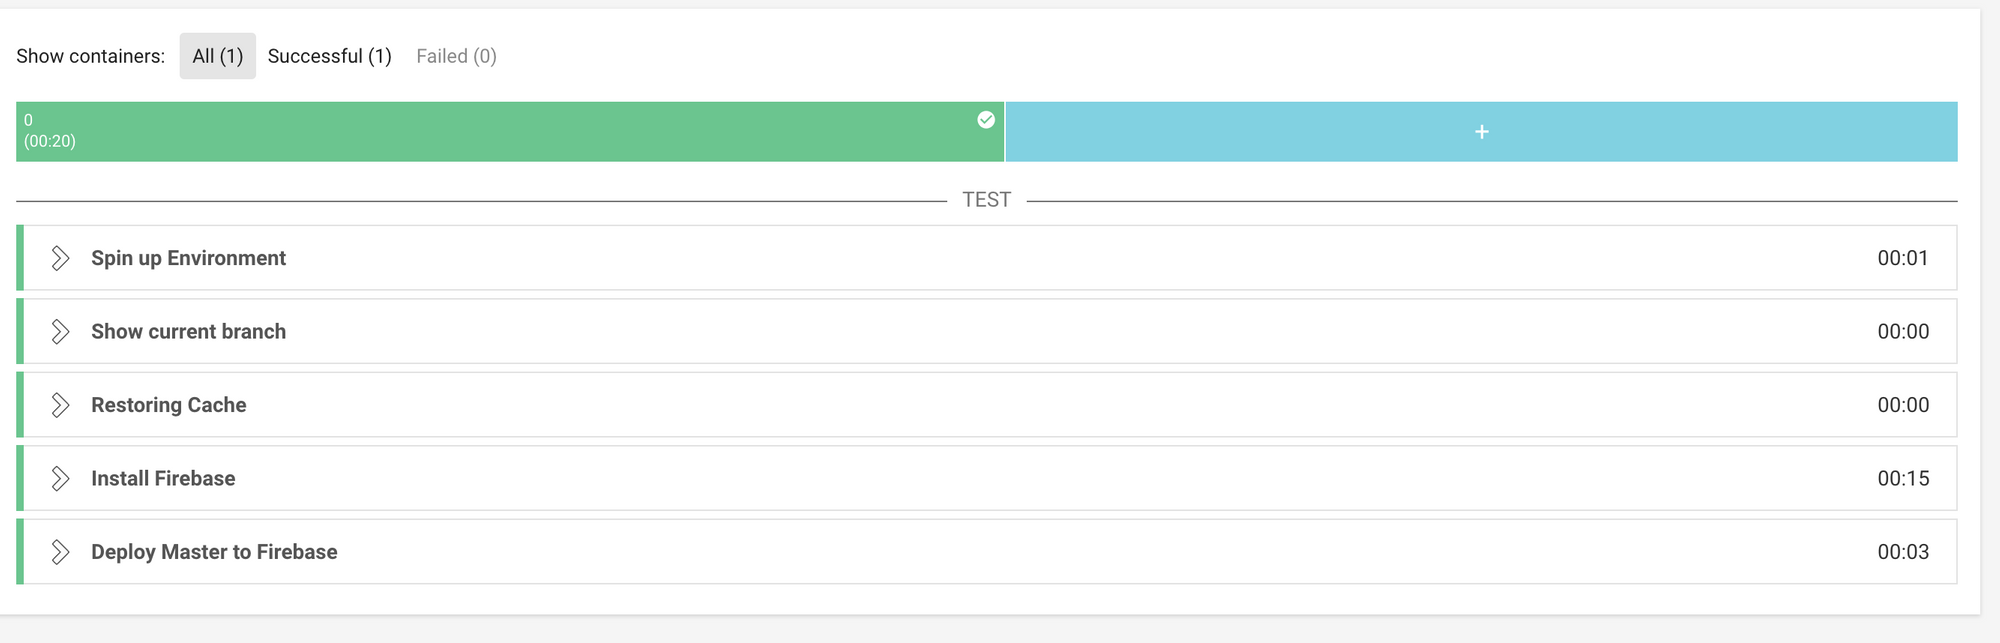
Expanding the last collector will show output very similar to what you saw locally when running firebase deploy.
Congratulations! You've now hosted an Angular app with Firebase and established a CICD pipeline using CircleCI.
I hope this guide has been helpful. Feel free to leave feedback or reach out with any questions.