Exploring P5JS and Angular
Modern front-end development offers a wealth of libraries and frameworks for creating animations and interactive graphics. After spending some time with P5JS, I wanted to document some of the interesting patterns I discovered along the way.
This tutorial walks through integrating P5JS with an Angular application. I'll show you how to construct a basic sketchpad, and along the way, point out some techniques you could adapt for your own projects.
The complete application we'll be building is shown below:
While the examples here use Angular, P5JS works seamlessly with any JavaScript framework. I've chosen Angular simply because it's my preferred tool.
I'll be referencing my GitHub repository throughout this guide. You may want to git clone the project to follow along more easily.
There's also a full StackBlitz demo linked at the end of this article. You can access that project here.
Understanding P5JS
P5JS is a JavaScript library derived from the Processing project, originally conceived by Casey Reas and Ben Fry at MIT. "Processing" encompasses both the programming language and the accompanying editor for building projects. Although the core Processing language is Java, it has been ported to various other languages. The language is built atop media libraries and other low-level functionality that has traditionally been difficult to work with directly. Processing lowers the barrier to entry for artists and those less familiar with complex technical infrastructures, enabling them to create impressive visual displays and generative artwork.
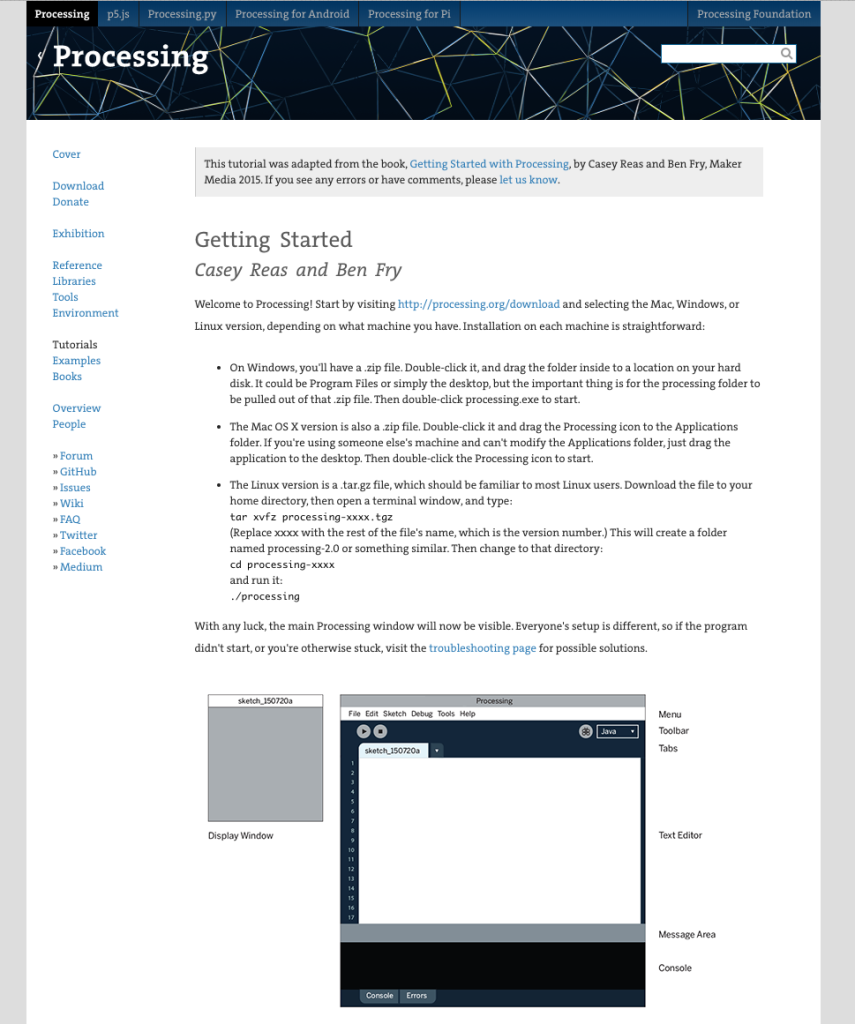
The Processing website offers extensive tutorials ranging from beginner basics to advanced artistic techniques. Beyond visual elements, the Processing language also supports audio.
My introduction to Processing came during my Master's program in Computer Science at Christopher Newport University. For one course, I used Processing to develop a bespoke Photoshop clone along with several other academic projects.
P5JS serves as the JavaScript adaptation of Processing, delivering nearly all of the same capabilities as the original. For this discussion, our focus is on P5JS, but exploring the Processing documentation is highly encouraged.
Both Processing and P5JS revolve around two fundamental methods:
Additional lifecycle methods exist to intercept various stages of your application (like pre-load events).
The setup method handles application initialization and bootstrap logic. Meanwhile, the draw method executes repeatedly as the application runs, repainting the visual canvas each frame.
Here's what that structure looks like in P5JS:
function setup() {
  createCanvas(640, 480);
}

function draw() {
  ellipse(50, 50, 80, 80);
}
This basic example creates a 640x480 canvas and draws a simple ellipse. The rendered output should look similar to this:
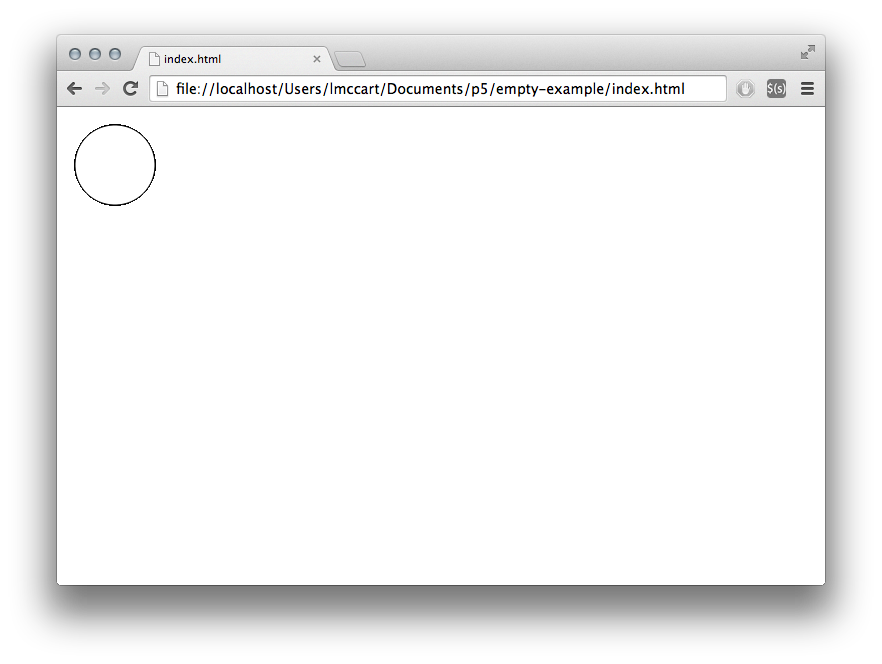
Full credit for the above snippet goes to the P5JS getting started guide, which illustrates the core concepts nicely.
Initial Setup
Getting started with P5JS is refreshingly straightforward. In its simplest form, you only need an HTML file and the P5JS library source. The official getting started page provides that exact setup with examples. As mentioned, we'll be wiring this into an Angular project, which requires a few extra steps but remains quite manageable.
Refer to my GitHub repo as we proceed; I'll be walking through that codebase now. Alternatively, you can follow the steps below and compare against the repo to see a reference implementation.
To begin, create a new Angular project. I prefer using the Angular CLI with ng new. Be sure to select "yes" when prompted to enable routing.
With the project scaffolded, generate a home page and a page-not-found component with these commands:
ng g c home-page
ng g c page-not-found
Next, configure the router in app-routing.module.ts:
import { NgModule } from '@angular/core';
import { Routes, RouterModule } from '@angular/router';
import { HomePageComponent } from './home-page/home-page.component';
import { PageNotFoundComponent } from './page-not-found/page-not-found.component';

const routes: Routes = [
  { path: 'home-page', component: HomePageComponent },
  { path: '', redirectTo: '/home-page', pathMatch: 'full' },
  { path: '**', component: PageNotFoundComponent }
];

@NgModule({
  imports: [RouterModule.forRoot(routes)],
  exports: [RouterModule]
})
export class AppRoutingModule {}
This sets up the default path to the home-page component and catches unknown routes with page-not-found.
Now install P5JS:
npm i p5
Optionally, Bootstrap can be added for styling purposes:
npm i bootstrap
Then, add this to your styles.scss file:
@import '~bootstrap/dist/css/bootstrap.css';
With all the dependencies in place, it's time to create your sketch and component logic.
Building the Sketch
At this stage, our application has a home-page and a page-not-found component. Once we finish, the result should resemble this:
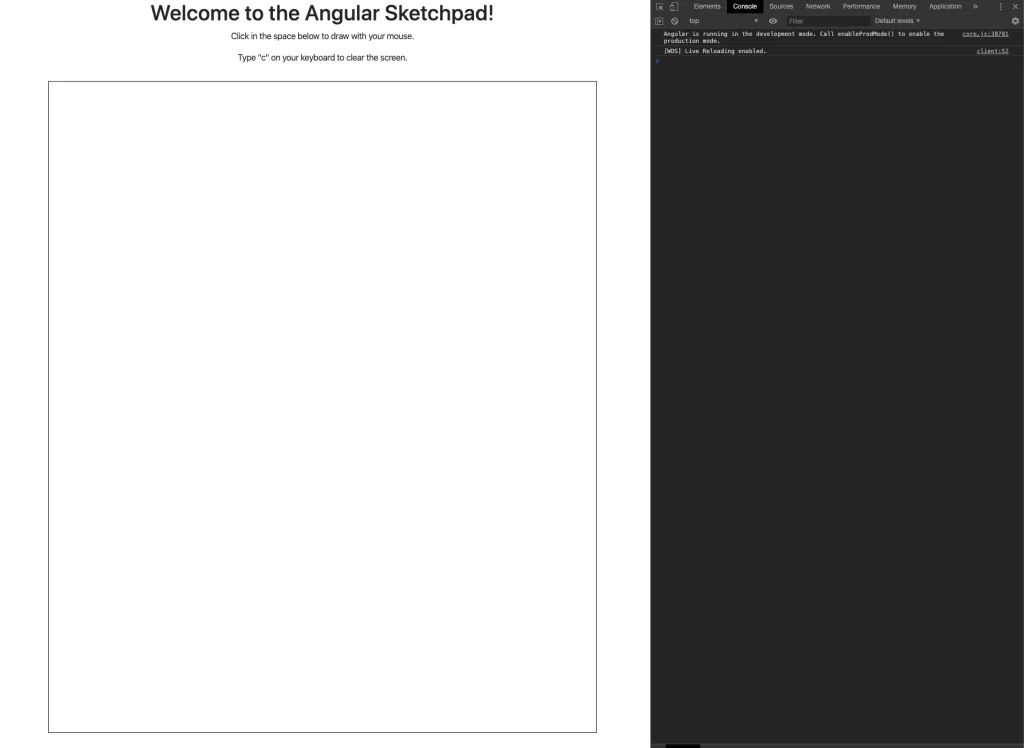
The first task is defining the sketch itself. Open the home-page component and add the following code to its ngOnInit method:
// this sketch was modified from the original
// https://editor.p5js.org/Janglee123/sketches/HJ2RnrQzN
const sketch = s => {
  s.setup = () => {
    let canvas2 = s.createCanvas(s.windowWidth - 200, s.windowHeight - 200);
    // creating a reference to the div here positions it so you can put things above and below
    // where the sketch is displayed
    canvas2.parent('sketch-holder');

    s.background(255);
    s.strokeWeight(this.sw);

    this.c[0] = s.color(148, 0, 211);
    this.c[1] = s.color(75, 0, 130);
    this.c[2] = s.color(0, 0, 255);
    this.c[3] = s.color(0, 255, 0);
    this.c[4] = s.color(255, 255, 0);
    this.c[5] = s.color(255, 127, 0);
    this.c[6] = s.color(255, 0, 0);

    s.rect(0, 0, s.width, s.height);

    s.stroke(this.c[this.strokeColor]);
  };

  s.draw = () => {
    if (s.mouseIsPressed) {
      if (s.mouseButton === s.LEFT) {
        s.line(s.mouseX, s.mouseY, s.pmouseX, s.pmouseY);
      } else if (s.mouseButton === s.CENTER) {
        s.background(255);
      }
    }
  };

  s.mouseReleased = () => {
    // modulo math forces the color to swap through the array provided
    this.strokeColor = (this.strokeColor + 1) % this.c.length;
    s.stroke(this.c[this.strokeColor]);
    console.log(`color is now ${this.c[this.strokeColor]}`);
  };

  s.keyPressed = () => {
    if (s.key === 'c') {
      window.location.reload();
    }
  };
};

this.canvas = new p5(sketch);
What's happening here? Essentially, this is the entire sketch logic!
Observe how we create a sketch object with a defined setup method:
const sketch = s => {
  s.setup = () => {
    let canvas2 = s.createCanvas(s.windowWidth - 200, s.windowHeight - 200);
    // creating a reference to the div here positions it so you can put things above and below
    // where the sketch is displayed
    canvas2.parent('sketch-holder');

    s.background(255);
    s.strokeWeight(this.sw);

    this.c[0] = s.color(148, 0, 211);
    this.c[1] = s.color(75, 0, 130);
    this.c[2] = s.color(0, 0, 255);
    this.c[3] = s.color(0, 255, 0);
    this.c[4] = s.color(255, 255, 0);
    this.c[5] = s.color(255, 127, 0);
    this.c[6] = s.color(255, 0, 0);

    s.rect(0, 0, s.width, s.height);

    s.stroke(this.c[this.strokeColor]);
  };
This establishes a reference to the HTML canvas element—the actual rendering surface for the sketch. The canvas can be extended to support other media types like audio or video.
Next, note the calls to several drawing methods:
These functions define the visual output: the rectangle delineates the canvas boundary, background sets the fill color, and stroke tells Processing to apply a paint operation with the provided parameters. The color array supplies the palette for deciding which color to display—each entry represents a rainbow hue.
The draw method implementation looks like this:
s.draw = () => {
  if (s.mouseIsPressed) {
    if (s.mouseButton === s.LEFT) {
      s.line(s.mouseX, s.mouseY, s.pmouseX, s.pmouseY);
    } else if (s.mouseButton === s.CENTER) {
      s.background(255);
    }
  }
};
Notice how P5JS's built-in event listeners like mouseIsPressed and mouseButton drive the behavior. One of P5JS's most appealing features (shared with the broader Processing ecosystem) is its built-in event handling. Rather than wiring up custom event listeners, you simply tap into these provided APIs.
The sketch adds more event listeners:
s.mouseReleased = () => {
  // modulo math forces the color to swap through the array provided
  this.strokeColor = (this.strokeColor + 1) % this.c.length;
  s.stroke(this.c[this.strokeColor]);
  console.log(`color is now ${this.c[this.strokeColor]}`);
};

s.keyPressed = () => {
  if (s.key === 'c') {
    window.location.reload();
  }
};
This adds implementations for the mouseReleased and keyPressed events. You'll see a console.log statement that reports when colors change.
Finally, the sketch concludes by defining and binding a variable suitable for use in the Angular component template.
this.canvas = new p5(sketch);
Now that the sketch is ready, let's move to the template to apply styling and render the sketch.
Completing the Sketch
With the sketch logic defined, navigate to the home-page component's HTML file and add:
<div class="container">
  <div class="row">
    <div class="col">
      <h1>Welcome to the Angular Sketchpad!</h1>
    </div>
  </div>
  <div class="row">
    <div class="col">
      <p>Click in the space below to draw with your mouse.</p>
      <p>Type "c" on your keyboard to clear the screen.</p>
    </div>
  </div>
  <div class="row">
    <div class="col">
      <div class="sketch-container">
        <div id="sketch-holder"></div>
      </div>
    </div>
  </div>
</div>
Finally, update the styles.scss file with:
body {
  height: 100%;
}

body {
  margin: 0;
  display: flex;
  flex-direction: column;

  /* This centers our sketch horizontally. */
  justify-content: center;

  /* This centers our sketch vertically. */
  align-items: center;
}
These styles simply center the canvas on the screen. I found this page on the P5JS wiki to be quite useful.
That's all there is to it! Save your work and run npm run start. You should see something similar to the embedded StackBlitz below:
https://stackblitz.com/edit/angular-sketchpad1?embed=1&file=src/app/app.component.ts&view=preview
Final Thoughts
In this article, you were introduced to the P5JS library and guided through building a simple sketchpad application. Both P5JS and the Processing language are highly enjoyable to work with, and exploring their official documentation is well worth the time. The Processing community is vibrant and extensive, so checking out their videos and forums is also recommended. Thank you for reading, and I hope you picked up something new.
Connect with me on Twitter at @AndrewEvans0102!
Originally published at http://rhythmandbinary.com on November 5, 2019.