Why Automate Architecture?
Designing an architecture is an engaging challenge. But the actual implementation phase quickly turns tedious — you find yourself repeating the same patterns and procedures over and over. Automation through scaffolding offers a way out. And the Angular CLI already ships with a scaffolding mechanism called Schematics.
In this series, I demonstrate how to leverage Schematics in a monorepo setup. I rely on Workspace Schematics from Nx for this purpose. Although everything described here functions in a standard Angular project as well, Nx adds helpful tooling that makes the process smoother.
As usual, the complete source code is available in my GitHub repository.
Illustrative Scenario
The architecture I'm automating here splits a large application into relatively independent sub-domains:
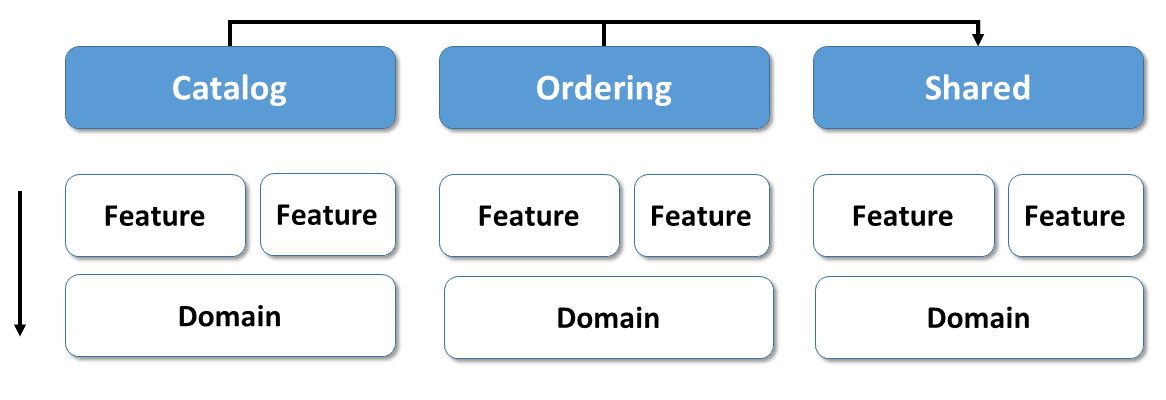
This approach, which I detailed in my blog series on Domain Driven Design, keeps domains decoupled from each other. This significantly reduces the risk of breaking changes spreading between them. It also helps manage complexity. If you're already familiar with that article, feel free to jump straight to the next section.
In this architectural style, each domain is home to several libraries inside the monorepo. Feature libraries are responsible for implementing use cases with smart components. Domain libraries contain the domain logic and the domain model itself. Additionally, there are other library types, as explained in the aforementioned blog series.
Access rules are put in place to stop the libraries from becoming overly dependent on one another. These rules are represented by the arrows in the diagram above. In essence, a layer may only access layers situated beneath it. In this simplified version, that means a feature can access the domain, but not the other way around. The more critical rule, however, dictates that libraries within one domain can only access other libraries in that same domain, plus those in the shared section.
Within the monorepo's lib directory, you'll find a separate sub-folder for each domain. This folder contains all the libraries belonging to that domain:
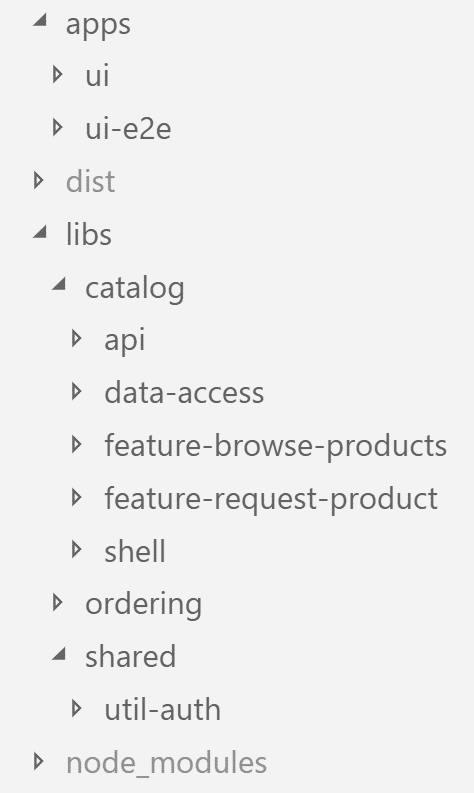
Nx enables us to enforce these inter-library access rules. To do this, we must assign tags to every library inside the nx.json file:
[...]
"catalog-domain": {
    "tags": ["domain:catalog", "type:domain-logic"]
},
"ordering-domain": {
    "tags": ["domain:ordering", "type:domain-logic"]
},
[...]
Then, in tsconfig.json, the nx-enforce-module-boundaries rule is used to define the specific restrictions:
[...]
"nx-enforce-module-boundaries": [
  true,
  {
    "allow": [],
    "depConstraints": [
      {
        "sourceTag": "*",
        "onlyDependOnLibsWithTags": ["*"]
      },
      {
        "sourceTag": "domain:catalog",
        "onlyDependOnLibsWithTags": ["domain:catalog", "shared"]
      },
      {
        "sourceTag": "domain:ordering",
        "onlyDependOnLibsWithTags": ["domain:ordering", "shared"]
      }
    ]
  }
],
[...]
As you might guess, even though this architecture is clear and minimizes coupling, the process of creating all these components and configuring the linting rules is repetitive and time-intensive. Fortunately, as the upcoming sections demonstrate, Schematics can automate this entire process.
Further details on this particular architecture can be found in my other blog posts. Additionally, working with such architectures is a major focus in our Angular Workshops.
Understanding Workspace Schematics
The Angular CLI relies on a tool named Schematics to handle file scaffolding. Whenever you execute ng new, ng generate, ng add, or ng update, the CLI delegates the work to it. However, this tool isn't just for built-in commands; it also allows you to write your own custom code generators, which are also referred to as schematics.
It's possible to set up a standalone Schematics project and distribute it via npm. However, Nrwl's Nx offers a more streamlined path. Nx lets you scaffold a new schematic directly within your workspace, in the same way you'd scaffold a component or service. It also provides a command to compile and execute the schematic within that same workspace.
Since these schematics live in the very monorepo where they are applied, this method is ideal for generating code that is highly specific to a particular project.
Setting Up a Workspace Schematic
After creating an Nx workspace using the command:
npx create-nx-workspace@latest e-procyou can then proceed to scaffold a workspace schematic:
ng g workspace-schematic demo-libThis action generates two files: an index.ts, which contains the implementation of the schematic, and a schema.json, which describes the parameters that can be passed to it:
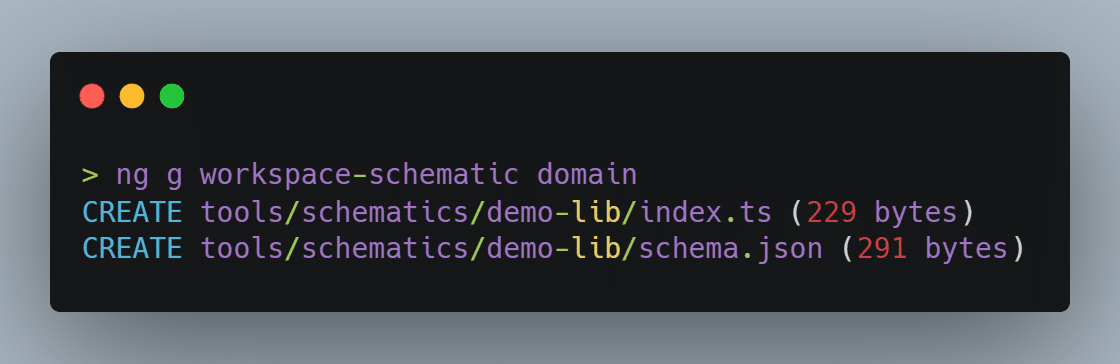
The generated schema.json appears as follows:
{
  "$schema": "http://json-schema.org/schema",
  "id": "domain",
  "type": "object",
  "properties": {
    "name": {
      "type": "string",
      "description": "Library name",
      "$default": {
        "$source": "argv",
        "index": 0
      }
    }
  },
  "required": ["name"]
}
It defines just one mandatory parameter, name. Based on the $default property, this parameter takes the value of the first positionally-passed argument if you don't explicitly provide it with --name. Therefore, you can invoke it using Nx CLI as:
nx workspace-schematic domain myDomainor alternatively with:
nx workspace-schematic domain --name myDomainThe generated code within index.ts consists solely of a rule factory:
import { chain, externalSchematic, Rule } from '@angular-devkit/schematics';

export default function(schema: any): Rule {
  return chain([
    externalSchematic('@nrwl/workspace', 'lib', {
      name: schema.name
    })
  ]);
}
Rules represent the distinct steps needed for file scaffolding. The rule returned here is a chain, which simply executes other rules in a sequential manner. The only rule this chain delegates to at the moment is externalSchematic. As the name suggests, this calls another schematic. In this particular case, it invokes the lib schematic, which is the same one called when you manually run ng generate lib.
Also, take note of the schema parameter. It holds all the command-line arguments supplied by the user and conforms to the structure outlined in the schema.json file.
With an understanding of these initial files in place, let's explore how to customize them to suit our needs.
Creating a TypeScript Interface for schema.json
Since using any for the schema parameter isn't very elegant, let's introduce a proper type for it. To avoid duplication, we should generate this type directly from the schema.json file. The npm package json-schema-to-typescript is perfect for this task:
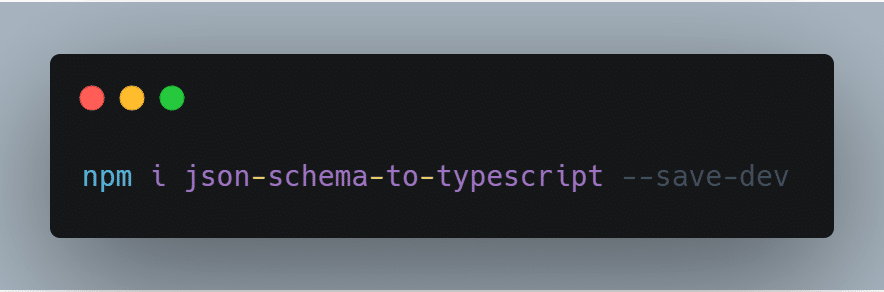
We can execute it from a small node script, which I've named json-schema-to-ts.js:
const toTypeScript = require('json-schema-to-typescript');
const fs = require('fs');

toTypeScript
    .compileFromFile('tools/schematics/domain/schema.json')
    .then(ts => fs.writeFileSync('tools/schematics/domain/schema.ts', ts));
To run it, I've defined a corresponding npm script in my package.json:
[...]
"scripts": {
    [...]
    "build:schema": "node tools/schematics/json-schema-to-ts.js"
}
[...]
After executing:
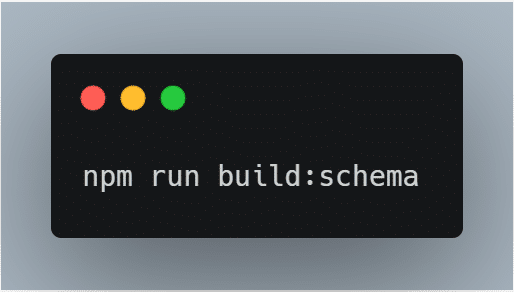
the following file is produced:
export interface Domain {
  /**
   * Library name
   */
  name: string;
  [k: string]: any;
}
You might have noticed that the interface's name comes from the id property specified in schema.json.
Step 3: Outlining Options
Next, we'll introduce a new parameter called addApp:
{
  "$schema": "http://json-schema.org/schema",
  "id": "domain-options",
  "type": "object",
  "properties": {
    "name": {
      "type": "string",
      "description": "Domain name",
      "$default": {
        "$source": "argv",
        "index": 0
      }
    },
    "addApp": {
      "type": "boolean",
      "description": "Add an app for the domain?",
      "default": false
    }
  },
  "required": ["name"]
}
When this is set to true, the schematic will also generate an app for the domain under construction. I've also updated the id property to DomainOptions so we can control the resulting interface's name.
After running:
once more, the output looks like this:
export interface DomainOptions {
  /**
   * Domain name
   */
  name: string;
  /**
   * Add an app for the domain?
   */
  addApp?: boolean;
  [k: string]: any;
}
Furthermore, we can now use this interface to type the options property:
export default function(options: DomainOptions): Rule {
    [...]
}
Employing Existing Rules
With the addApp option available, we can now use it within our rule:
  return chain([
    externalSchematic('@nrwl/angular', 'lib', {
      name: 'domain',
      directory: options.name,
      tags: domain:${options.name},type:domain-logic,
      style: 'scss',
    }),
    (!options.addApp) ?
      noop() :
      externalSchematic('@nrwl/angular', 'app', {
        name: options.name,
        tags: domain:${options.name},type:app,
        style: 'scss',
      }),
  ]);
This refined rule chains the noop (no operation) rule when addApp is false. In that scenario, nothing occurs. Otherwise, it goes on to invoke the app schematic via externalSchematic.
Both of these externalSchematic calls receive additional parameters, such as the library's directory (which corresponds to the domain name) or tags intended for nx.json.
Developing a Custom Rule
Up to this point, we've been combining existing rules to achieve our goal. However, when the task is to update the linting rules in tsconfig.json, we'll need to write one from scratch.
This new rule requires a factory function that accepts the necessary parameters:
export function updateLintingRules(domainName: string): Rule {
    return (host: Tree, context: SchematicContext) => {
        [...]
    }
}
The rule it returns is itself just a function, taking a Tree and a SchematicContext. The Tree essentially represents your file system, or more accurately, a staging area that mirrors your file system.
This is a key principle in Schematics: the modifications made within the staging area are only written to disk if the entire operation is successful. Should any error occur, none of the changes are persisted, which helps prevent an inconsistent state.
The full implementation here reads the tslint.json file. After parsing it, the resulting object structure is altered and then written back to the same file:
import { Rule, Tree, SchematicContext  } from '@angular-devkit/schematics';

export function updateLintingRules(domainName: string): Rule {
    return (host: Tree, context: SchematicContext) => {
      const text = host.read('tslint.json').toString();
      const rules = JSON.parse(text);

      // Make sure, rules['rules']['nx-enforce-module-boundaries'][1]['depConstraints'] exists!

      const depConst = rules['rules']['nx-enforce-module-boundaries'][1]['depConstraints'];

      depConst.push({
        'sourceTag': domain:${domainName},
        'onlyDependOnLibsWithTags': [domain:${domainName}, 'shared']
      });

      const newText = JSON.stringify(rules, undefined, 2);
      host.overwrite('tslint.json', newText);
    }
  }
As you can observe, it introduces an access restriction that stops libraries in the newly-added domain from accessing libraries in other domains, with the sole exception of the shared section.
With this rule defined, we can incorporate it into our schematic:
  return chain([
    externalSchematic('@nrwl/angular', 'lib', {
      name: 'domain',
      directory: options.name,
      tags: domain:${options.name},type:domain-logic,
      style: 'scss',
    }),
    (!options.addApp) ?
      noop() :
      externalSchematic('@nrwl/angular', 'app', {
        name: options.name,
        tags: domain:${options.name},type:app,
        style: 'scss',
      }),
    // Added Rule vvvvvv
    updateLintingRules(options.name),
  ]);
Running the Workspace Schematic
Now it's time to execute our workspace schematic. To simplify things, I've installed the Nx CLI globally:
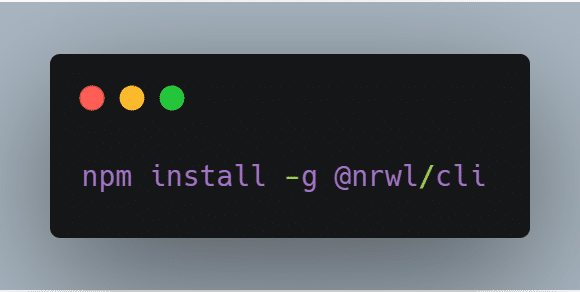
Using it, we can run our schematic as follows:
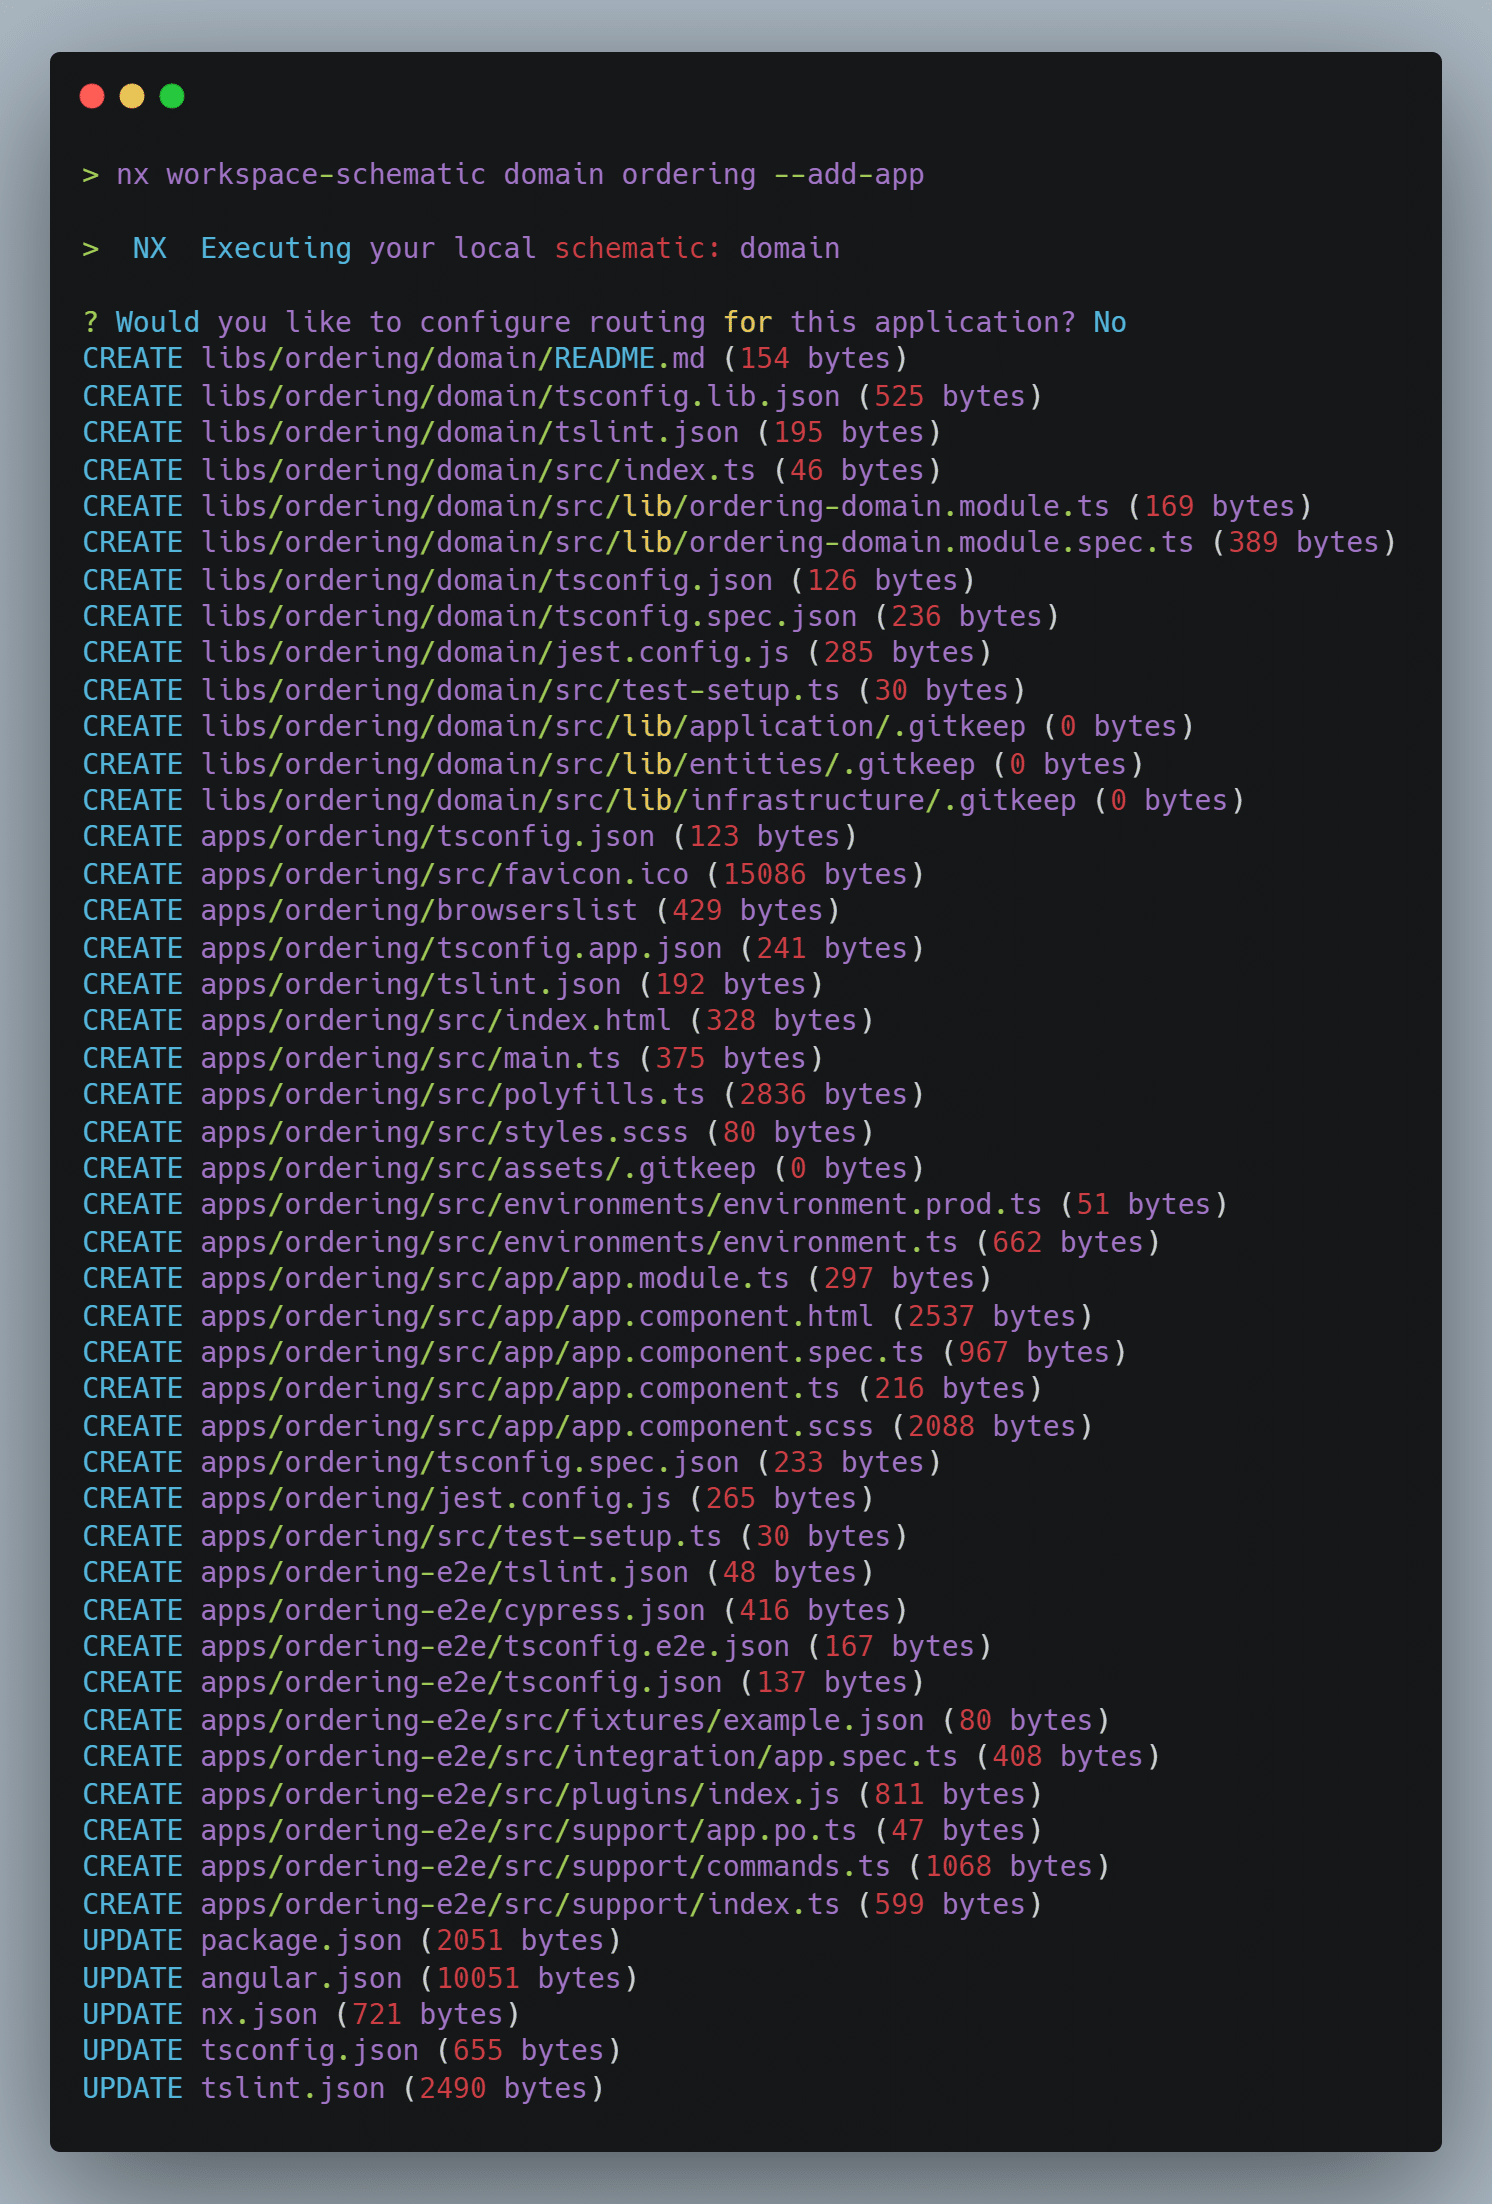
This command has successfully generated the domain library, the application, and has added the access rules to the tslint.json.
Summary and What's Next
Nx considerably simplifies the process of building workspace schematics. They can be scaffolded with ng generate and run with nx workspace-schematic.
To define parameters, the schema.json is the place to modify. For typed access, creating an interface from the JSON schema is a recommended approach.
The core automation is driven by rules, which are simply functions. You can reuse existing ones, like externalSchematic, or build your own to suit specific needs.
Additionally, schematics have the capability to modify existing files and also to create new files by copying templates. These templates can contain placeholders that are filled with concrete values when the schematic runs. The next installment in this series will delve into these capabilities in greater detail.