The Angular Library Series
This installment represents the third entry in my Angular Library Series. If you haven’t already, it would be wise to first familiarize yourself with the two preceding parts:
- The Angular Library Series — Creating a Library with the Angular CLI
- The Angular Library Series — Building and Packaging
A Practical Demonstration
Following the guidance laid out in the prior articles of this series, I put together a straightforward sample library called ng-example-library. The complete source code can be found on my GitHub.
Here, I’ll walk through the exact steps I took to get this project published on npm, which you can see here.
Choosing a Name for Your Library
Before you can push your library to npm, you’ll need to settle on a distinctive name. The ideal moment to verify its availability is prior to generating your project with the Angular CLI. Changing the name later within an established Angular workspace is a hassle you’ll want to avoid.
The most reliable method to see if a name is free is to navigate directly to the package’s page on npm. As an illustration, if you wanted to use ng-library-x, you’d check the URL https://www.npmjs.com/package/ng-library-x.
The goal is for npm to display a page that looks nothing like a real package:
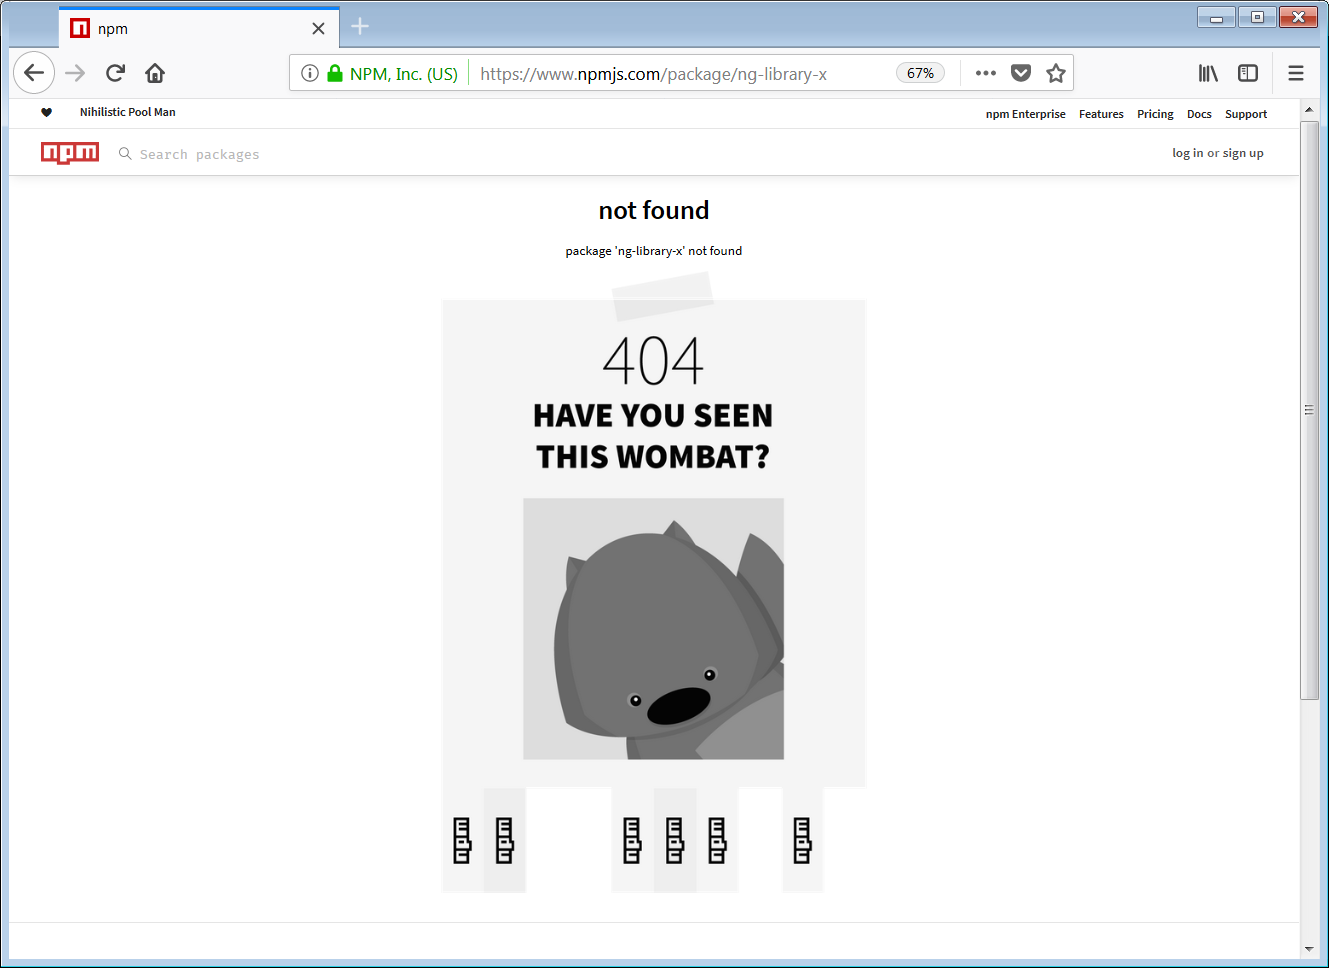
Seeing that kind of response confirms the name is up for grabs.
While you could use npm’s built-in search functionality, it’s important to note that this won’t turn up packages that have been deprecated. Names in the npm registry are permanent; a name used by a deprecated package is still unavailable for anyone else. Thus, we add this rule to our list:
ALWAYS: Prior to creating your workspace, confirm the availability of your intended library name by hitting its prospective npm URL.
Dealing with Multiple package.json Files
As a reminder, generating an Angular library always results in at least three distinct package.json files within the workspace:
- Workspace root
package.json
This is the primarypackage.jsonlocated at the top level of the project. - Library project
package.json
Residing in theprojects\ng-example-libraryfolder, this file informsng-packagrwhich details should be included in the Distributionpackage.jsonthat gets distributed with the library. - Library distribution
package.json
This is produced byng-packagrwithin thedist\ng-example-librarydirectory during the build process. This is the file that is actually released to the public.
Should any of this seem unclear, I’d suggest revisiting the package.json discussion in my earlier piece on Building and Packaging.
Setting Your Library’s Version
Let’s inspect the Library Project package.json. For my project, it appears as follows:
{
  "name": "ng-example-library",
  "version": "1.0.0",
  "peerDependencies": {
    "@angular/common": "^6.0.0-rc.0 || ^6.0.0",
    "@angular/core": "^6.0.0-rc.0 || ^6.0.0"
  }
}
Our attention is on the name and version attributes. You can set aside the peerDependencies for the moment, as they will be covered in a future installment.
Keep in mind that npm enforces a strict rule: a given name and version combination can only be published once. This means you’ll need to bump the version number for every subsequent release. It’s generally best practice, barring any compelling reasons otherwise, to follow Semantic Versioning (SemVer).
PREFERABLY: Increment your Library’s version according to SemVer.
Once you rebuild the library, the updated version will be reflected in the distribution package.json located in your library’s folder within the dist directory. That particular file is the one that gets shipped and exposed to users. After a fresh build, my distribution package.json is:
{
  "name": "ng-example-library",
  "version": "1.0.0",
  "peerDependencies": {
    "@angular/common": "^6.0.0-rc.0 || ^6.0.0",
    "@angular/core": "^6.0.0-rc.0 || ^6.0.0"
  },
  "main": "bundles/ng-example-library.umd.js",
  "module": "fesm5/ng-example-library.js",
  "es2015": "fesm2015/ng-example-library.js",
  "esm5": "esm5/ng-example-library.js",
  "esm2015": "esm2015/ng-example-library.js",
  "fesm5": "fesm5/ng-example-library.js",
  "fesm2015": "fesm2015/ng-example-library.js",
  "typings": "ng-example-library.d.ts",
  "metadata": "ng-example-library.metadata.json",
  "sideEffects": false,
  "dependencies": {
    "tslib": "^1.9.0"
  }
}
Including README and License Files
During the publication process, npm automatically searches for a README file at the package’s root. If found, the contents of that file serve as the primary landing page for the package on the npm website.
Earlier in the Building and Packaging article, you’ll recall we set up an npm script named package in the Workspace package.json. This script is responsible for building and then packing the library. However, before executing the packing step, we’ll want to transfer our README.md and LICENSE file into the corresponding dist package area.
To handle this, I introduced another npm script called copy-files, which accomplishes that copying task prior to the packing stage. These scripts are written for my Windows-based deployment environment, so they may need adjustment on different operating systems.
"scripts": {
  ...
  "build_lib": "ng build ng-example-library",
  "copy-license": "copy .\\LICENSE .\\dist\\ng-example-library",
  "copy-readme": "copy .\\README.md .\\dist\\ng-example-library",
  "copy-files": "npm run copy-license && npm run copy-readme",
  "npm_pack": "cd dist/ng-example-library && npm pack",
  "package": "npm run build_lib && npm run copy-files && npm run npm_pack",
  ...
},
Notice that my package script is now orchestrating three separate actions:
- build_lib
Compile the Angular Library. - copy-files
Duplicate bothREADME.mdandLICENSEinto thedist\ng-example-librarydirectory. - npm_pack
Roll the entiredist\ng-example-librarydirectory into a singletgzarchive.
Enriching package.json with Metadata
If we proceeded to publish immediately, the npm page for our package would display none for the license field. This is because, despite including a LICENSE file in the package, we haven’t specified the license information within package.json itself.
There’s a substantial amount of metadata we could add here. npm has thorough documentation available in The specifics of npm’s package.json handling, so I won’t echo it all. Still, I’ll touch on several attributes I consider particularly relevant for library authors.
At this point, it’s crucial to remember that we never edit the Distribution package.json directly. Any changes must be made in the Library’s Project package.json file.
I’ll be adding these fields:
- License
Indicate the accompanying LICENSE file. - Repository
Provide a link to the GitHub source. - Description
- Key words
- Home page
Link back to this particular article.
With those additions, my library’s Project package.json now appears like this:
{
  "name": "ng-example-library",
  "version": "1.2.0",
  "description": "This is a simple example Angular Library published to npm.",
  "keywords" :["Angular","Library"],
  "license" : "SEE LICENSE IN LICENSE",
  "repository": {
    "type" : "git",
    "url" : "https://github.com/t-palmer/ng-example-library"
  },
  "homepage" :"https://medium.com/@palmer_todd/the-angular-library-series-publishing-ce24bb673275",
  "peerDependencies": {
    "@angular/common": "^6.0.0-rc.0 || ^6.0.0",
    "@angular/core": "^6.0.0-rc.0 || ^6.0.0"
  }
}
Creating an npm Account
Downloading packages from npm is completely unrestricted. However, if your goal is to contribute a package yourself, an account is required. The signup process will ask for your full name, a username, a password, and a valid email address.

Upon registration, be sure to confirm your email address via the verification message sent to your inbox.
Authenticating with npm
npm offers complete documentation on the publication workflow. I highly recommend reviewing it. But for immediate reference, I’ve listed the essential commands here.
The first step is authentication. Execute this command:
npm login
You’ll be prompted for your npm username, password, and email. To confirm that the login was successful, you can run:
npm whoami
The Final Publish Step
Now we arrive at the moment of publication. Given that we’ve already run npm pack, we only need to publish the resulting .tgz file. In my case, the exact command was:
npm publish ./dist/ng-example-library/ng-example-library-1.2.0.tgz
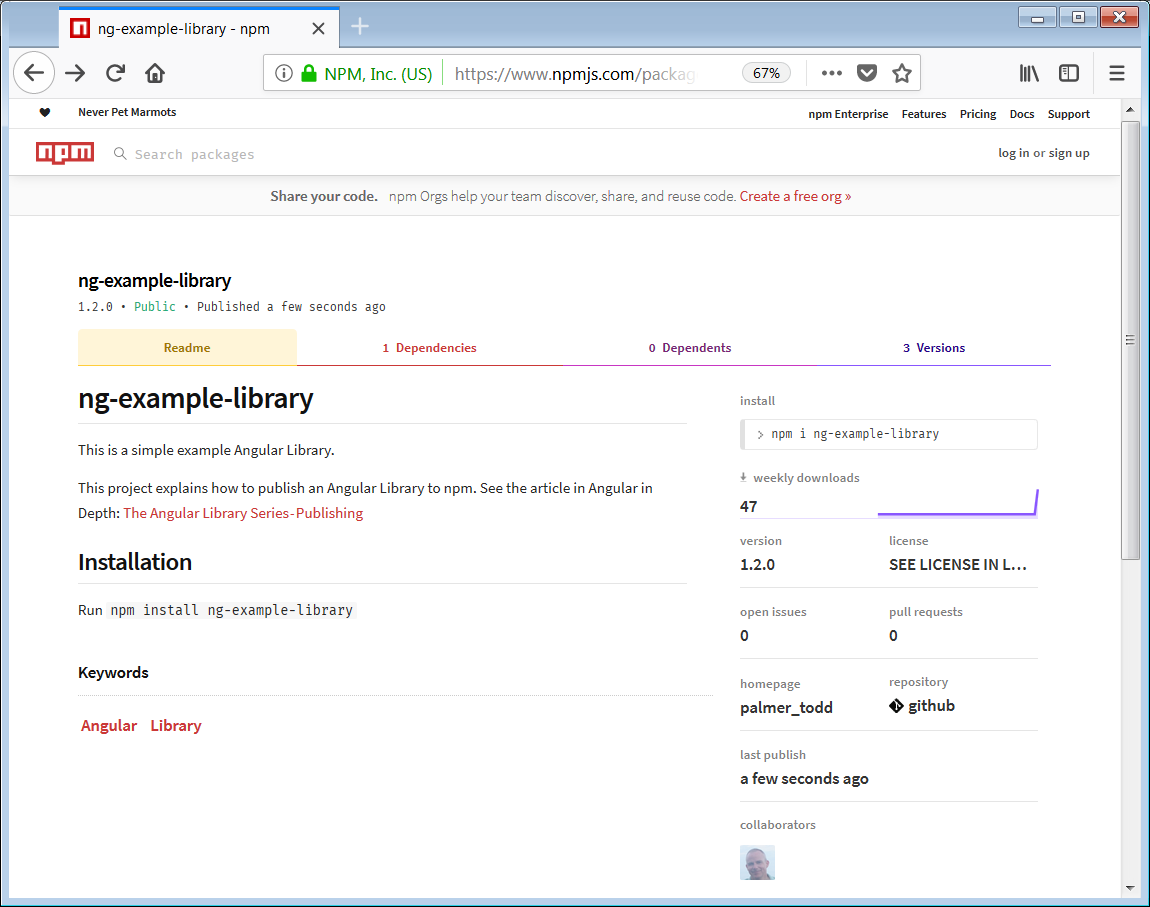
And just like that, our package is live on npm. You can view it at https://www.npmjs.com/package/ng-example-library.
What Comes Next
To dive deeper into the topic of managing dependencies in your library, refer to my guide on npm Peer Dependencies.