
Starting With Two Questions
Let me begin with a couple of inquiries:
- Have you ever made changes to a global stylesheet and had no clue whether some component was impacted?
- Have you upgraded a dependency to its newest release and questioned whether the UI now renders differently than it used to?
Visual regression testing is a powerful technique that enhances a test suite by literally capturing a screenshot of an element, component, or page in a particular state, and then using that image to compare against the current state of the same element.
The Mechanism Behind It
Once an element is prepared for testing, we capture what is known as a golden screenshot. This baseline image is then used in subsequent runs to compare the old and new states, helping to detect any visual changes.
Who Adopts This Approach?
This practice is frequently used in large-scale projects. To cite a major industry player, Google employs it across its products. When the Angular team introduced their new rendering engine, Ivy, they noted that to validate the engine, they migrated all their applications to the new version and executed hundreds of thousands of tests to ensure no side effects or unexpected rendering occurred. Their test suite included various types, one of which was visual regression testing.
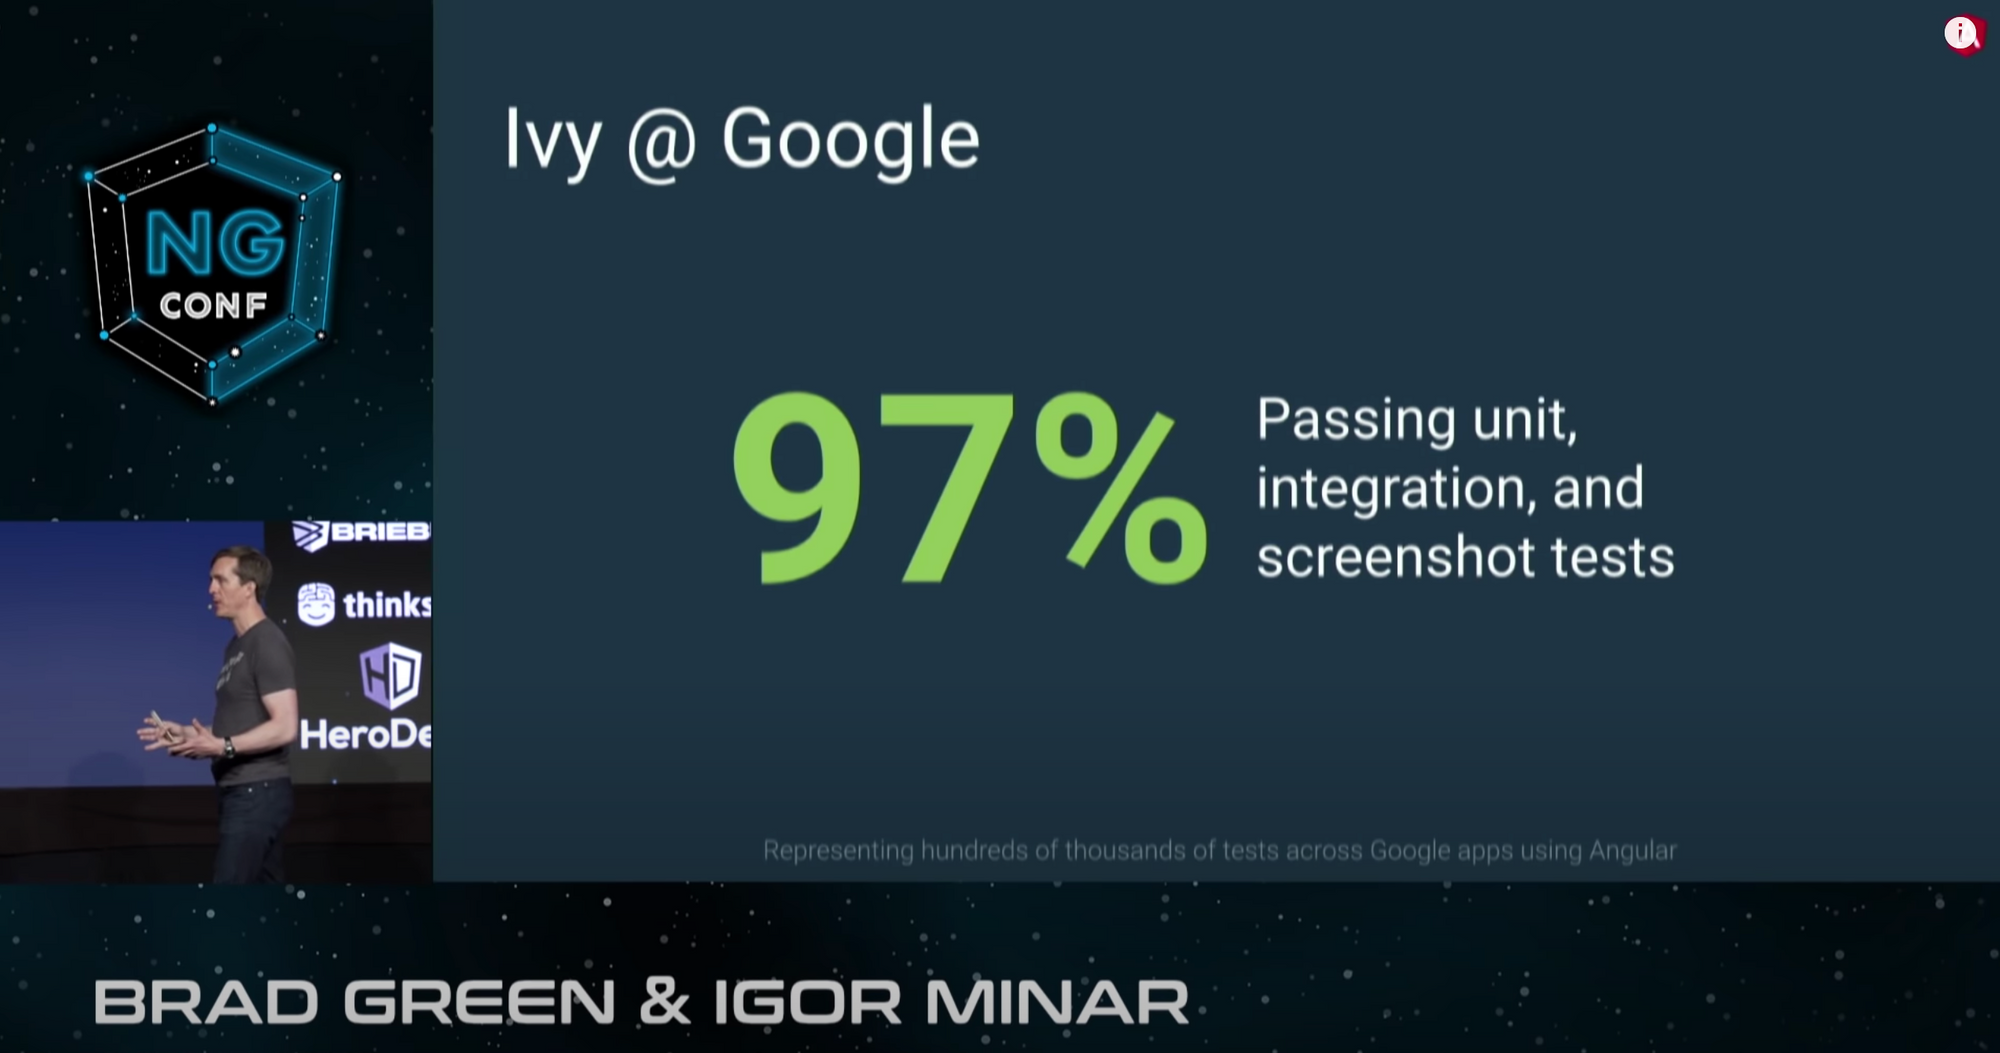
NGConf 2019 Keynote
Key Considerations
- Since these are fundamentally image comparison tests, they are naturally slower than typical unit tests.
- Whenever you modify an element that already has a screenshot test, and you are confident about the change, you must update the corresponding golden screenshot.
When to Apply It
- When you find yourself writing multiple tests just to verify that certain CSS properties are being correctly applied.
- When planning a significant update that might have broad effects, such as changing a CSS framework library.
- When looking to strengthen and expand your existing testing strategy.
Is It Like Jest Snapshots?
The underlying concept is similar — Jest can capture a copy of a component’s code and compare it to the latest version each time tests are executed. In this case, however, we are capturing images instead of code.
Implementation Steps
We’ll make use of Cypress, a modern and advanced tool designed for running end-to-end tests in the frontend.
Note: This is not the only approach. Most testing frameworks offer a plugin or an option for this. Additionally, tools like Applitools can simplify automating this process.
This example will rely exclusively on open-source tools.
The Code
- Set up an Angular project and then install Cypress along with its plugin using:
npm i -D cypress cypress-image-snapshot - Add two NPM scripts to the package.json file:
"cypress": "cypress"and"cypress:open": "npm run cypress -- open" - Execute
npm run cypress:open. On its first run, Cypress will generate a default folder structure for your end-to-end tests. - Next, update the following configuration files:
plugins/index.js
const {
  addMatchImageSnapshotPlugin,
} = require('cypress-image-snapshot/plugin');

module.exports = (on, config) => {
  addMatchImageSnapshotPlugin(on, config);
}
This sets up the cypress-image-snapshot plugin.
support/commands.js
import { addMatchImageSnapshotCommand } from 'cypress-image-snapshot/command';

if (Cypress.config('isInteractive')) {
  Cypress.Commands.add('matchImageSnapshot', () => {
    cy.log('Skipping snapshot ?')
  })
} else {
  addMatchImageSnapshotCommand()
}
This configuration ensures that screenshots are only captured in headless mode, which helps prevent issues related to screen size.
5. My application renders a fake Charmander on the main component, so I’ll create a new test file called home.spec.ts in the integration folder. This test will take a screenshot of the home route.

describe('Home screenshot', () => {
  it('should take a screenshot of the home page', () => {
    cy.visit('/');
    cy.matchImageSnapshot('home');
  });
});
Now, we run the following command to generate the initial screenshots:
npm run cypress run
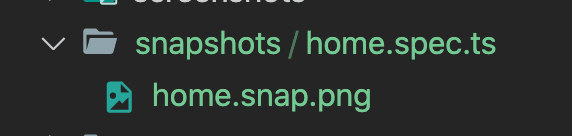
6. To verify the test is functioning properly, let’s swap out the fake Charmander for an actual one and re-run the same command:

7. The test fails as expected.
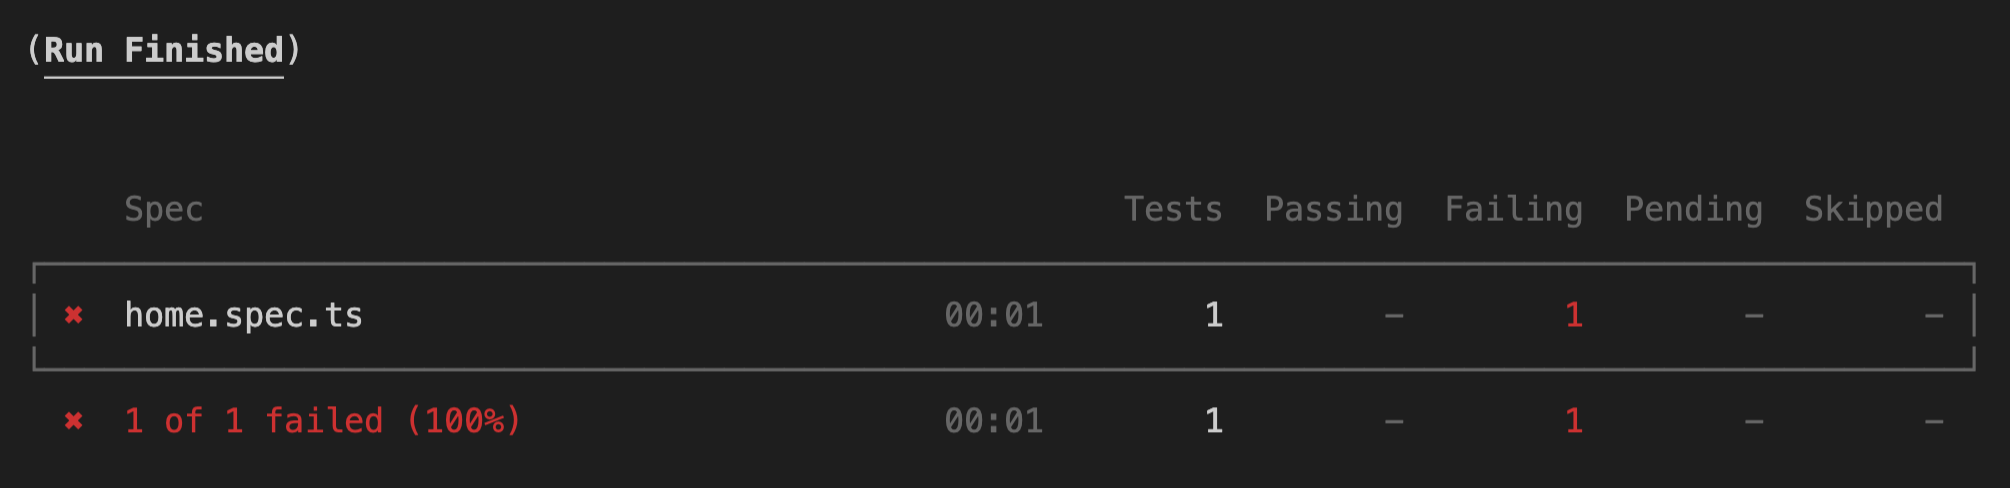
To refresh the golden screenshot, simply add the flag --env updateSnapshots=true to the previous command, and you’re done.

Wrapping Up
Visual regression tests act as an extra layer of protection for your project. They help ensure that any side effect affecting the visual layer is caught before the application reaches production. This approach also helps reduce human error and streamline manual QA efforts.