
Understanding Angular Application Environments
An Angular Application Environment is a set of JSON configuration data that instructs the build system on which files to swap when executing ng build or ng serve.
Imagine your Angular app communicates with a backend REST API hosted on a server. You likely have different URLs depending on where the app is running: one for your local development machine, another for a staging or test server, and yet another for the live production server. With Angular Application Environments, you can define these separate configurations and tell the build tools which one to activate.
This guide focuses on Angular 6, a version that brought significant improvements to the usability and documentation of Application Environments. You can find the official documentation here:
https://github.com/angular/angular-cli/wiki/stories-application-environments
Initial Setup
First, ensure you have version 6 of the Angular CLI installed. Use the CLI to generate a new workspace named ng-configuration:
ng new ng-configuration
NOTE: For IE support, refer to this article: Angular and Internet Explorer.
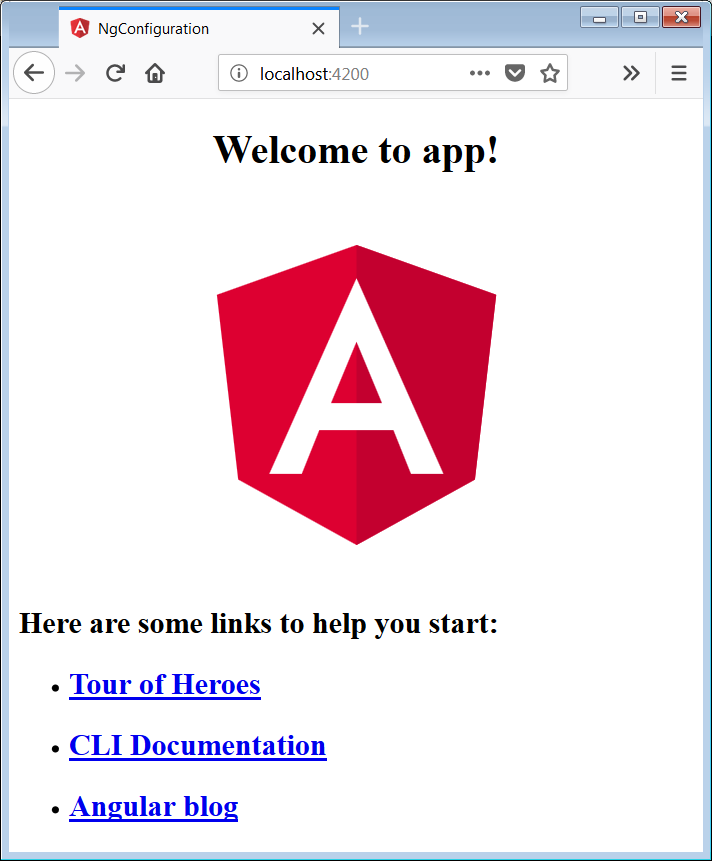
Let's do a quick check to confirm the default app works:
cd ng-configuration
ng serve
Navigate your browser to: http://localhost:4200
An Introduction to Configurations
When you create a new project, the Angular CLI automatically generates a src/environments folder containing two files: environment.ts and environment.prod.ts.
These files are wired up in your angular.json file. If you open it, you'll find the following relevant section:
"configurations": {
  "production": {
    "fileReplacements": [
      {
        "replace": "src/environments/environment.ts",
        "with": "src/environments/environment.prod.ts"
      }
    ],
    "optimization": true,
    "outputHashing": "all",
    "sourceMap": false,
    "extractCss": true,
    "namedChunks": false,
    "aot": true,
    "extractLicenses": true,
    "vendorChunk": false,
    "buildOptimizer": true
  }
}
Pay attention to the fileReplacements array. This configuration instructs ng build and ng serve to swap the contents of environment.ts with those of environment.prod.ts whenever the production configuration is selected.
A Basic Example
Let's create a simple demonstration to illustrate how toggling between the default and production configurations changes the data displayed in your app.
Update your src\app\app.component.html and src\app\app.component.ts files with the following code:
<h1>
  Environment
</h1>
<pre>{{env | json}}</pre>
import { Component } from '@angular/core';
import { environment } from '../environments/environment';

@Component({
  selector: 'app-root',
  templateUrl: './app.component.html',
  styleUrls: ['./app.component.css']
})
export class AppComponent {
  env = environment;
}
ng-configuration-app.component.html hosted with ❤ by GitHub
In app.component.ts, examine lines 2 and 10:
import { environment } from '../environments/environment';
env = environment;
This code imports the environment file under the alias environment. We then assign it to a local variable env. This step is necessary because templates can only access public properties of the component class, not top-level imports.
The template renders the raw json object using the following snippet:
<pre>{{env | json}}</pre>
First, let's run the app with the default configuration:
ng serve
Open your browser at: http://localhost:4200. You should see output similar to this:
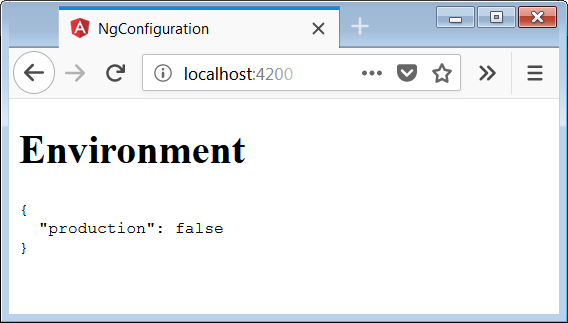
This output corresponds directly to the contents of the default src\environments\environment.ts file.
Now, let's switch to the prod environment by using the production configuration:
ng serve --configuration=production
The interface will now display the data from src\environments\environment.prod.ts.
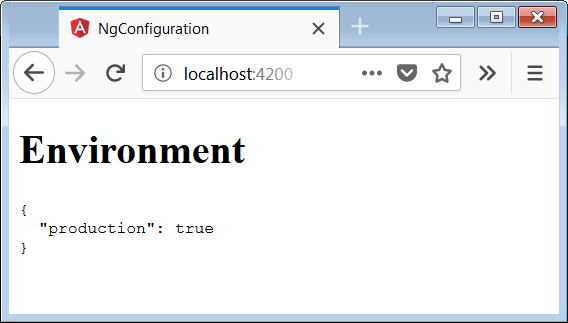
By passing the production flag, Angular applied the file replacement we saw earlier, substituting the default environment file with the production one.
Editing Configuration Data
Look back at the src/environment/environment.ts file. Notice it's written in TypeScript and exports a single object named environment.
export const environment = {
  production: false
};
Let's modify this object to include an environment name. Since src/environment/environment.ts is the default, we'll update it as follows:
export const environment = {
  production: false,
  name: 'default'
};
Now, serve the application with the default settings:
ng serve
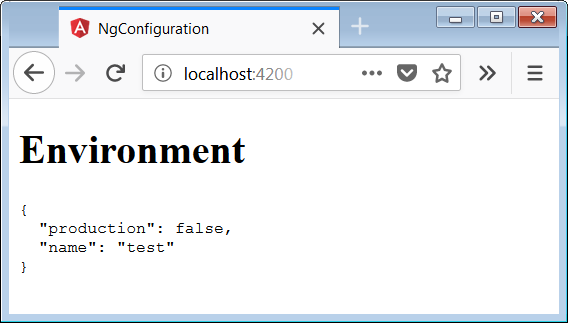
Our component will now display the updated configuration details.
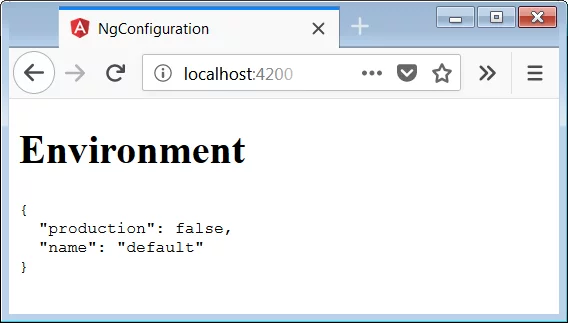
You can store anything you need here — service URLs, feature flags, logging preferences — whatever your application requires at runtime.
IMPORTANT: Keep in mind that everything in your environment files is sent to the client and is publicly accessible.
NEVER place sensitive data such as passwords or secret API keys in your environment files.
Creating New Environments
Angular allows you to define custom environments beyond the defaults. Let's create a new one named test.
Start by creating a new file:
src\environments\environment.test.ts
with the following content:
export const environment = {
  production: false,
  name: 'test'
};
Next, we must register this file in angular.json. Inside the build node, locate the configurations object and add a new entry for our test configuration, so it looks like this:
"configurations": {
  "production": {
    "fileReplacements": [
      {
        "replace": "src/environments/environment.ts",
        "with": "src/environments/environment.prod.ts"
      }
    ],
    "optimization": true,
    "outputHashing": "all",
    "sourceMap": false,
    "extractCss": true,
    "namedChunks": false,
    "aot": true,
    "extractLicenses": true,
    "vendorChunk": false,
    "buildOptimizer": true
  },
  "test": {
    "fileReplacements": [
      {
        "replace": "src/environments/environment.ts",
        "with": "src/environments/environment.test.ts"
      }
    ]
  }
}
This change only affects ng build. To use it with ng serve as well, we need to make an additional adjustment.
Find the serve node and add a reference to the test configuration. The updated section should resemble this:
"serve": {
  "builder": "@angular-devkit/build-angular:dev-server",
  "options": {
    "browserTarget": "ng-configuration:build"
  },
  "configurations": {
    "production": {
      "browserTarget": "ng-configuration:build:production"
    },
    "test": {
      "browserTarget": "ng-configuration:build:test"
    }
  }
},
We can now launch the app using the test environment:
ng serve --configuration=test
Wrapping Up
You now know how to create and integrate your own custom environments.
Leverage Angular Application Environments whenever you need a straightforward method for managing configuration settings across different deployment stages.